I had a girlfriend of mine with three daughters ask me way early in 2015 if I knew how to do My Little Pony plushies.
Well, the answer (at first) was no.
Then I broke down and bought a pattern pack for the Mane 6 (the six main characters) from the Nerdy Knitter.
First I tried (as was previously posted) Rainbow Dash. That quickly led to starting the first Twilight Sparkle, but I couldn't for the life of me figure out her mane at first.
So, I took a step back. (Sort of.)
And then I informed said girlfriend that "Yes! I have done the pony thing!"
(Word to the wise: don't ever volunteer when you haven't actually figured the whole pattern out first.)
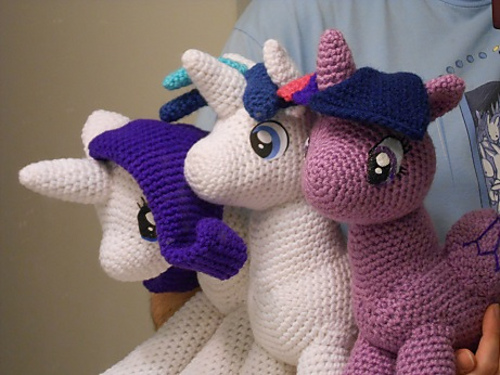
Her little girls' favorite ponies are Twilight Sparkle, Rarity, and Shining Armor.
Right. Noooooo problem. Me and my big mouth.
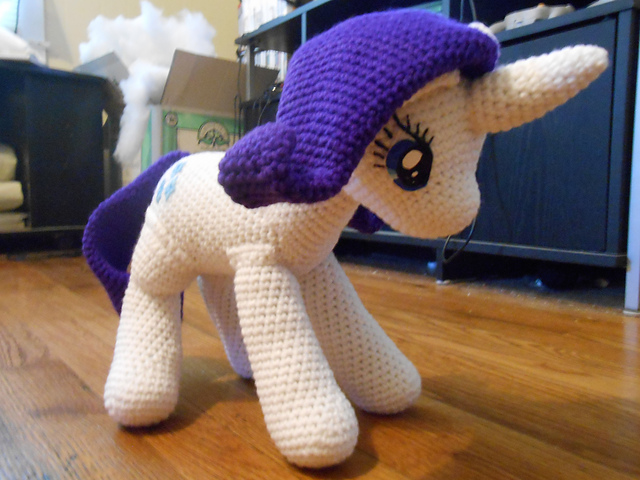
I started with Rarity.

The one issue: not placing her neck higher so her head isn't down.
For the first try, I did eyes painted on wax paper and then glued to sewn-on felt bases. I then painted on her eyelashes. The cutie marks are felt, hand-embroidered. Her mane and tail also have pipe cleaners attached inside, to help them curl.

For my next trick, I went on to try Twilight Sparkle again, this time with slightly more accurate colors. (And of course, I didn't know it at the time, but Twilight has two forms: unicorn or alicorn.)

I had a lot of trouble with this pattern. My main issue: her tail and mane.
This time, I got a little more crazy and instead of using waxed paper (which allowed me to trace Rarity's eyes directly from a print-out), I painted Twilight's eyes right onto the felt base with puffy paint. I then vowed never to put that kind of pressure on myself again.
I cut the pink part of her cutie mark out of felt and sewed it on. I then painted the white bits with puffy paint.

The great problem with Twilight's mane and tail as they're written in the Nerdy Knitter pattern is that there are no pictures to help you assemble them.
It's really very terrible, and for the price of the pattern, I expected better. It ended up taking me three Twilight Sparkles to master the exact assembly of her mane and tail parts, and what I did does not follow the pattern, enough so that I'm tempted to release my own tutorial to help newbies out!
(Yes, this is a rant. It's just about over.)
The last pony was Shining Armor, who has his own separate pattern for sale:
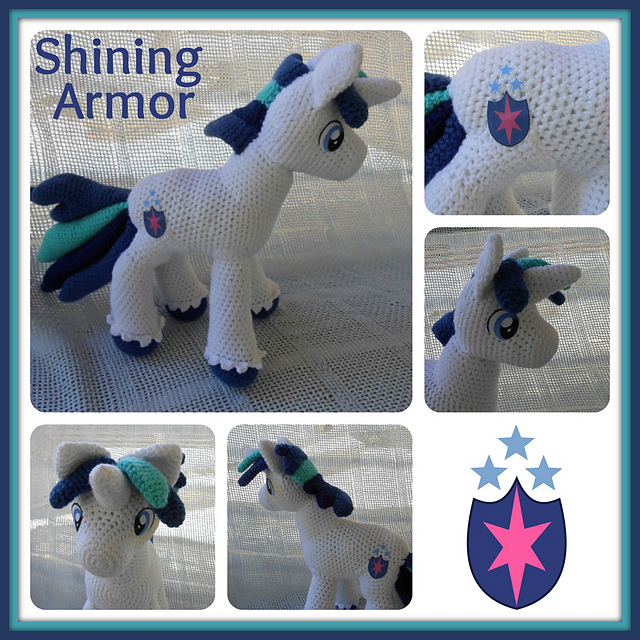
Main issue: his tail.
Thanks to a helpful tip over in the Harry Potter challenge, I switched to printing out Shining Armor's eyes and cutie marks on white, iron-on twill patches (available at any Wal-Mart). There followed a sizing and comparing process:
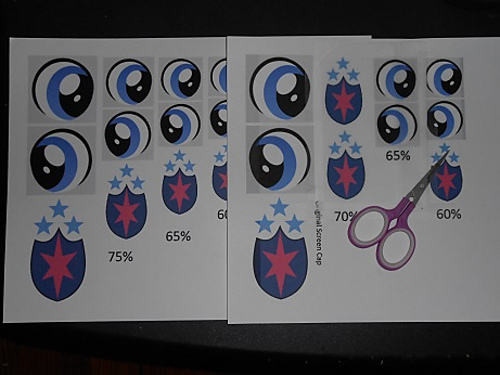

Which was well-worth the effort. I still paint 'eye-liner' and the eyelashes on the girl ponies with puffy paint, but the exact science of accurate cutie marks is irreplaceable.
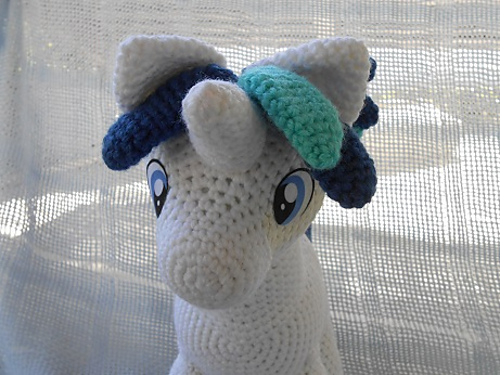
The one thing Shining Armor taught me, however, is what happens to yarn when you scorch it.
(Hint: It's not good.)
I didn't notice that my iron had shut itself off after an extended pause, and begun to cool. Then when his eye wouldn't stick, I thought I just had to hold the iron down longer. This resulted in a hard, brown crispy patch of yarn around his left eye. I was nearly devastated.
I say 'nearly' because I had the bright idea to paint over the patch with white paint so it would be less noticeable. Well, I for sure notice. But it was an experiment, as well as a gift that would not be too highly-scrutinized.
Finally, pictures of the three together:

So I went on my merry way, shared a few photos around on the social medias, and in general went back to Minecraft stuff.
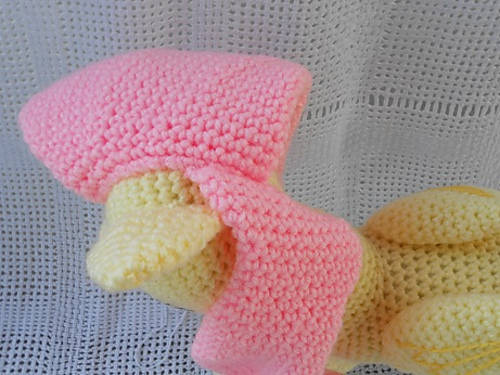
Then I got a follow-up order for another Twilight Sparkle and my very first Fluttershy.
Apparently I wasn't done with perfecting Twilight's mane and tail assembly.
Fluttershy was relatively simple; all the base pony bodies are the same, barring a unicorn horn or pegasus wings. (Once you get past the terrible neck directions - that's another rant.)

The issue: mane and tail, again.
I actually went to the forum help group for the patterns on Ravelry and asked about her mane; I couldn't get it to form the curly shape of Fluttershy's mane as seen in the show. I was told to add pipe cleaners (which is nowhere in the directions). I still feel only marginally successful.
In addition, her tail was too tall and it raises her back legs off of the ground. I vowed in my next go-around with this pattern to remove some rows (in the repeated rows, not any of the shaping rows) to see if that would help.
Her eyes and cutie mark are 100% ironed on; the eyelashes in this case were colored at the edges with Sharpie before ironing them on so that the white of the patches wouldn't show on the edges. You have to be very careful, however; the twill fabric likes to drink marker, and the color bleeds.

On to the second (technically third, but second ever completed) Twilight Sparkle.

I can safely say I am 98% satisfied with this one.
The 2% of dissatisfaction is my fault; I didn't change my printer settings back to "Best" when printing her cutie mark, so the pink is not dark enough. My bad.
But her bangs stay down, her mane is all aligned, and wonder of wonders! Her tail has great curvature.


The guy who ordered them was very happy, and I considered it a win!
This of course is not the last of my pony adventures; oh no! But that's all I have time to share today.
Craft on!
No comments:
Post a Comment