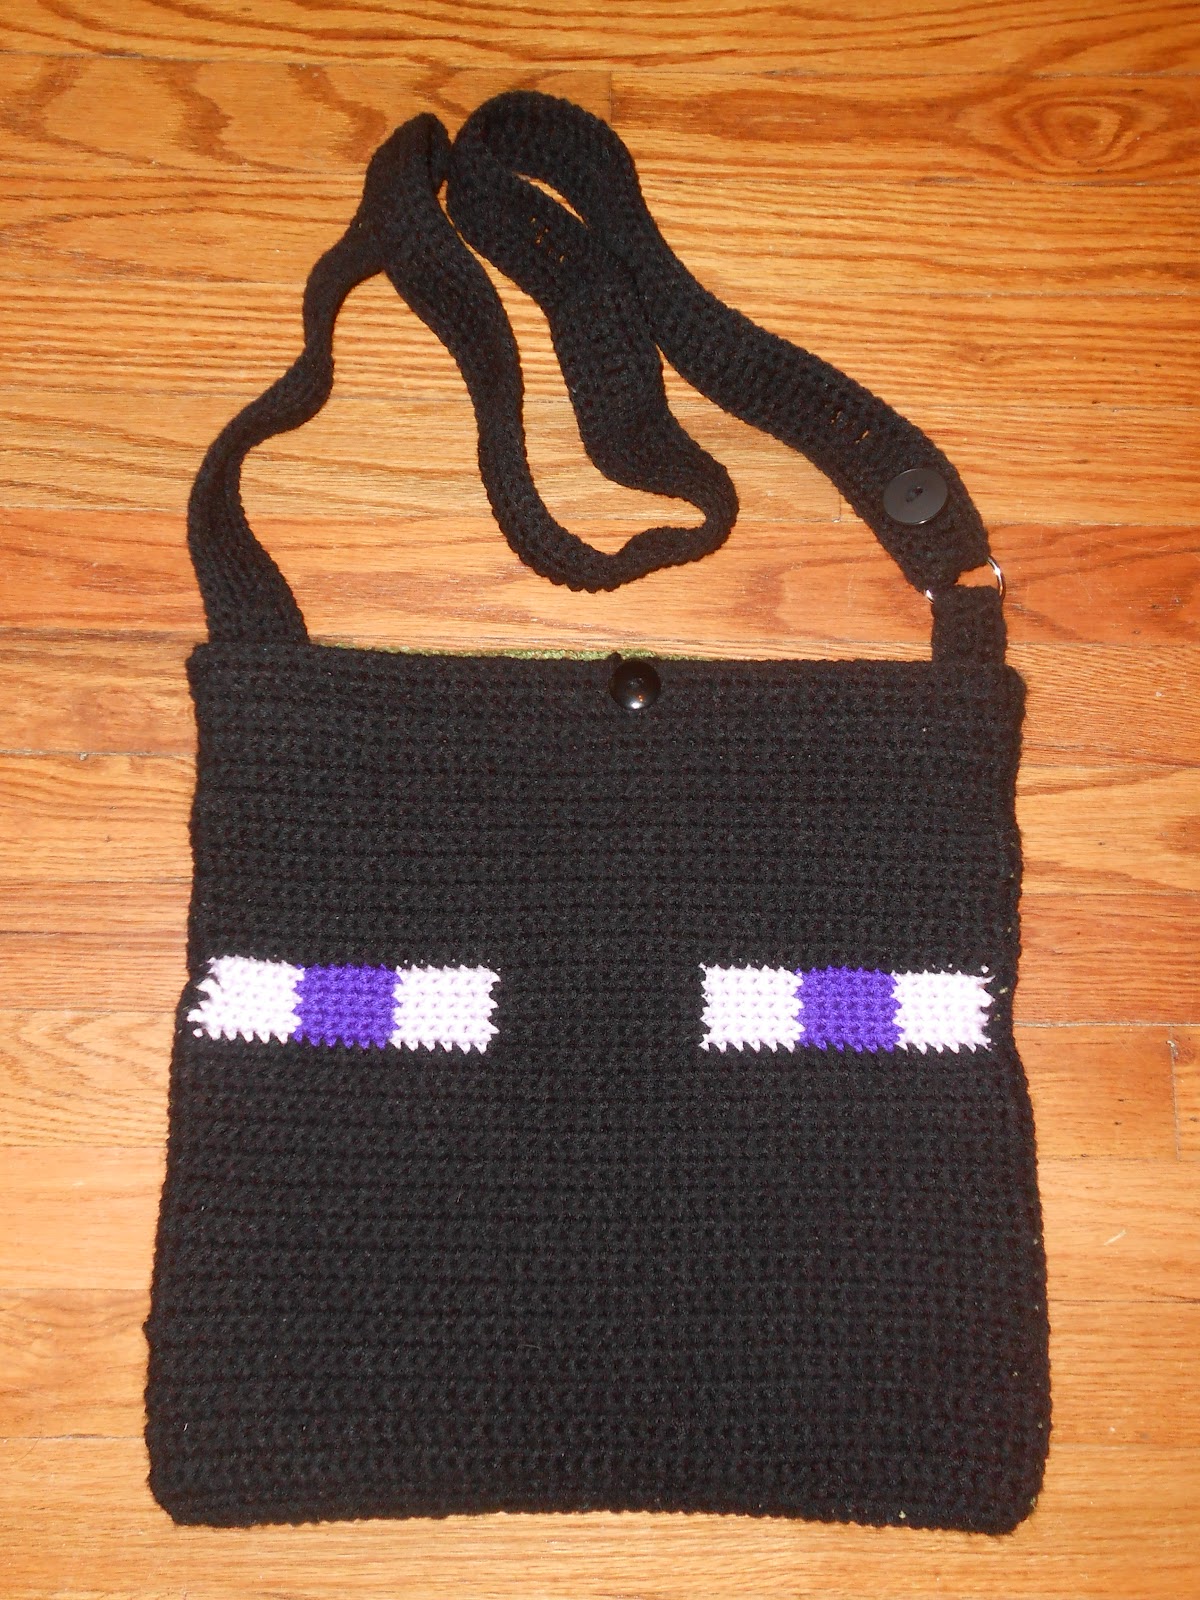
This pattern is the first half of my HPKCHC Astronomy OWL! Enjoi!
Reversible Minecraft Monster Bag
© 2016 Katie Bobbitt/Velvet Key Creations
Level: Intermediate American Crochet Terms
Materials:
300 yards green worsted weight yarn, approx.
400 yards black worsted weight yarn, approx.
10 yards light purple worsted weight yarn
5 yards dark purple worsted weight yarn
G-hook (4.0mm)
Stitch markers (or bobby pins or earrings you don’t like too well)
Yarn needle
Scissors
1 yard fabric for lining, plus sewing method of choice
2 strips plastic canvas, cut to fit your bag (at the end!)
2 large black buttons (1 or 1.5”)
Special Instructions:
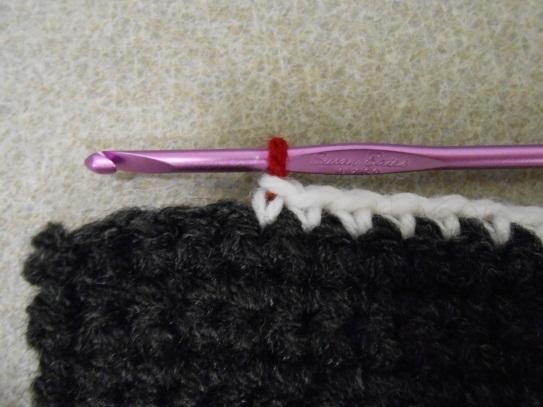
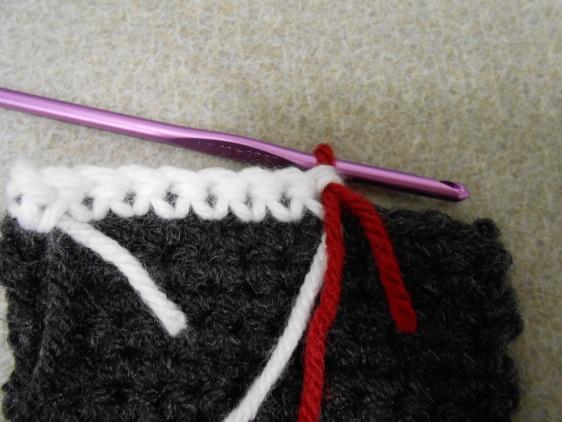
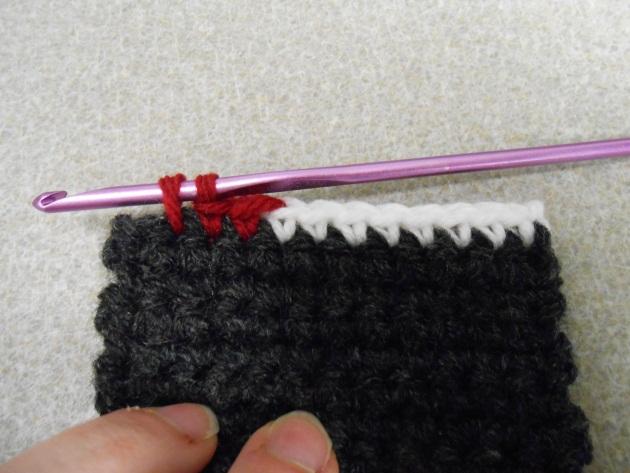
Changing Colors (CC)
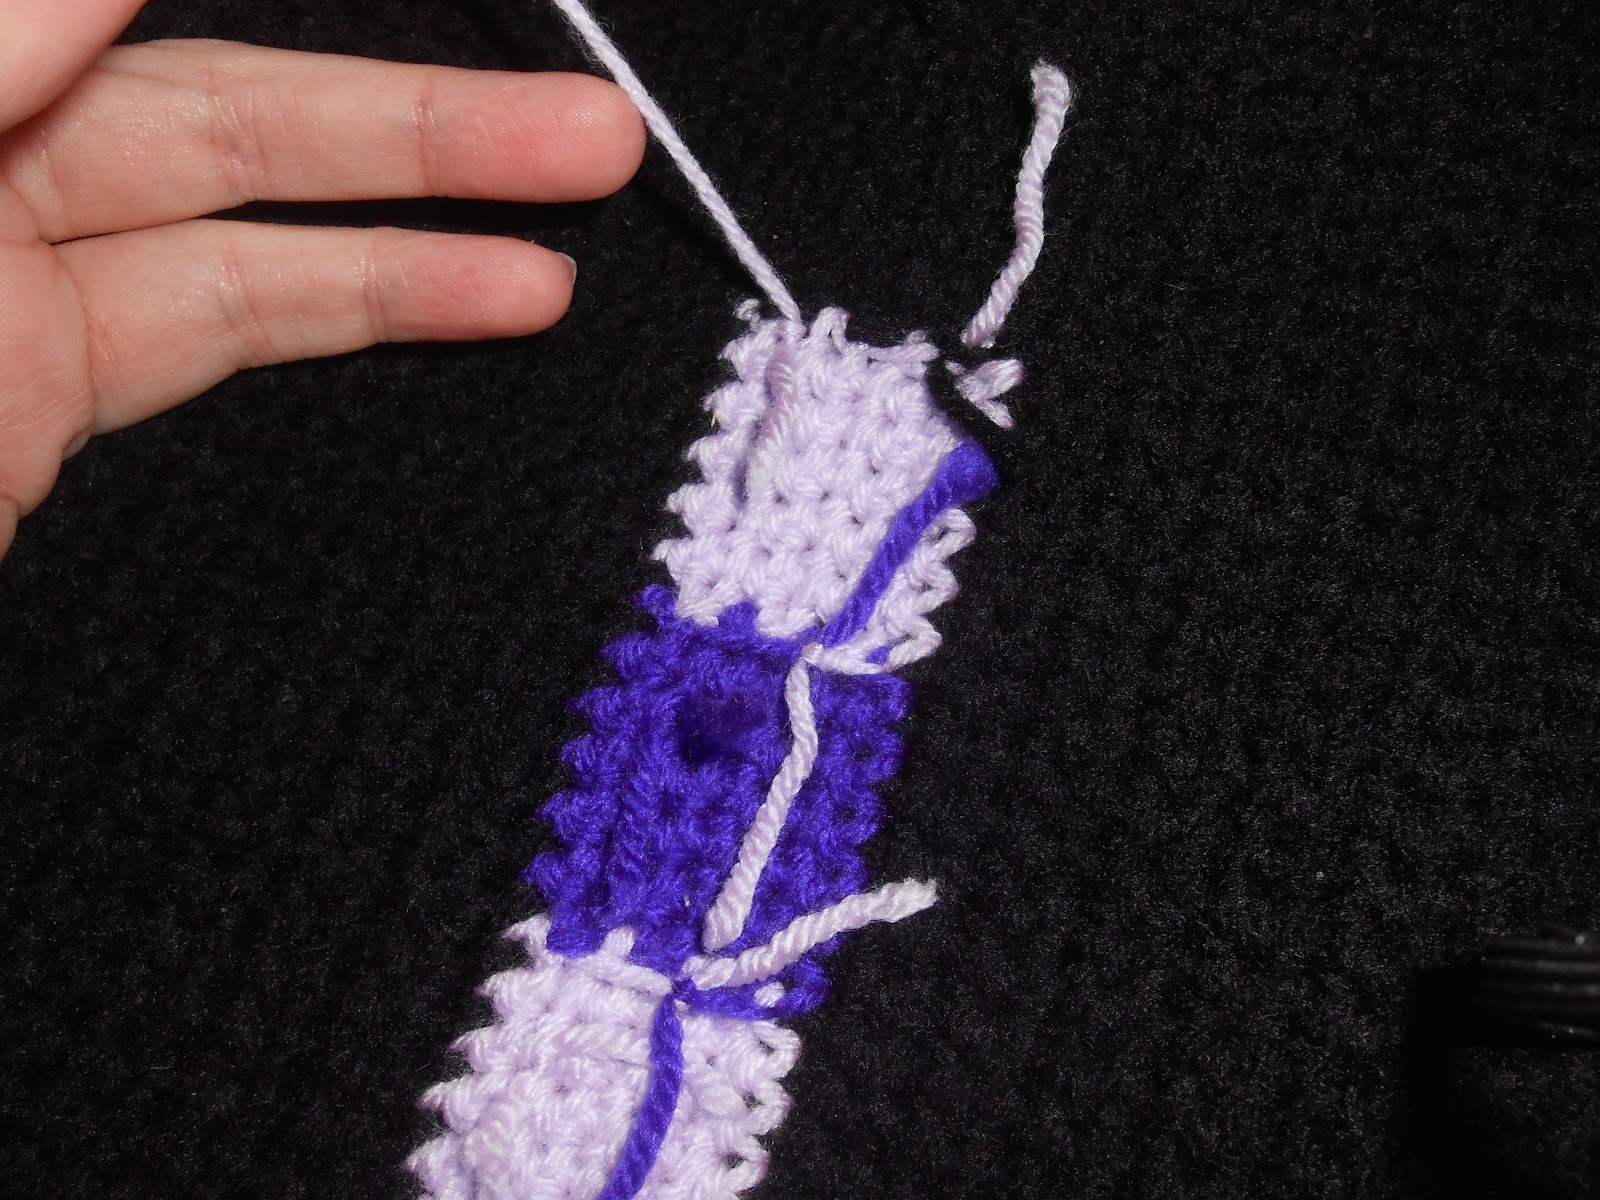
When CC is noted, do not finish the final yo of the previous stitch. Take new color and yo, pull through to complete stitch. Make sure that your yarn tails are on the wrong side of the work consistently, and when cutting colors, leave a 1-1.5” tail in order to tie the colors off so that they won’t unravel later.



Directions:
Part One
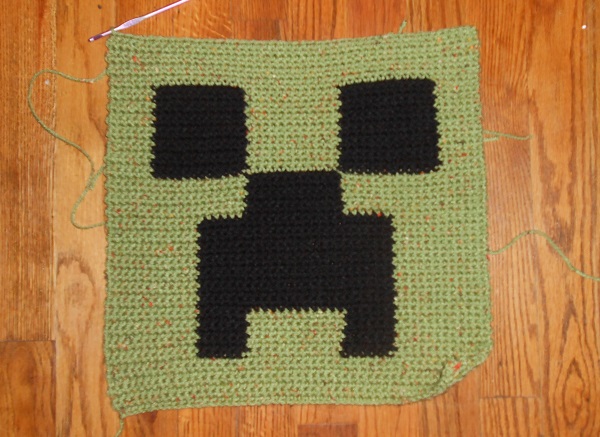
Begin by making the creeper’s face.
 Starting with green yarn, ch 49.
Row 1: Sc in 2nd ch from hook. Sc in each st across. Ch 1 and turn. (48 sc)
Row 2-7: Sc in each st across, ch 1 and turn. (48)
Note: When changing colors in Row 8, pull yarn tails to the front of your piece, for this will the wrong side (WS) of your work from here on out.
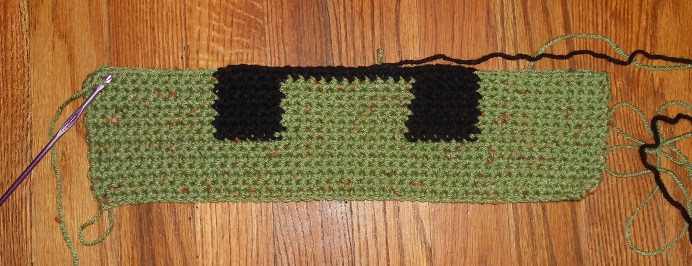
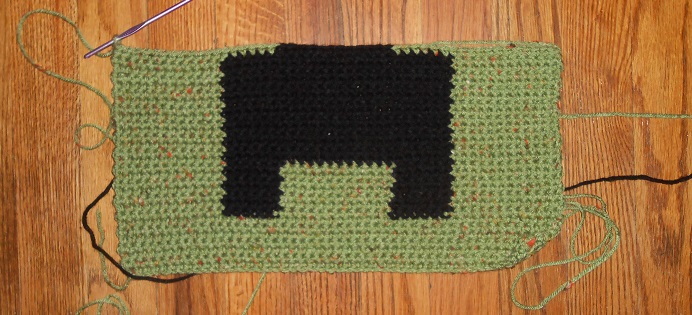
Row 8-14: Sc in first 12 stitches, CC to black and sc in next 6 stitches.
CC to green and sc in next 12 stitches.
CC to black and sc in next 6 stitches.
CC to green and sc in next 12 stitches. (48 sc)
Rows 15-28: Sc in first 12 st, CC to black and sc in next 24 st,
CC to green and sc in next 12 st. (48 sc)
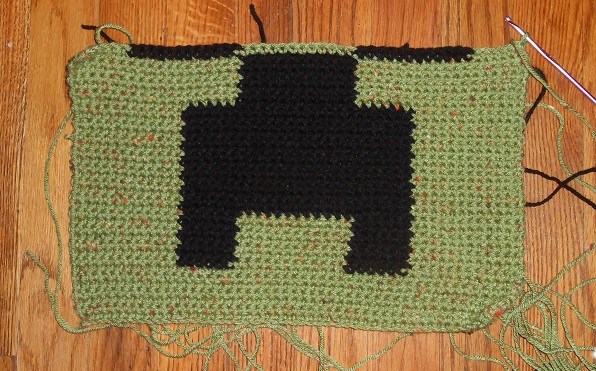
Rows 29-35: Sc in first 18 st, CC to black and sc in next 12 st,
CC to green and sc in next 18 st. (48 sc)
Rows 36-49: Sc in first 6 st, CC to black and sc in next 12 st,
CC to green and sc in next 12 st.
CC to black and sc in next 12 st.
CC to green and sc in next 6 st. (48 sc)
Rows 50-57: Sc in each st across. (48)
Note: Your creeper panel should now be square. We will add additional rows now to form the mouth of the bag (the portion that will be folded over a piece of plastic canvas and sewn inside to keep the mouth of the bag stiff).
You may wish to place stitch markers at each end of Row 57 so you know where the top of the square is.
Rows 58-63: Sc in each st across. (48)
Cut yarn, leaving a 24” tail to sew the mouth of the bag.
Tie off all loose ends on the back of the creeper’s face. Set aside for now.
 Part Two
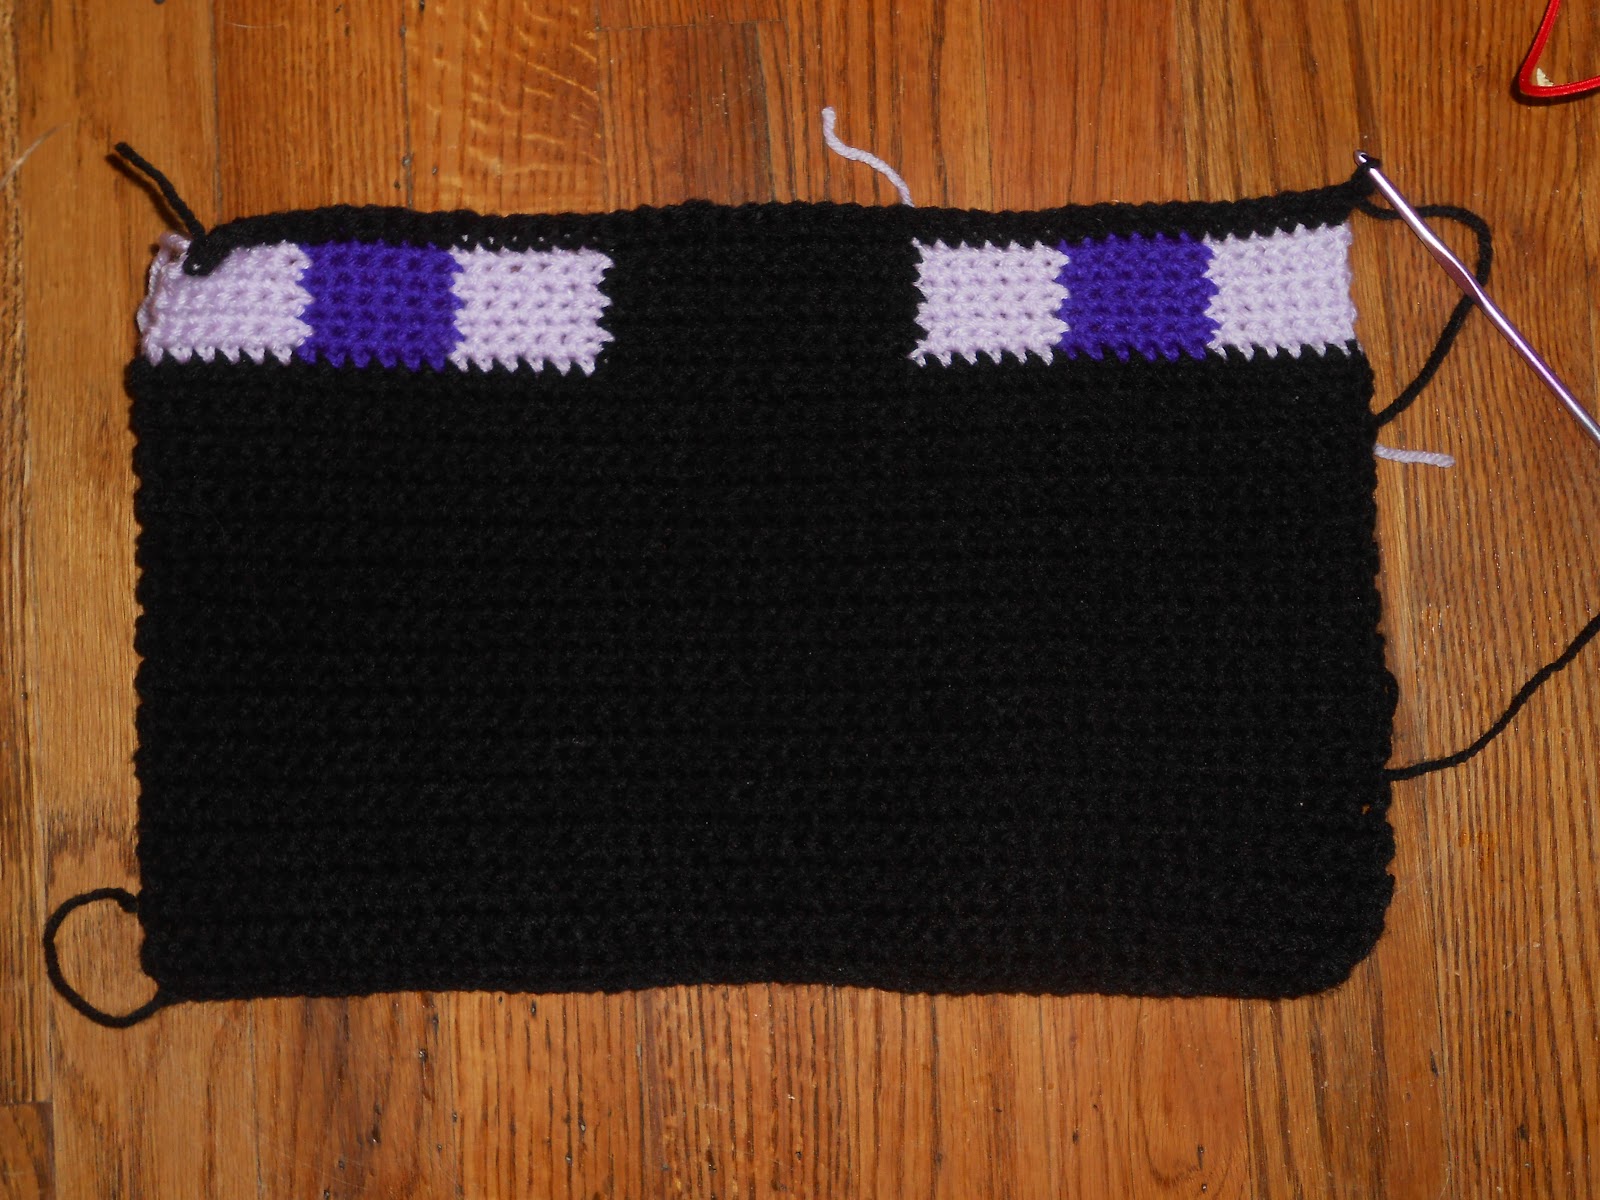
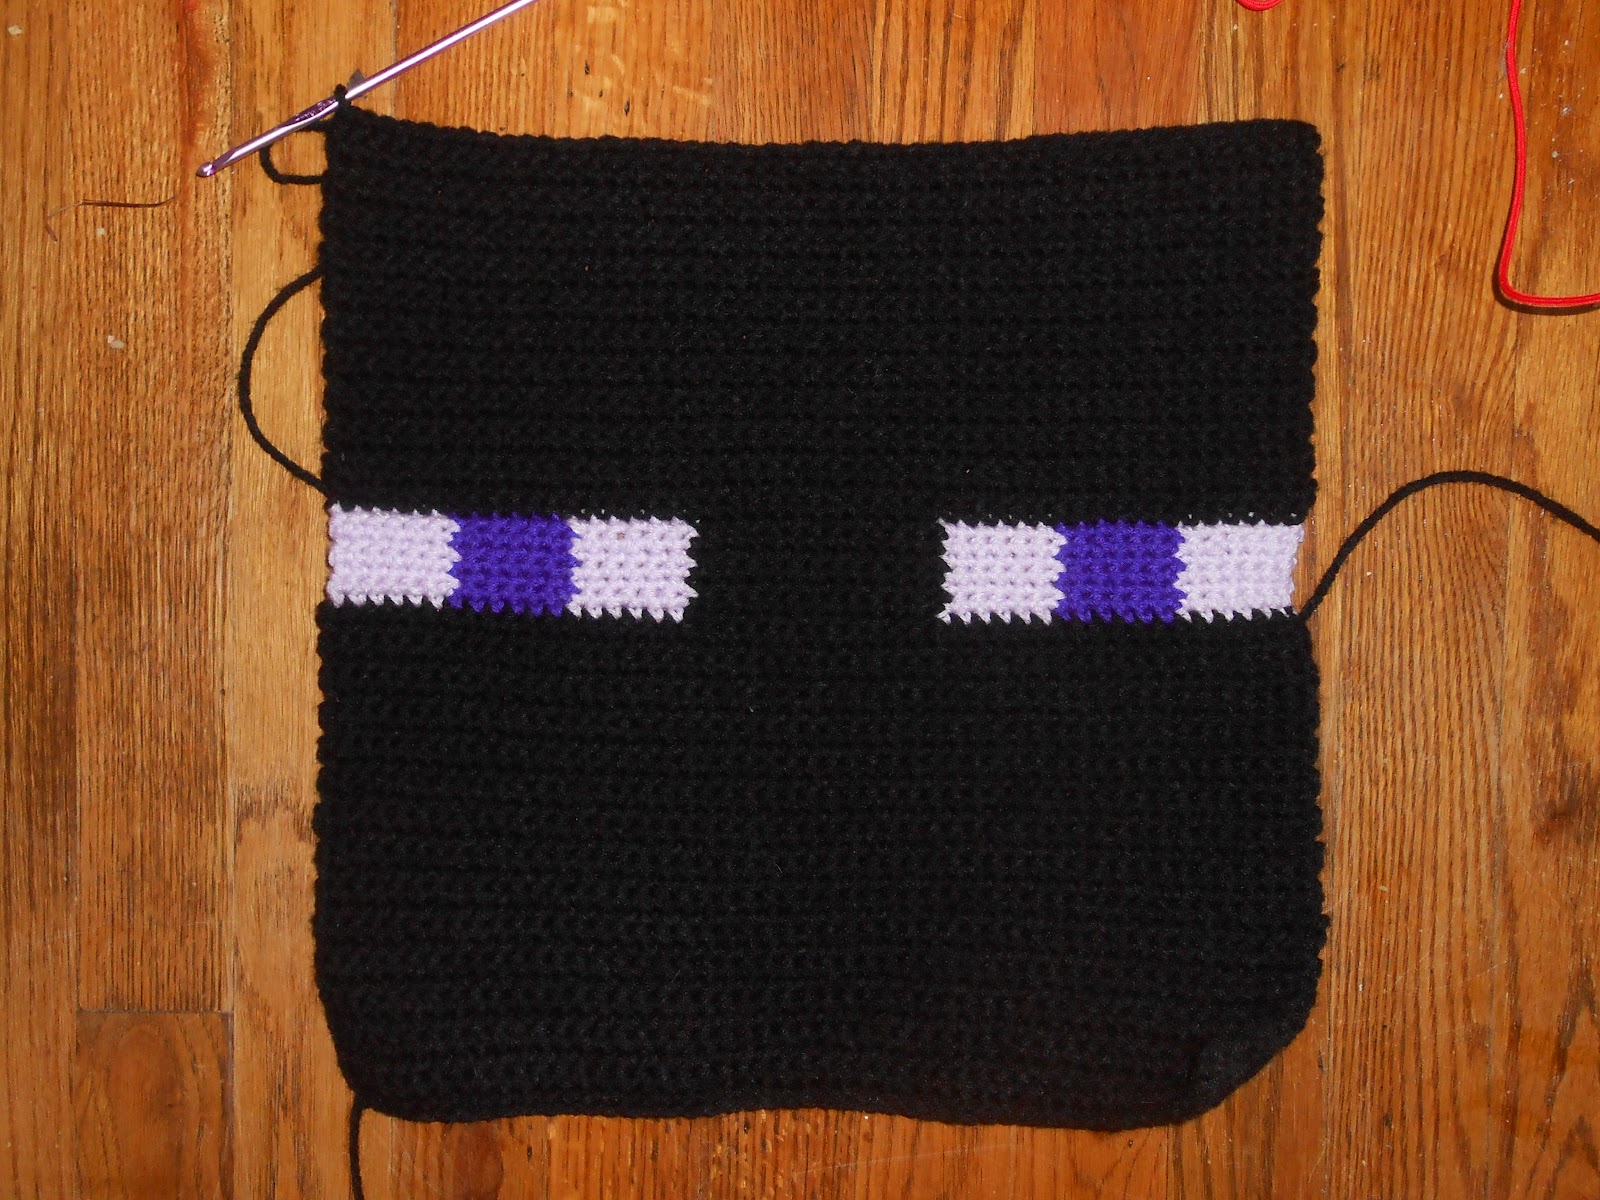
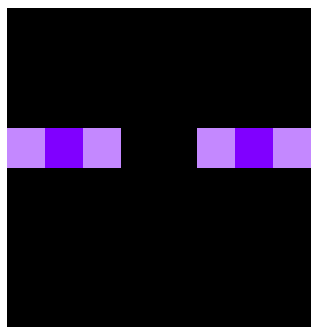
Time for the enderman’s face!
With black yarn, ch 49.
Row 1: Sc in 2nd ch from hook. Sc in each st to end. Ch 1 and turn. (48)
Rows 2-28: Sc in each st to end. Ch 1 and turn. (48)
Rows 29-35: CC to light purple and sc in first 6 st.
CC to dark purple and sc in next 6 st.
CC to light purple and sc in next 6 st.
CC to black and sc in next 12 st.
CC to light purple and sc in next 6 st.
CC to dark purple and sc in next 6 st.
CC to light purple and sc in last 6 st.
CC to black before ch 1 and turn. (48)
Rows 36-57: With black, sc in each st to end. Ch 1 and turn. (48)
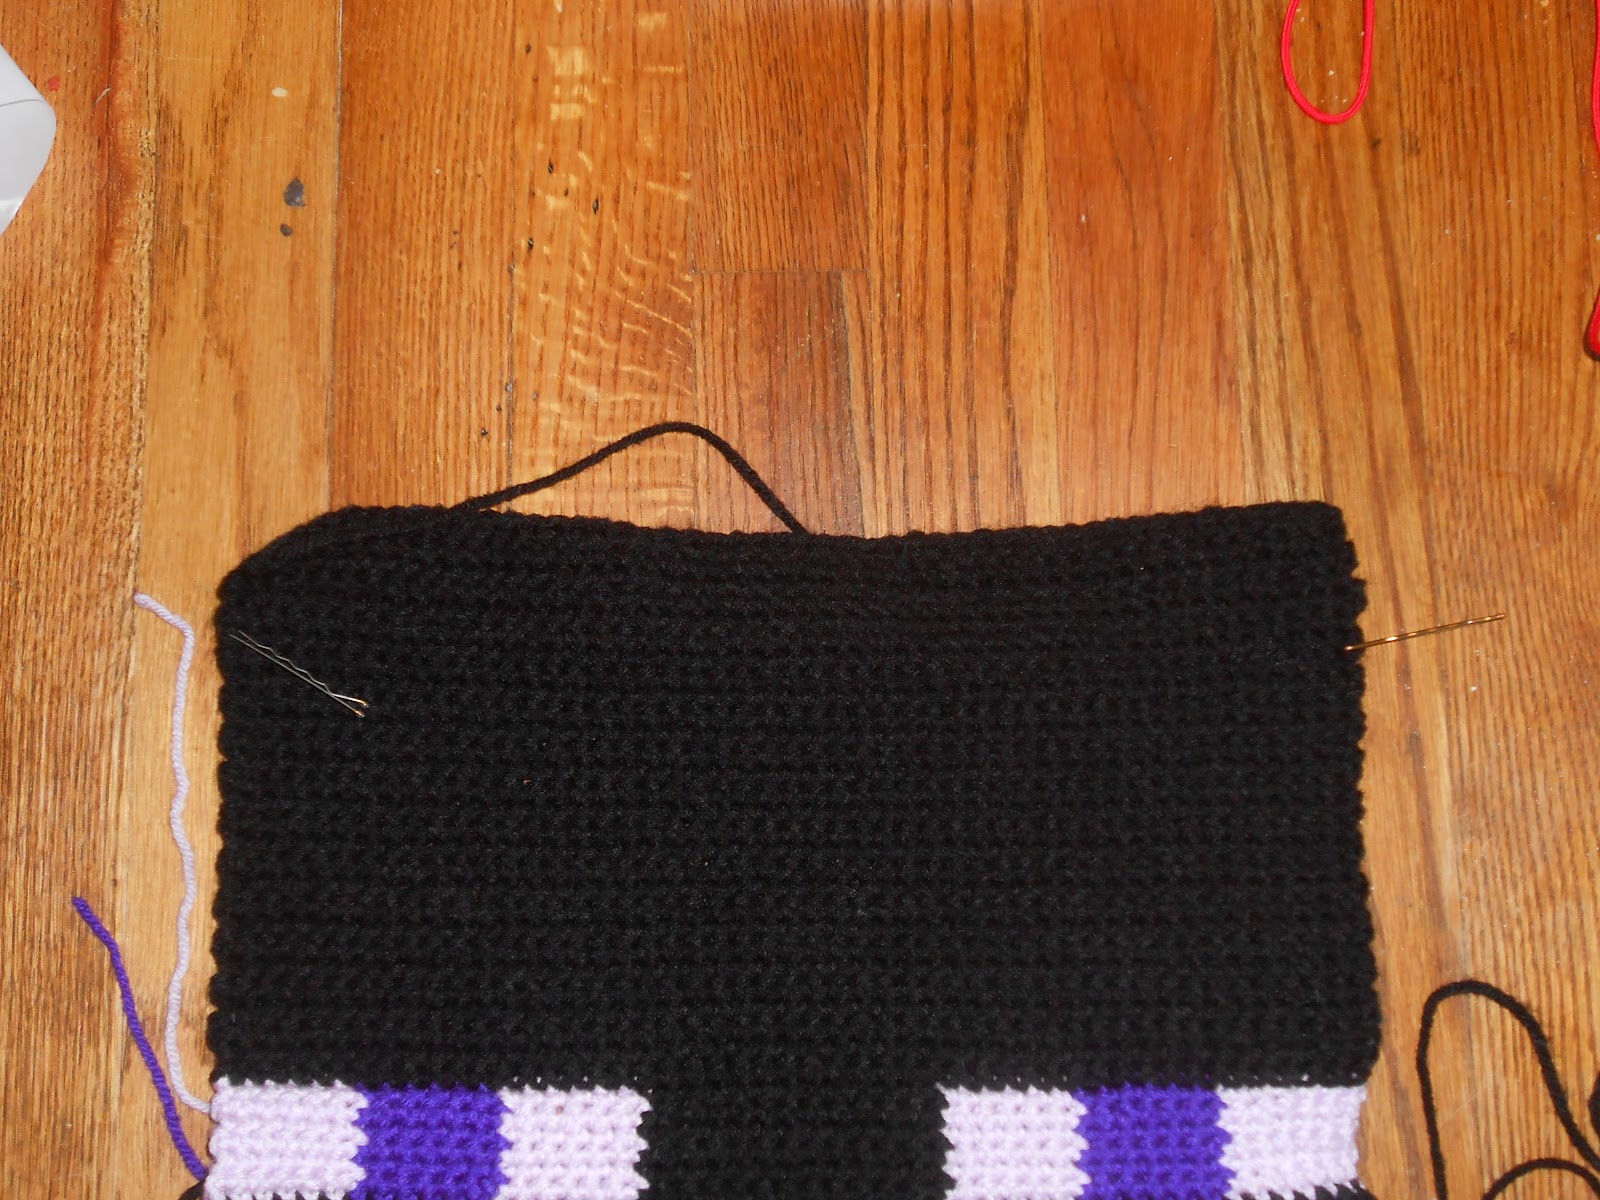
Note: Your enderman panel is now square! Time to add the extra rows for the stiff lip of the bag. You may wish to place stitch markers at each end of Row 57 before continuing.
Rows 58-63: Sc in each st to end. Ch 1 and turn. (48)
Tie off all loose ends on the back of the enderman’s face.
Part Three
We’ll put the plastic canvas strips into the squares and sew them up!
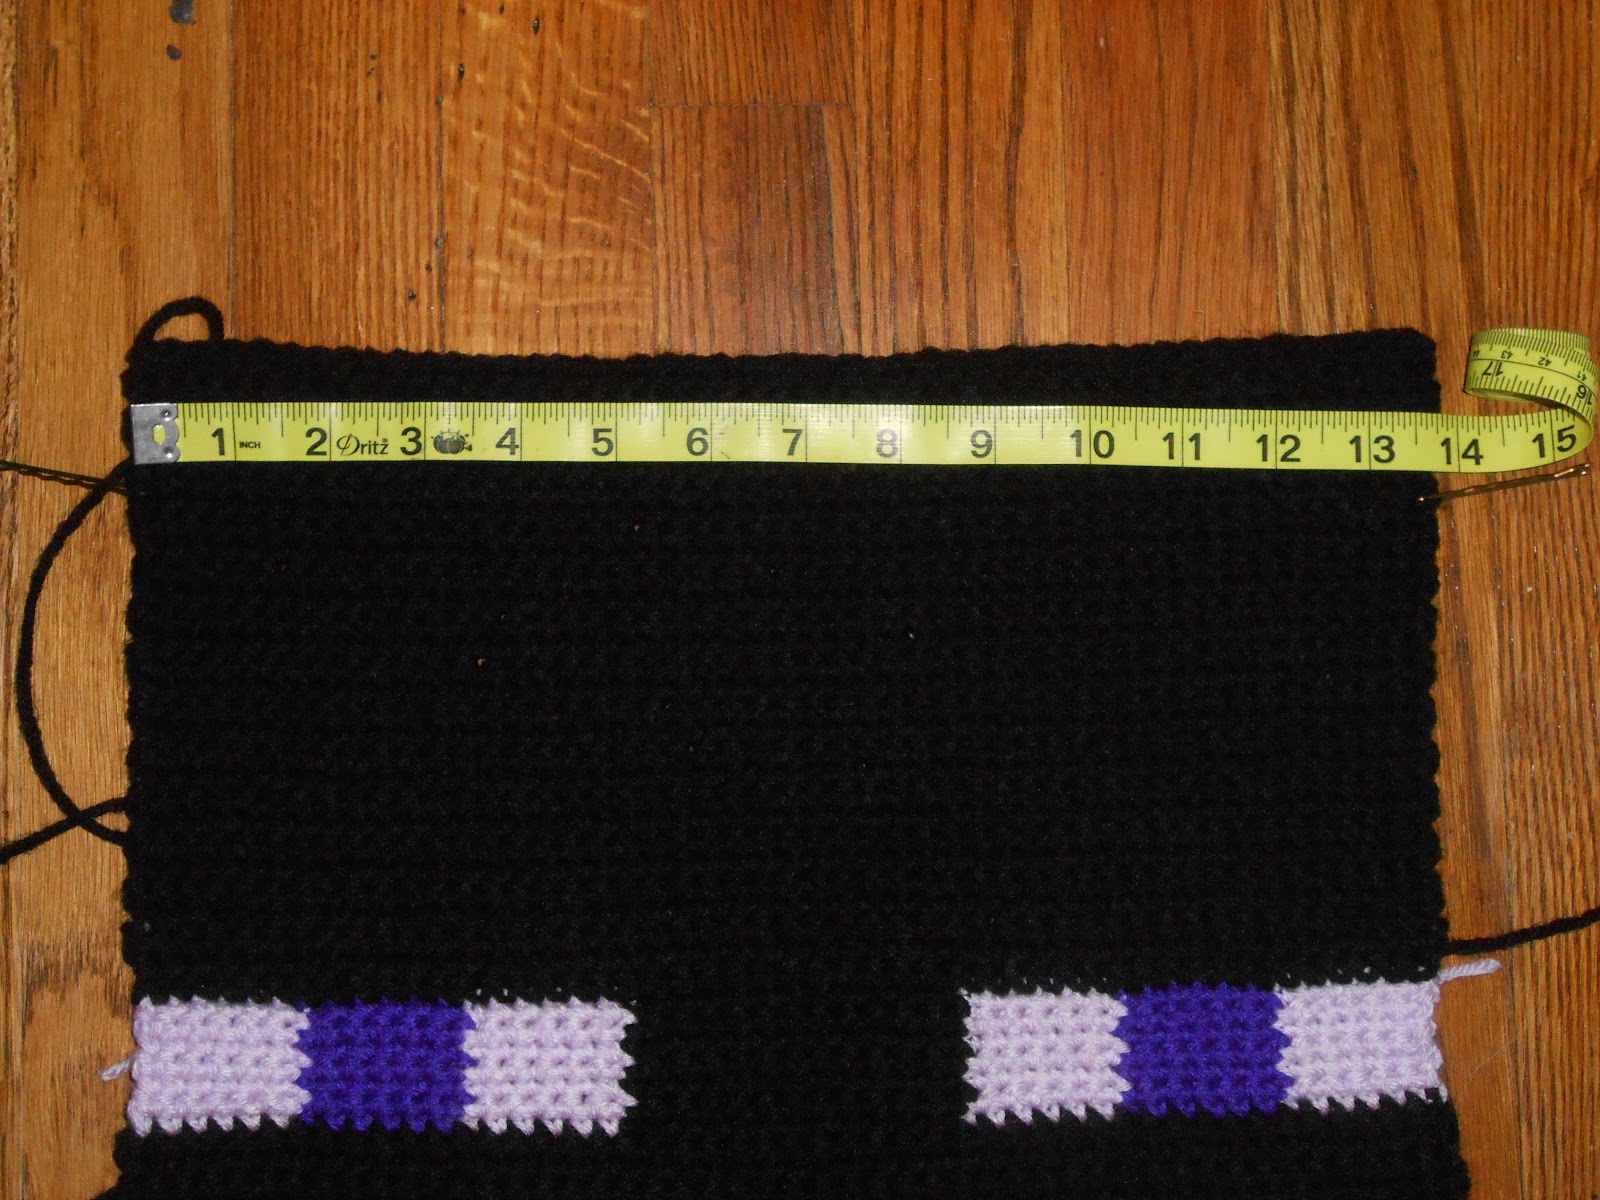
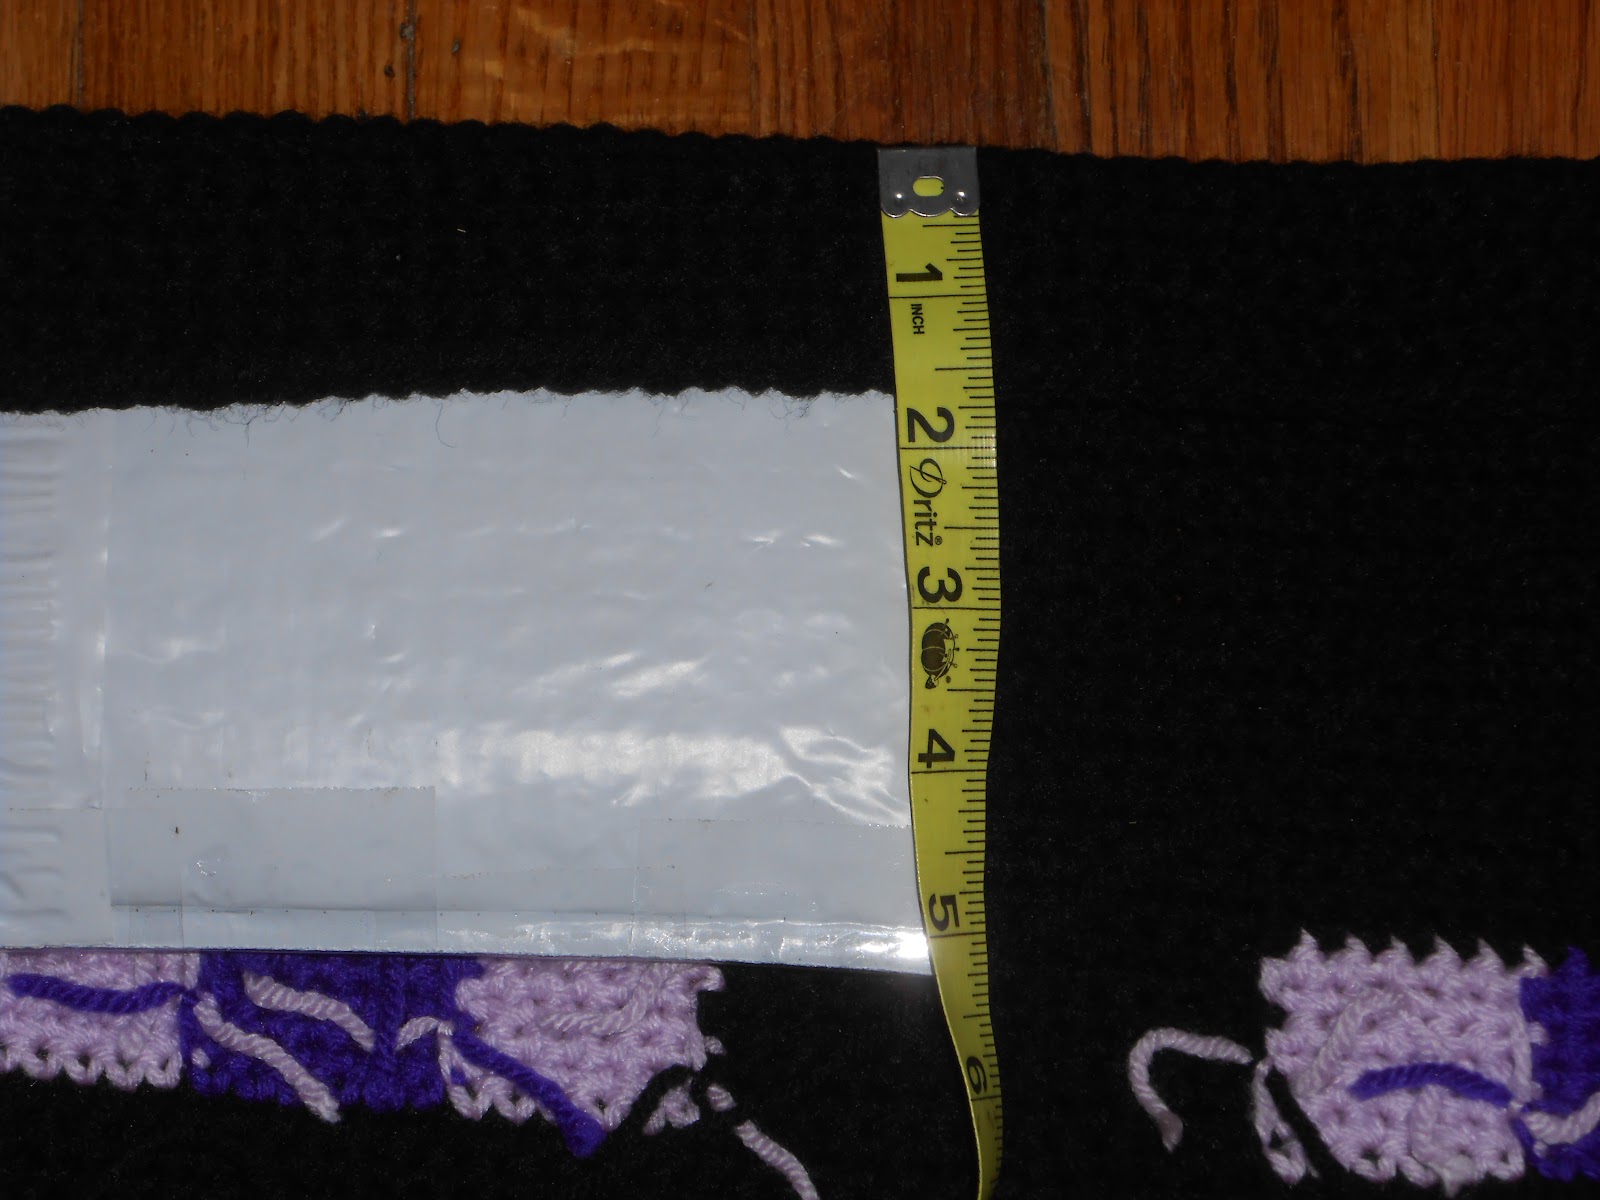
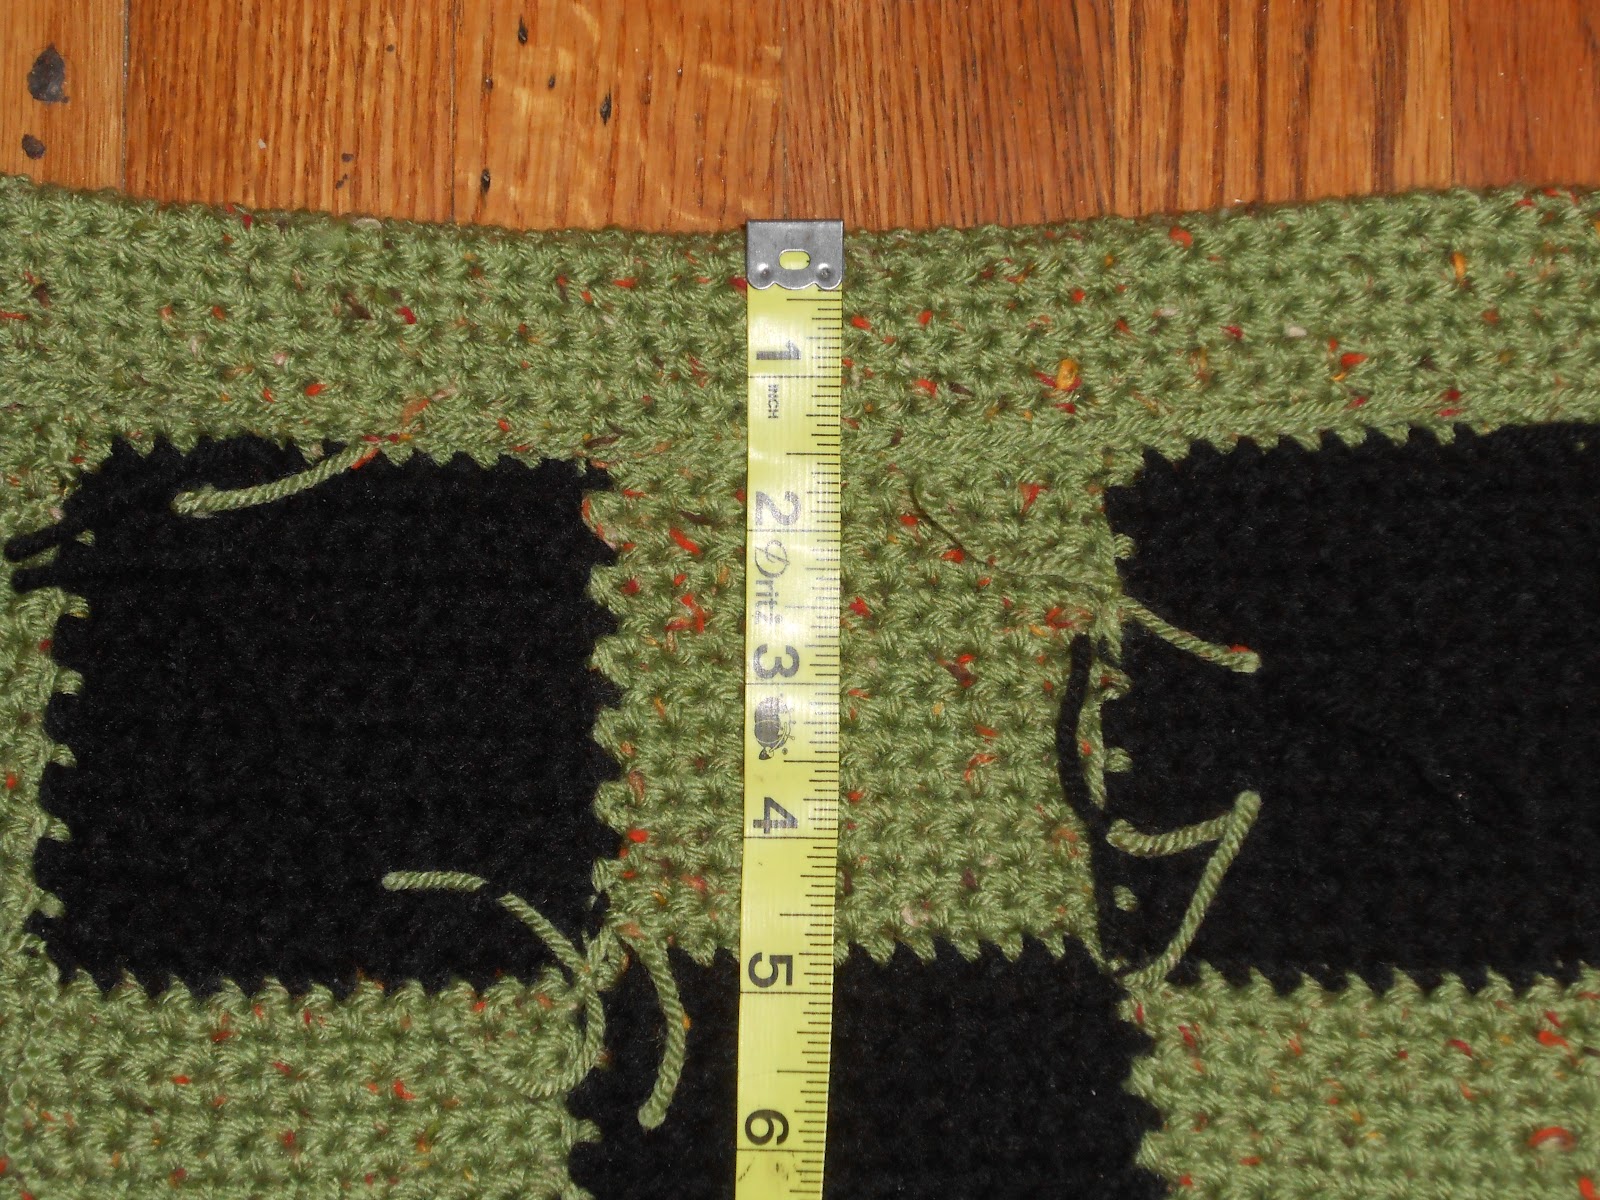
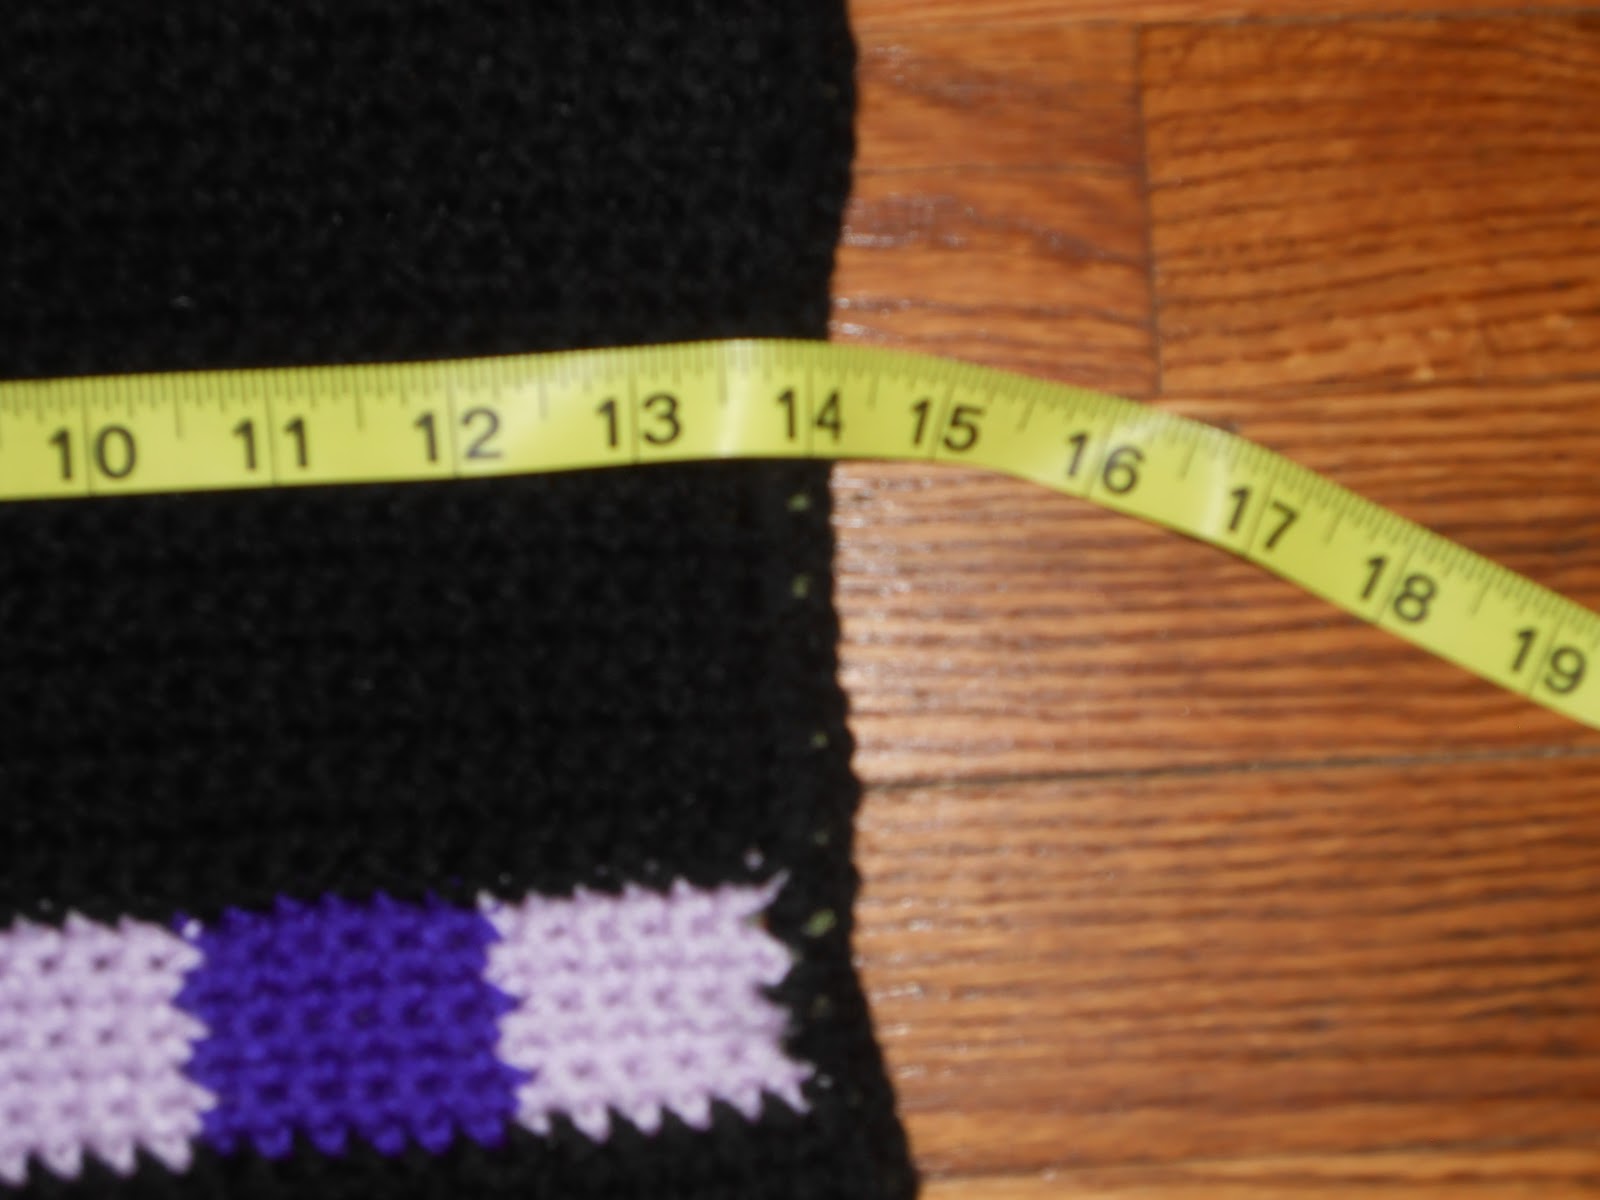
First, measure the width of your creeper and enderman squares. They should be about equal; you will cut the strips to the same length so take the shorter of the two as your ideal measurement.
For my enderman, the width was 13.75”.
My creeper was 14.25”, so my ideal measurement will be 13.75”.
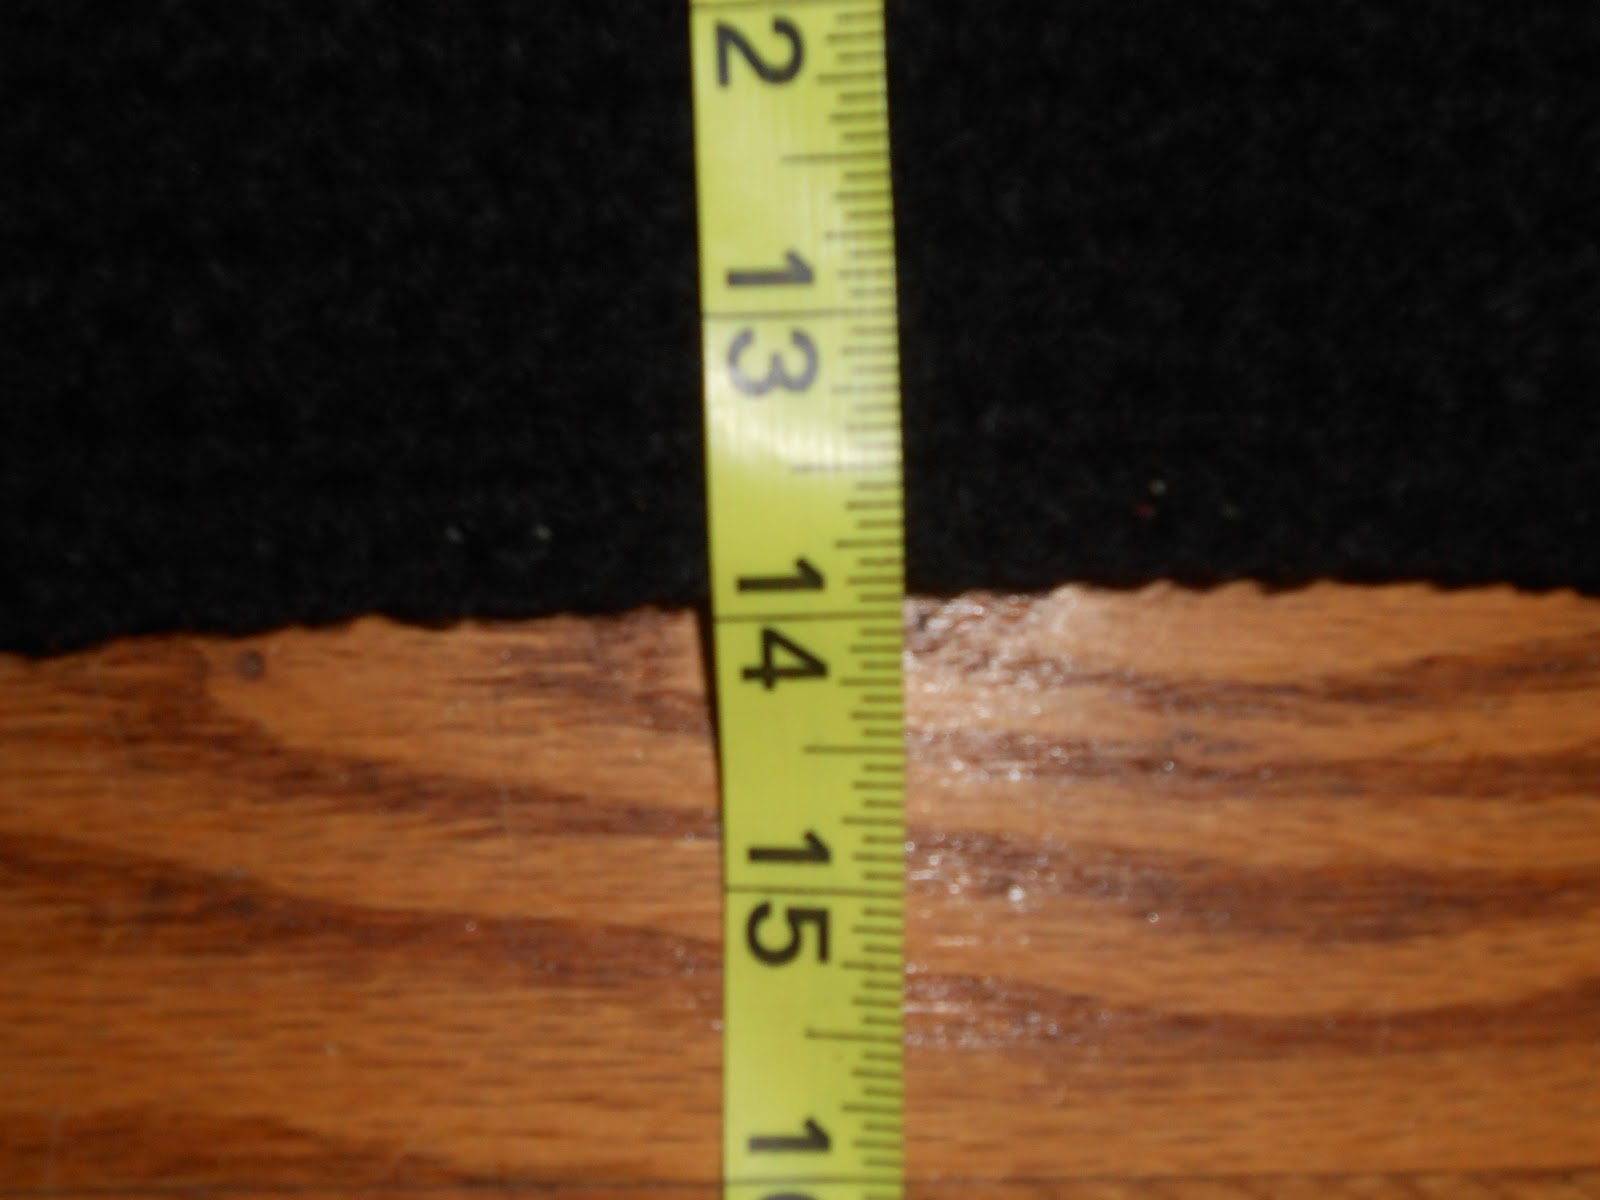
Second, fold the top of your panel down on the wrong side, so that your stitch markers on either side of the square are now on top. Measure the height of this little flap (the last 6 rows of your panel).
For my enderman, the height was 1.75”. The creeper was 1.5”.
So, I cut my two plastic strips to be 13.75” by 1.5”.
Sew the top flaps down with the long tails you left at the ends of each panel. For the creeper panel, make sure your flap does not overlap the eyes, or your stitches will show. Weave in ends.
Slide the plastic strips into the panels.
You will want a little bit of the panels to cover each end, because we are now going to seam the bag together from the outside!
Put your two panels together, back-to back so that the faces look out. Take black yarn and attach at the top corner, through both panels.
Sc around the side, bottom, and other side of the bag. For the corners, I chained 1 before turning and sc’ing in the same stitch. Weave in all outer ends.
Part Four
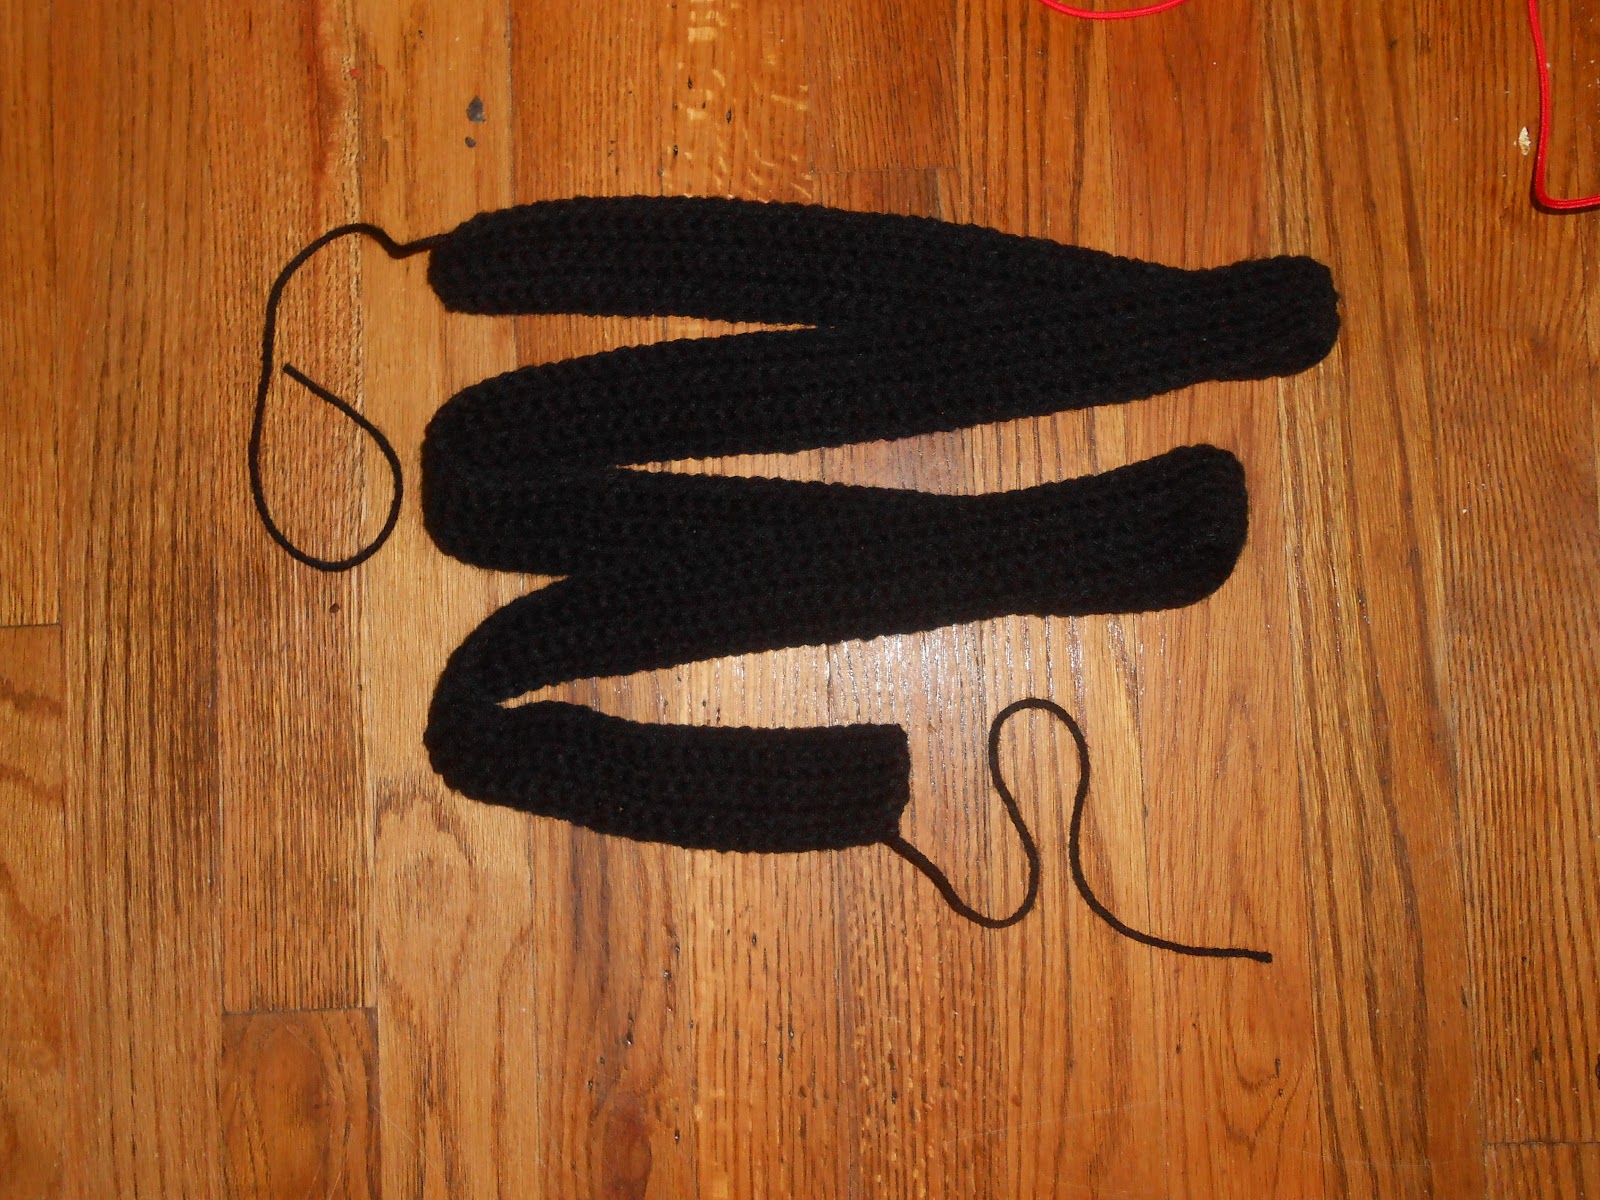
Strap #1 - Fixed length strap
Note: You may want to premeasure a strap you are already using, or take a fabric tape measure and guesstimate how long you want your strap to be. Then add 3-4 inches to your measurement, for where the strap will be sew inside the bag securely. My strap is about 60 inches long; I am tall and intend to wear the bag diagonally.
Leave a 12” tail, ch 211.
Row 1: Sc in 2nd ch from hook and in each ch across. Ch 1 and turn. (210)
Rows 2-6: Sc in each st across. Ch 1 and turn. (210) Cut yarn, leaving a 12” tail and knot off.
Note: If you alter the pattern to make the strap thicker, I recommend ending with your working yarn at the opposite end from where you started, so you’ll have yarn to sew with already on both ends of the strap.
Sew strap securely to interior of bag (it will be in the seam between the two panels).
Skip down to Part 5 for lining the bag.
Strap #2 - Adjustable length strap
Note: Additional materials required: D-ring and 1 of the black buttons.
D-Ring Strap
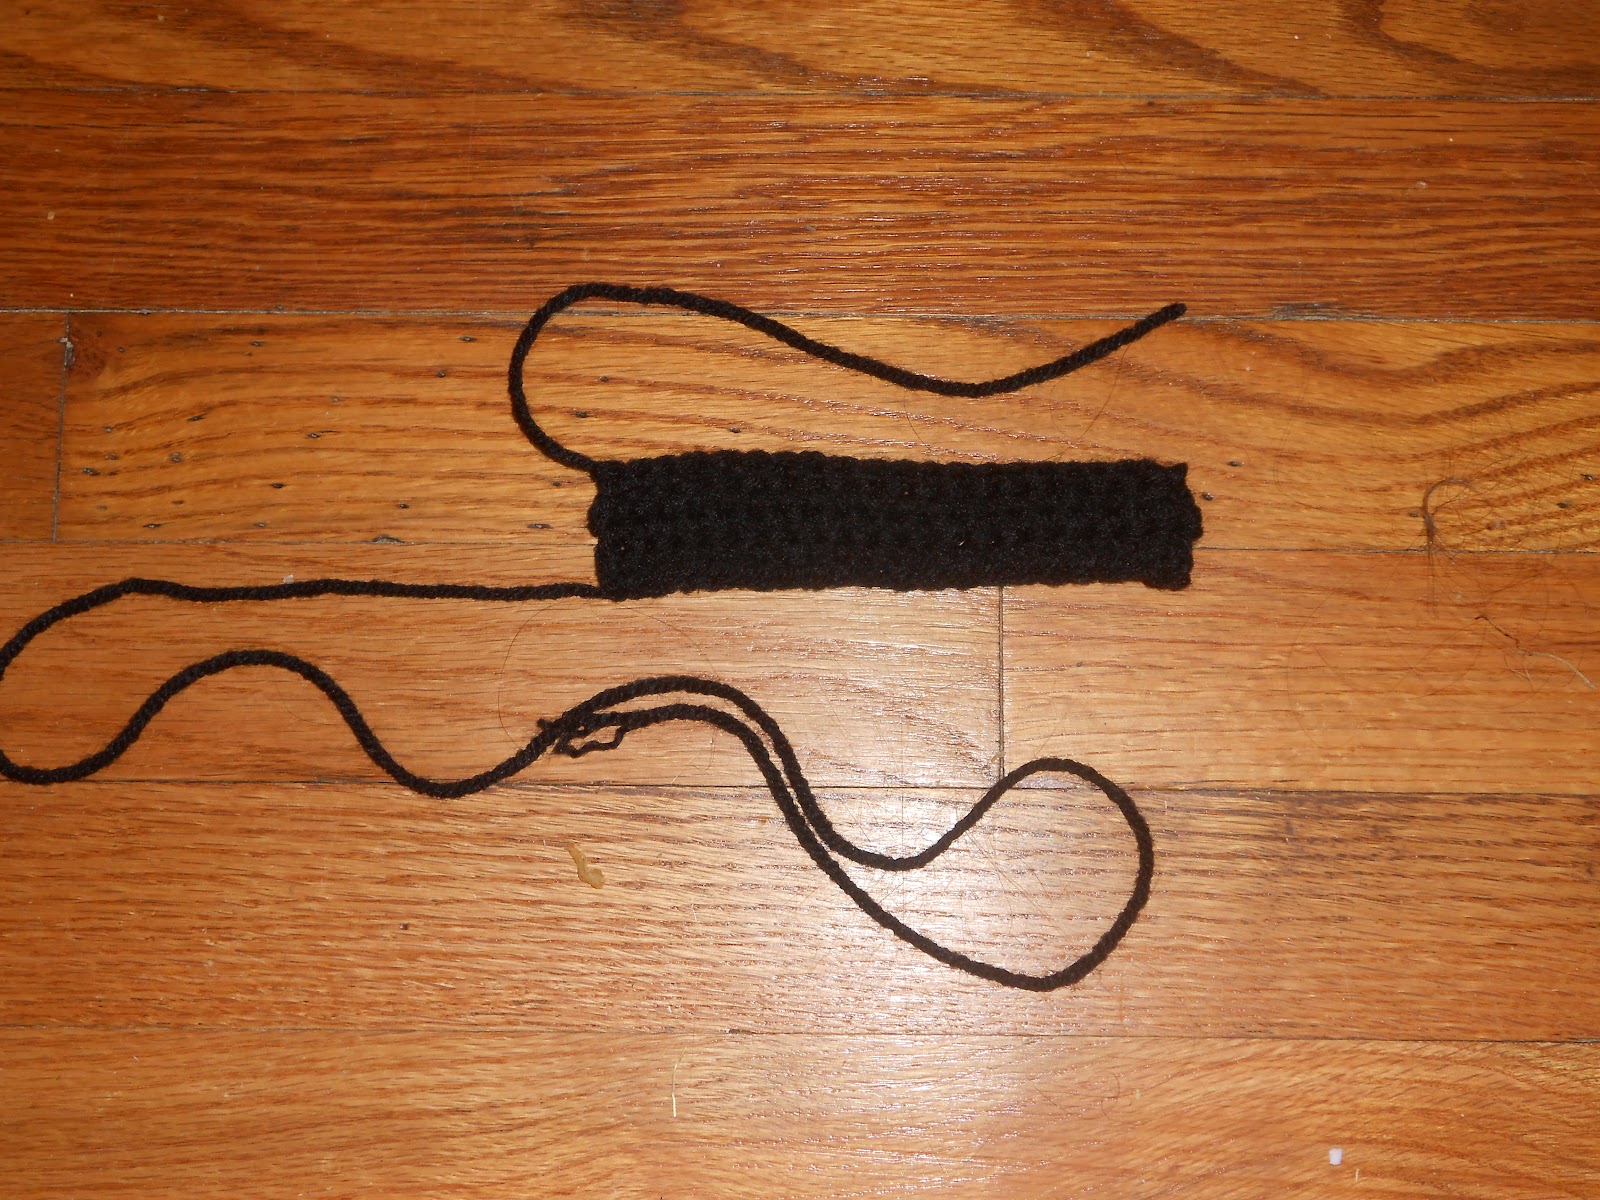
With black yarn, leave a 6” tail and chain 21.
Rows 1: Sc in 2nd ch from hook and in every st across. Ch 1 and turn. (20)
Rows 2-4: Sc in each st across. Ch 1 and turn. (20)
Row 5: Sl st in each st across. Knot off and cut yarn, leaving a 12” tail for sewing.
Note: My D-ring was 1” wide; if you have a larger one you might want to add a few rows of sc.
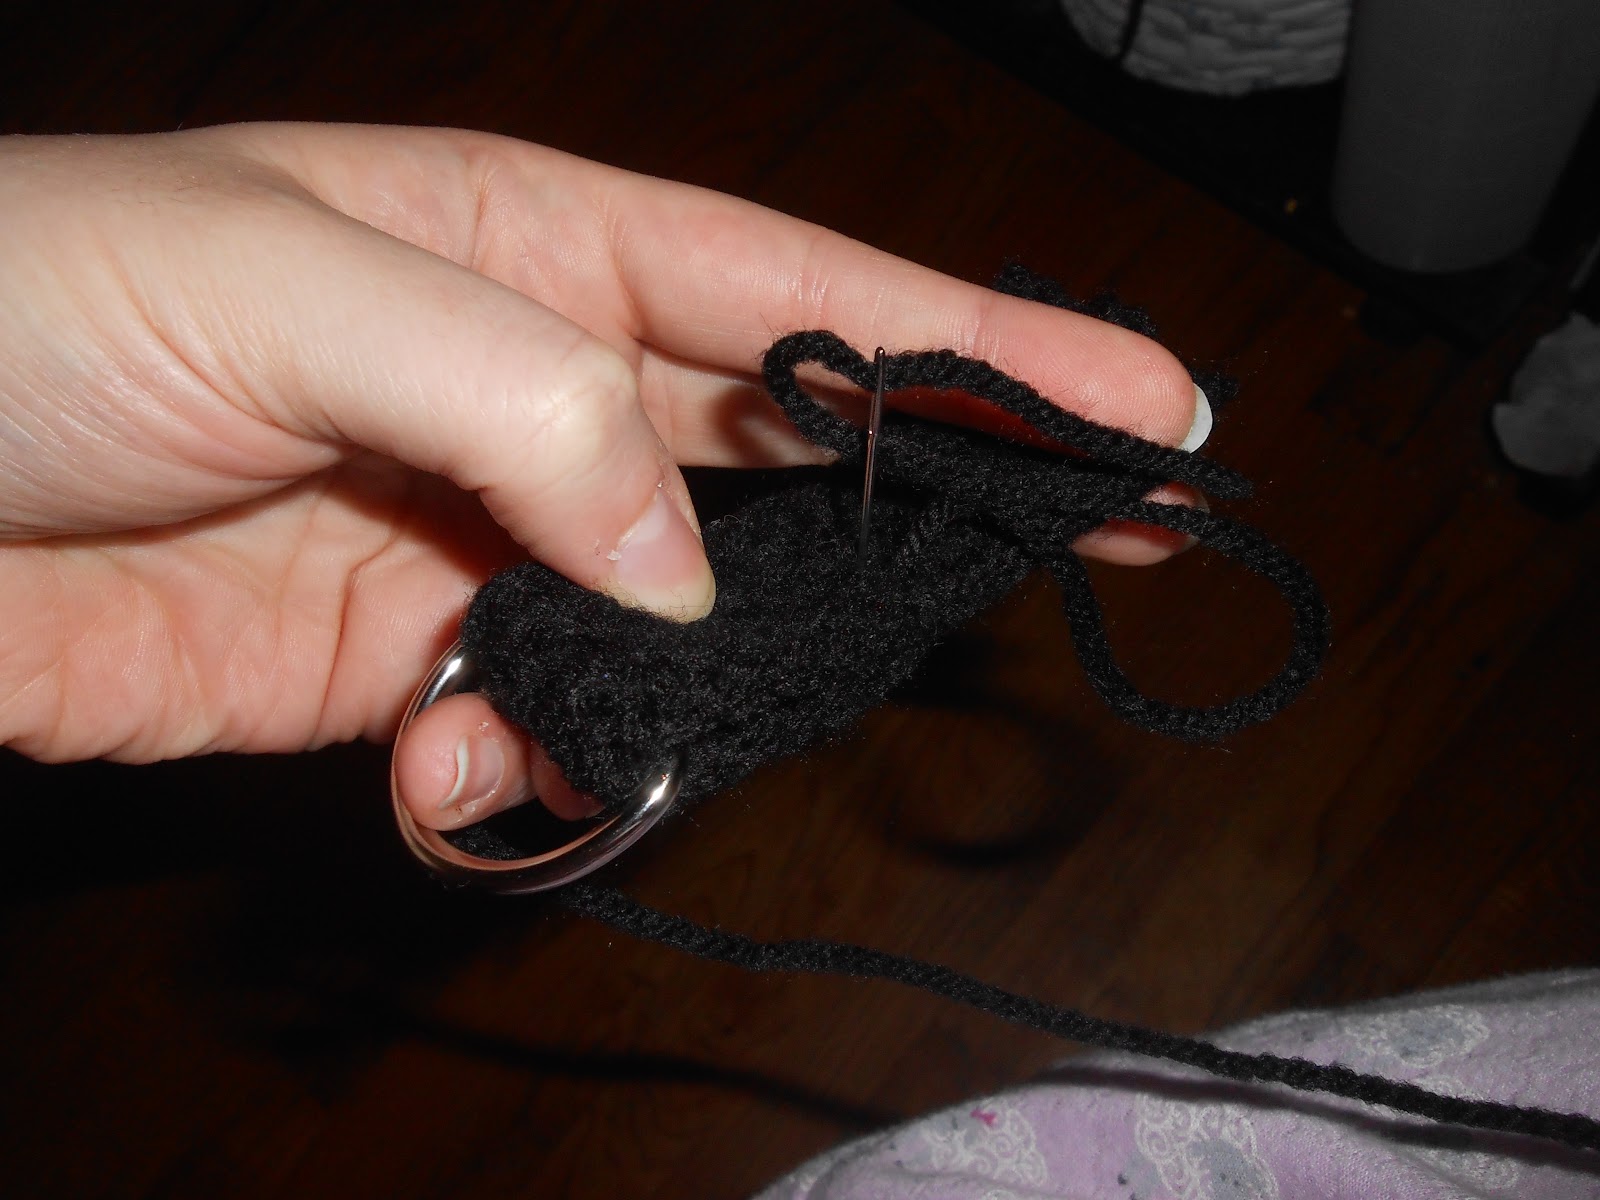
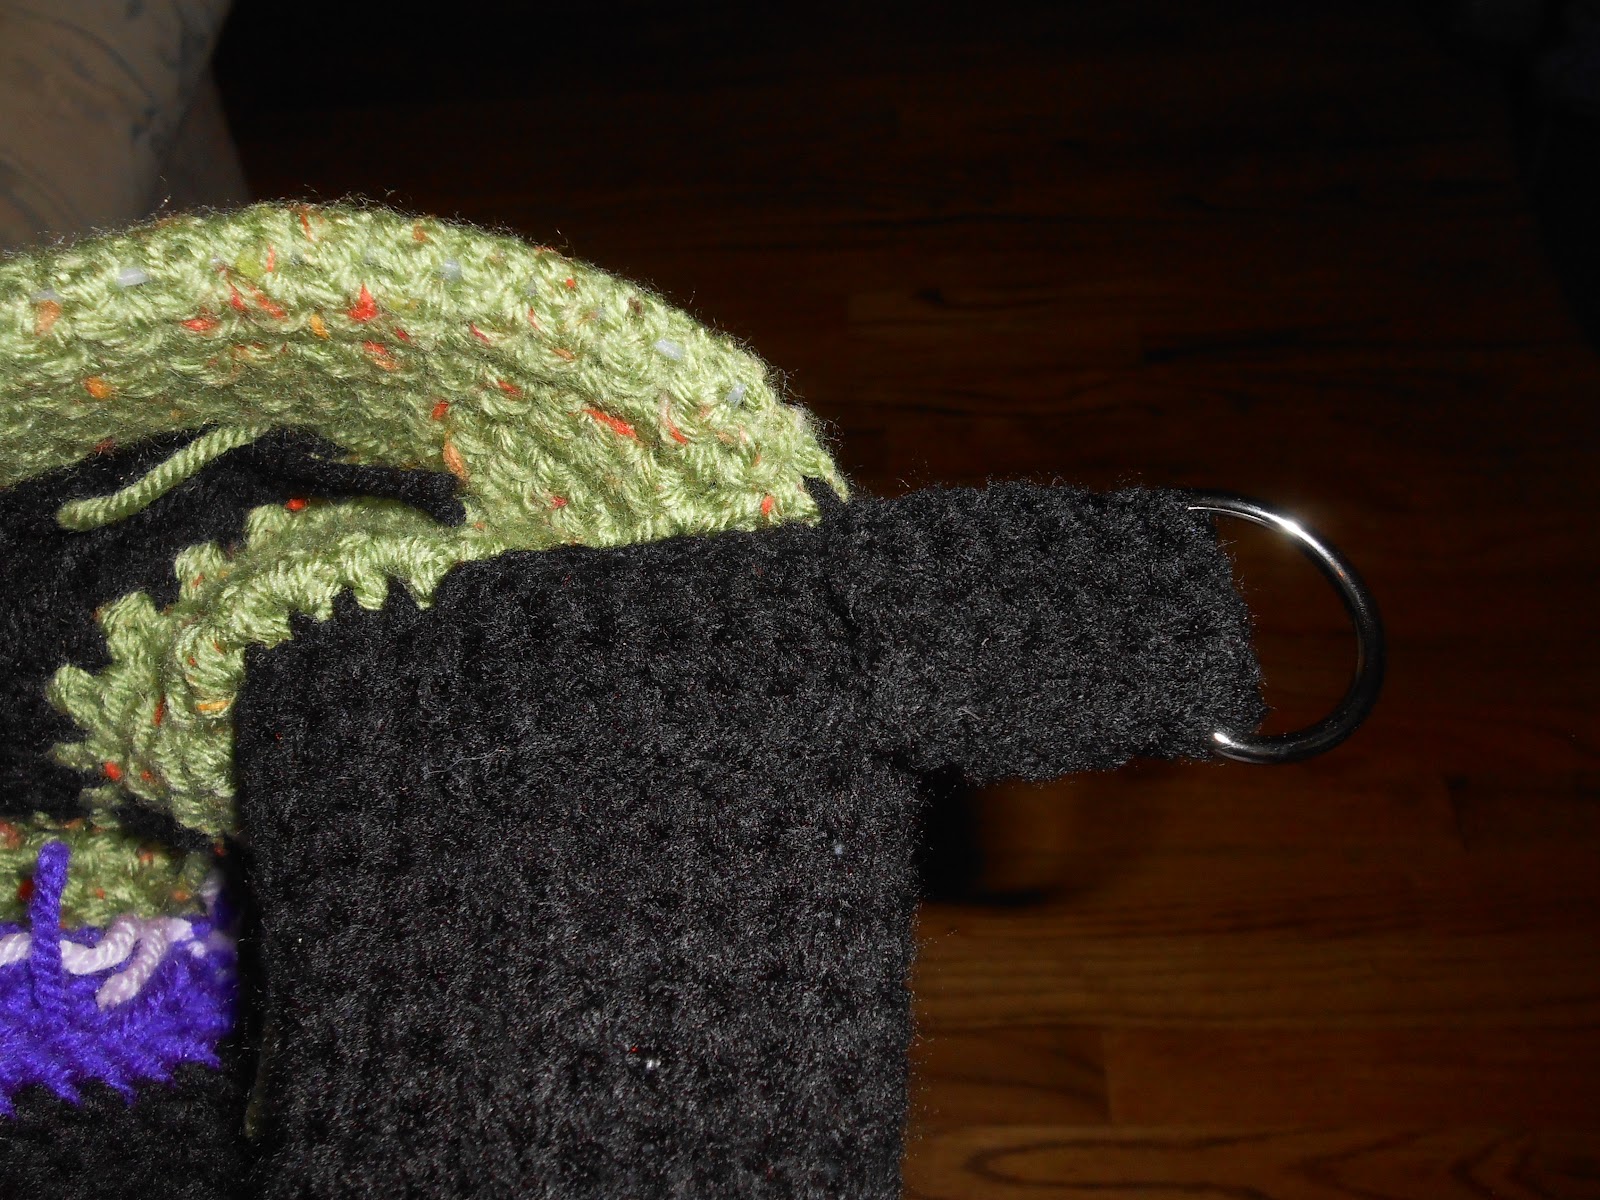
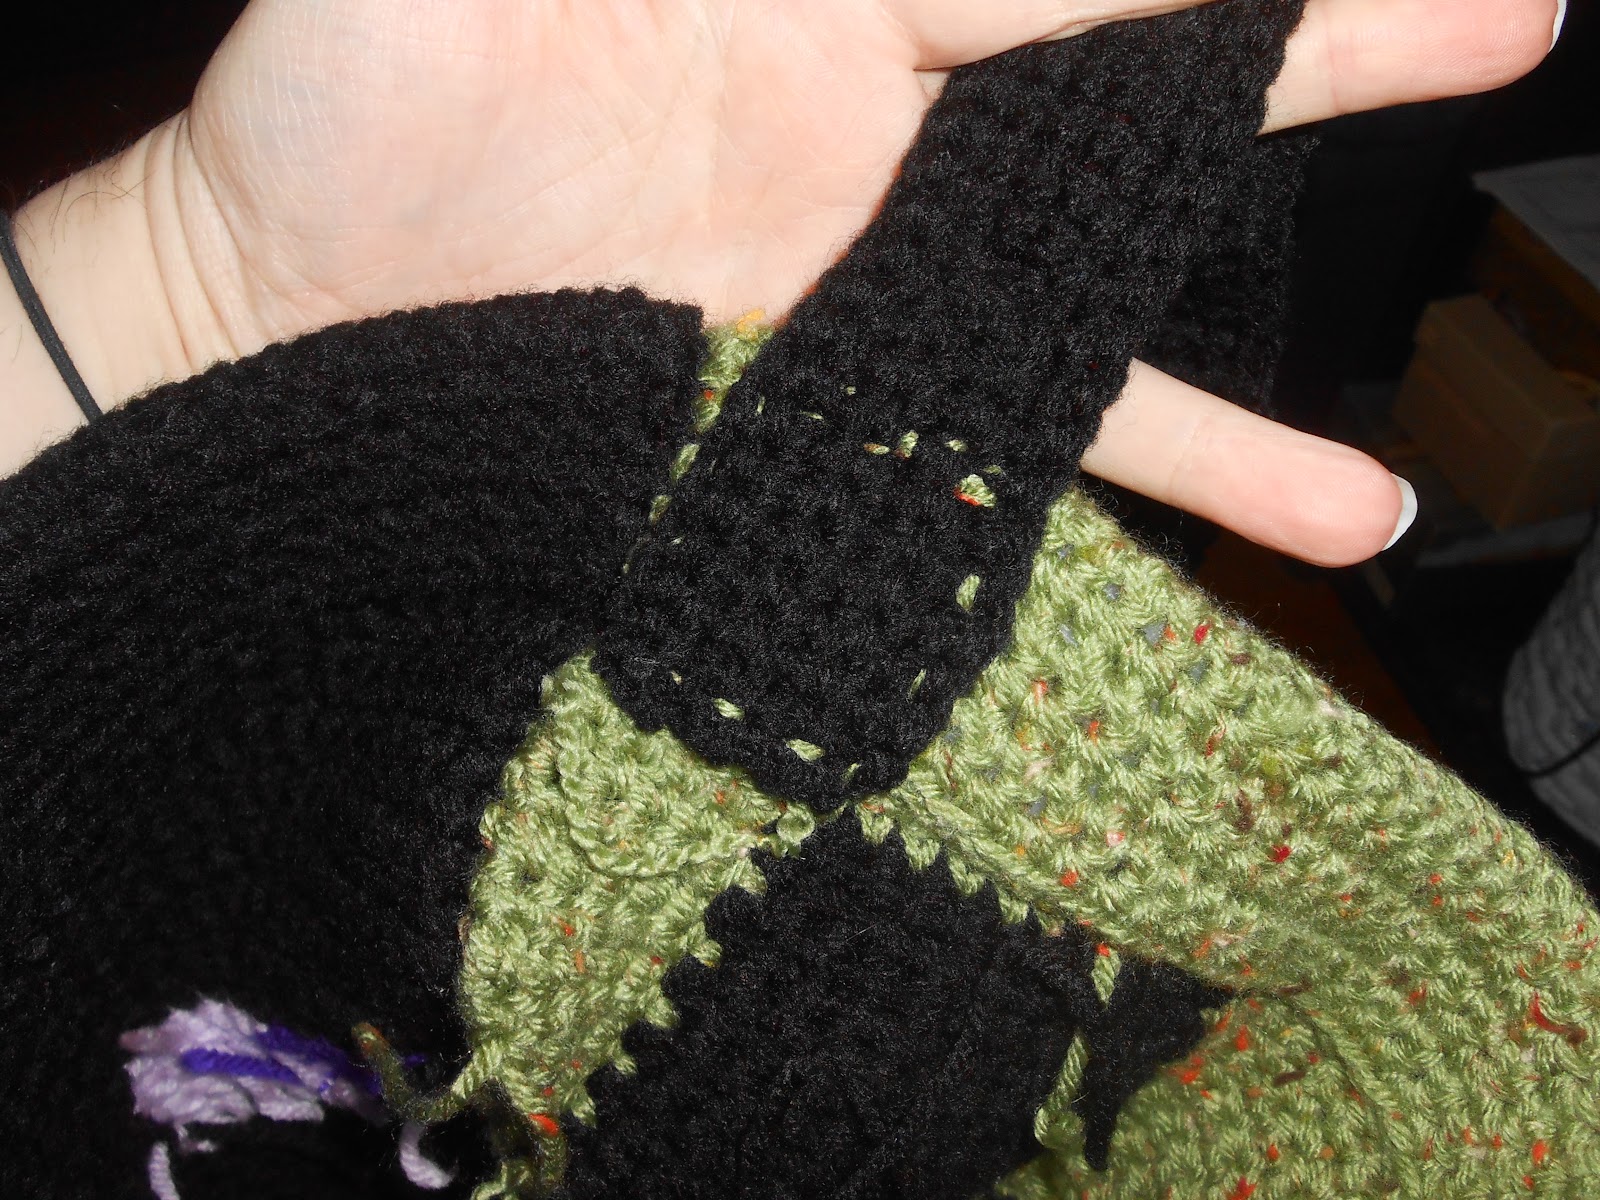
Thread this strip through the D-ring, fold it to itself with an overlap of 1.5”, and sew down with the 6” tail. Weave in ends.
I did two rows of stitches for a secure hold, since D-rings can sometimes rotate with time.
The remaining length of this strip should be enough to anchor inside your bag, where the plastic canvas strip is. I put mine on the enderman side, since it’s black yarn.
Long Strap
With black, chain 201.
Row 1: Sc in 2nd ch from hook and in every st across. Ch 1 and turn. (200)
Row 2: Sc in each st across. Ch 1 and turn. (200)
Row 3: Sc in first 8 st, ch 1 and turn.
Repeat twice more so that you have a place to sew your button to.
Continue along Row 3 with tr until you are 10 sc from the end.
Turn your work and sl st down the length of the last tr you made. (2)
Sc in next ten st (to the end of the strap). Ch 1 and turn.
Repeat twice more; this will be the portion you sew inside the bag.
Rows 4-5: Sc in each st across. Ch 1 and turn. (200)
Fasten off and weave in ends, since you will be using the creeper’s green to sew this inside the bag.
Note: You can attach the strap to the other side of the enderman face, instead, but I wanted to try and maintain a balanced design.
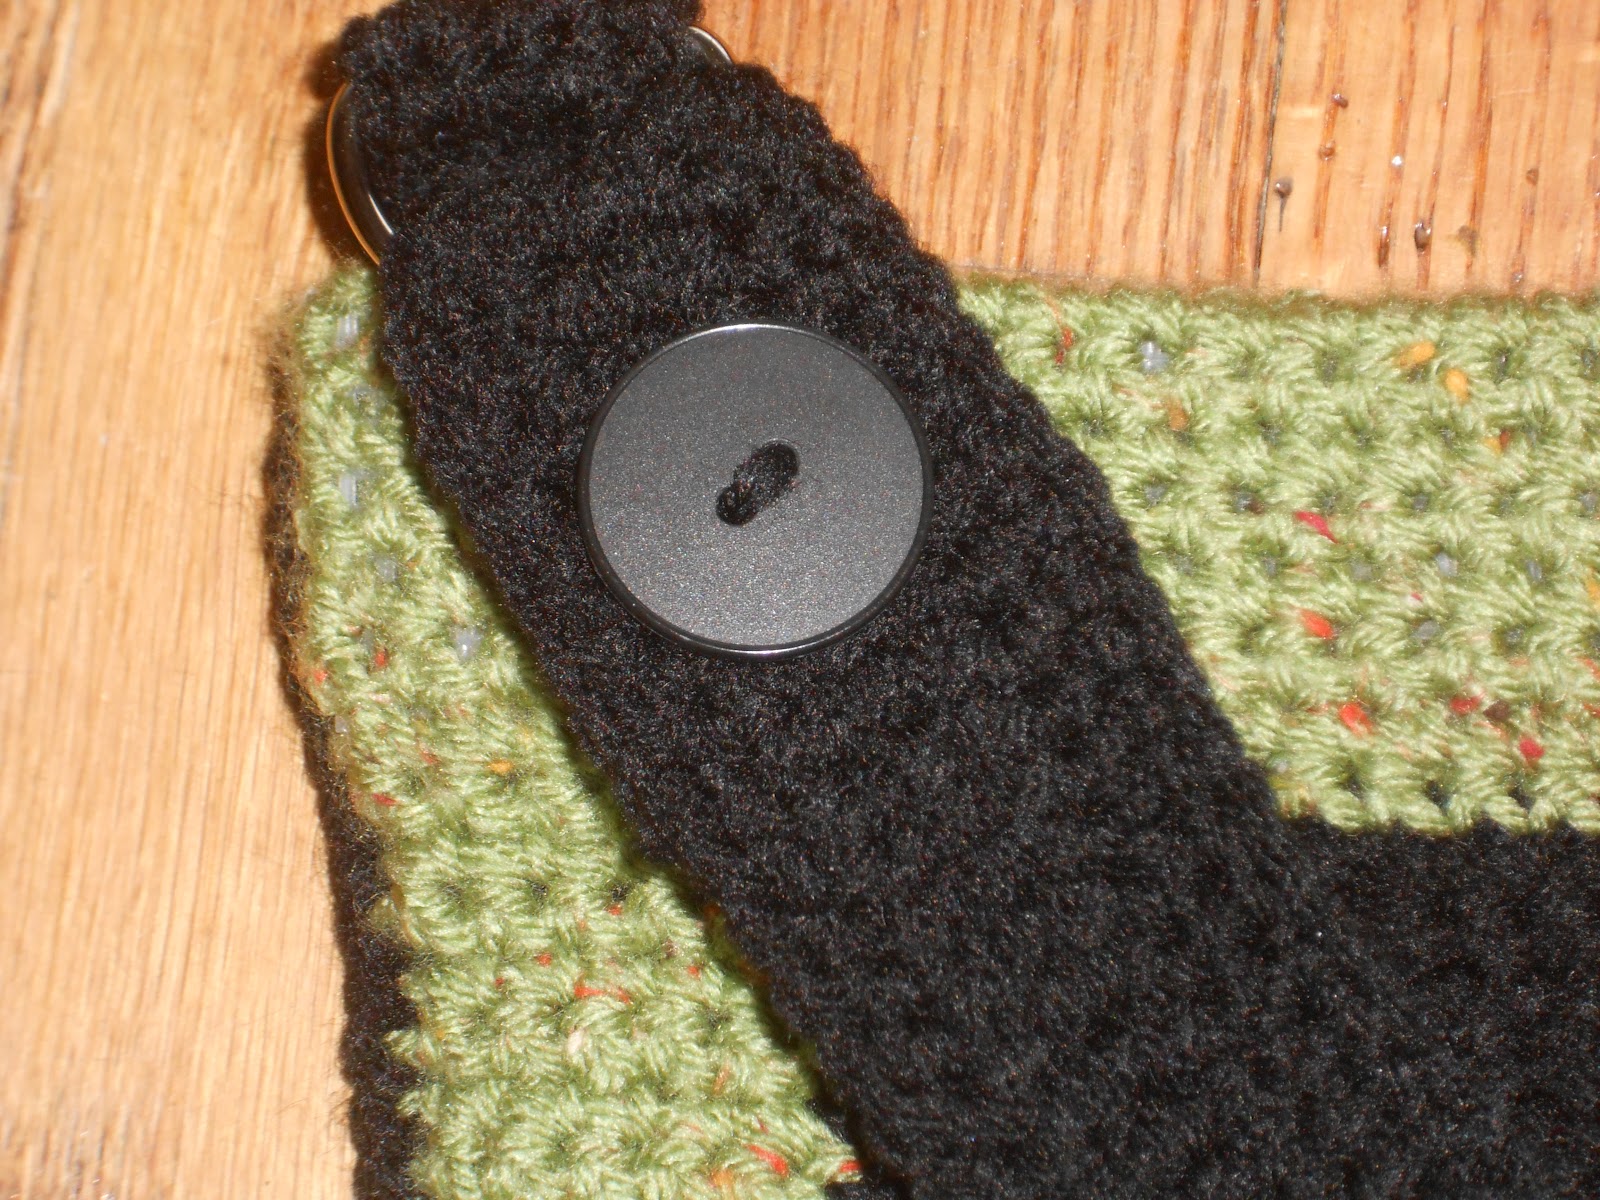
Your button should be able to pass between the triple crochet stitches (mine are 1.25”). Sew button to the end of the strap with the 8 sc stitches.
Note: If your button will NOT fit through your D-ring, then pass the end of your strap through the D-ring before sewing it down.
Sew the other end of the strap inside the bag on the creeper side. Adjust strap to the length desired and pass button through the triple crocheted stitches where desired.
Part Five
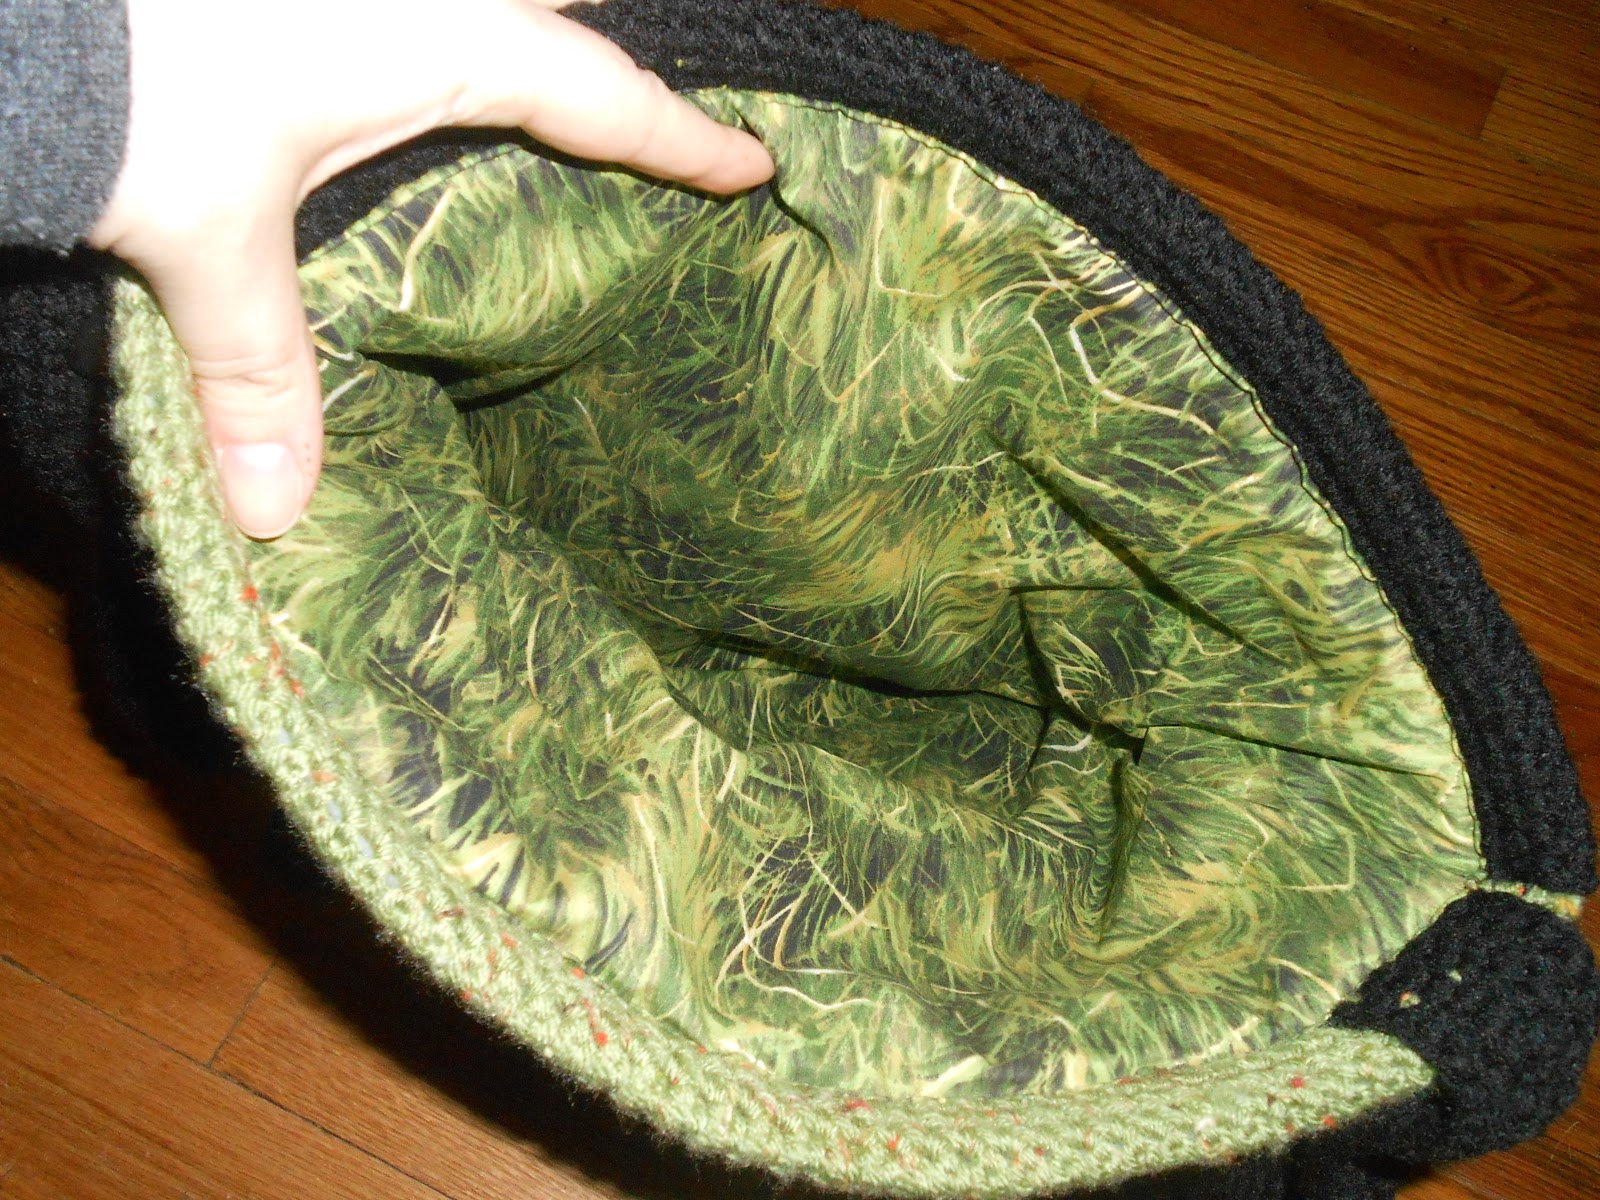
Time to put in the lining! Measure your bag vertically and horizontally, so you know your dimensions.
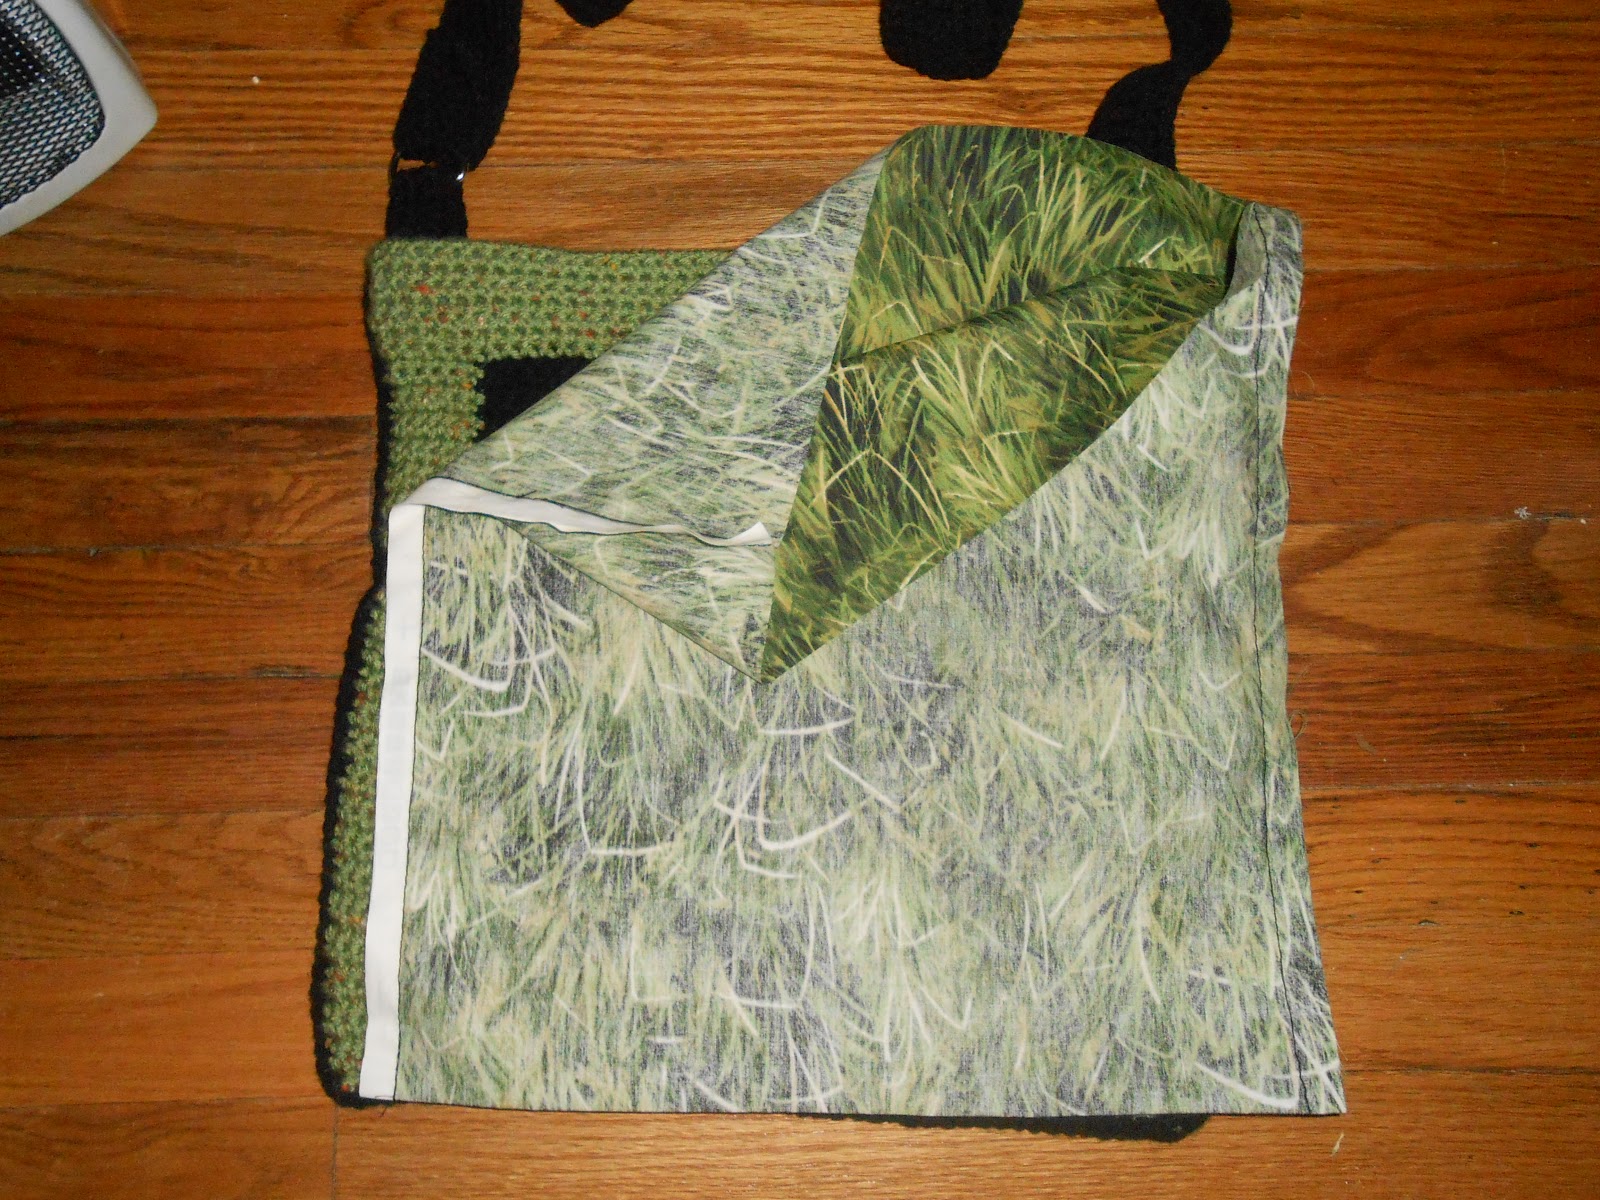
I figured that I’d create less work for myself if I folded the fabric to make a pocket and only had to seam up the sides.
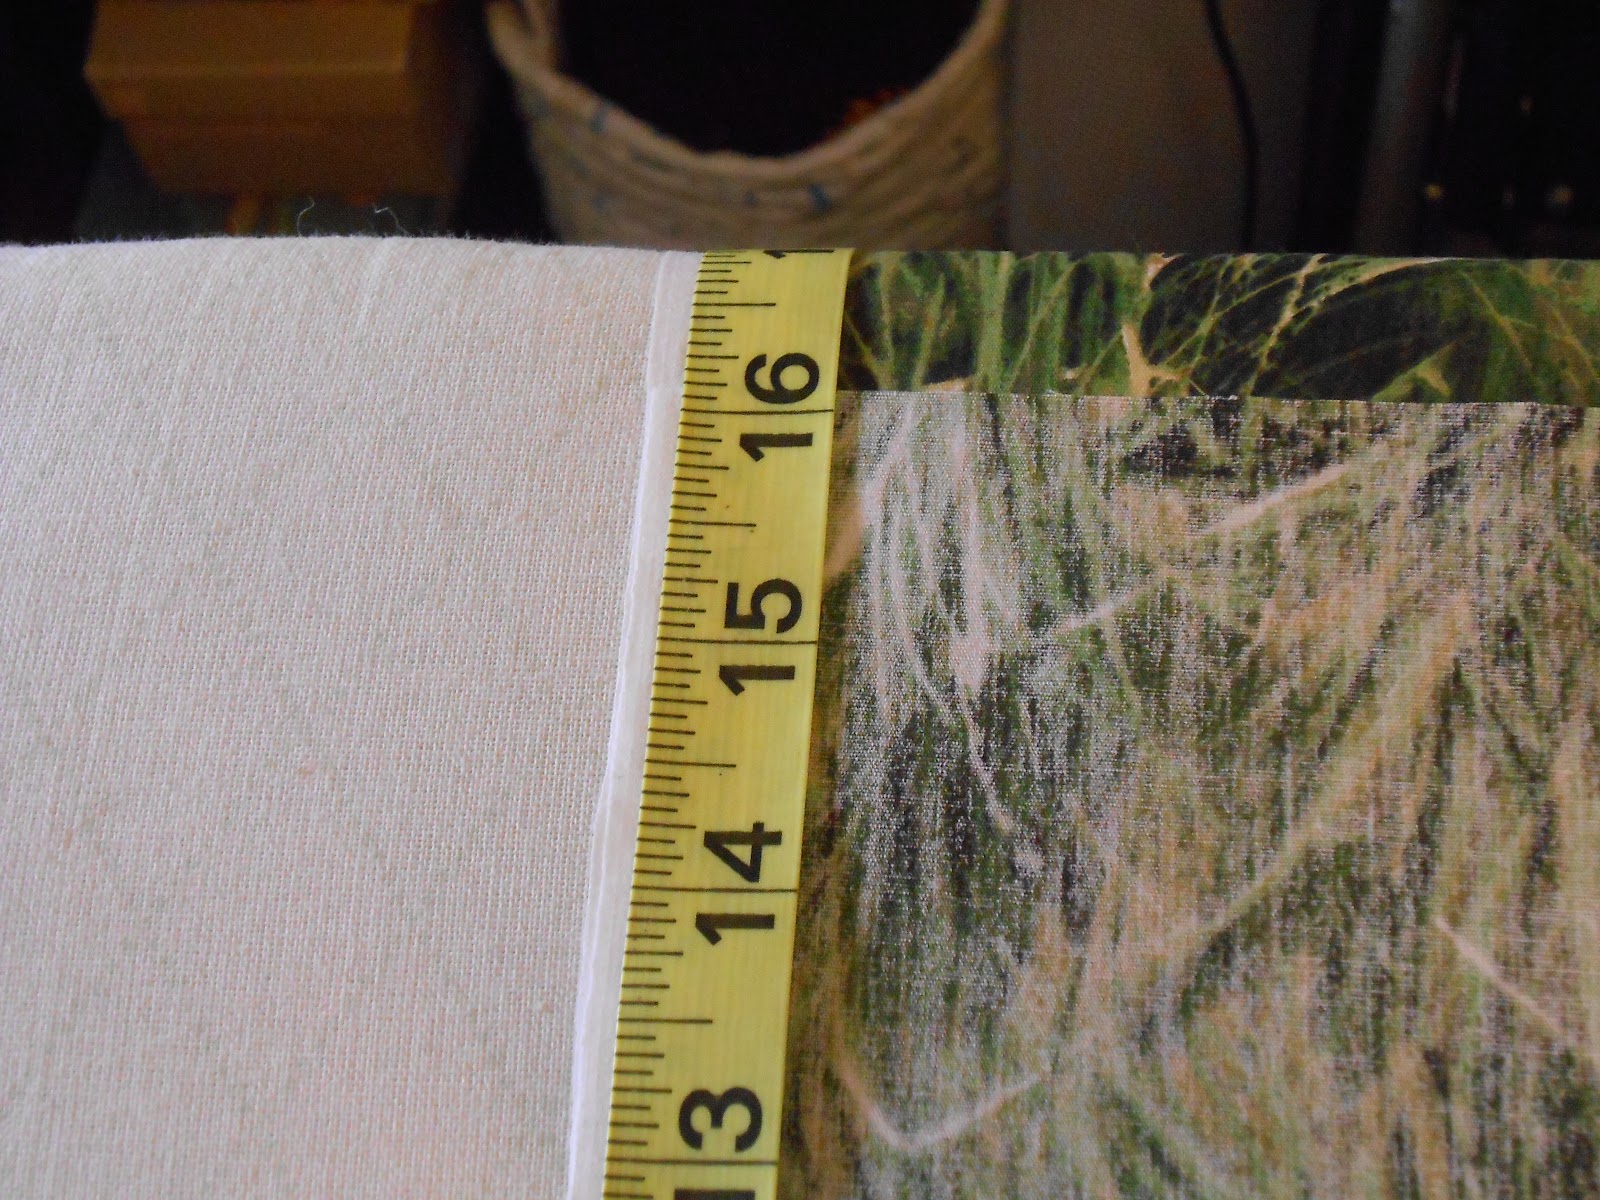
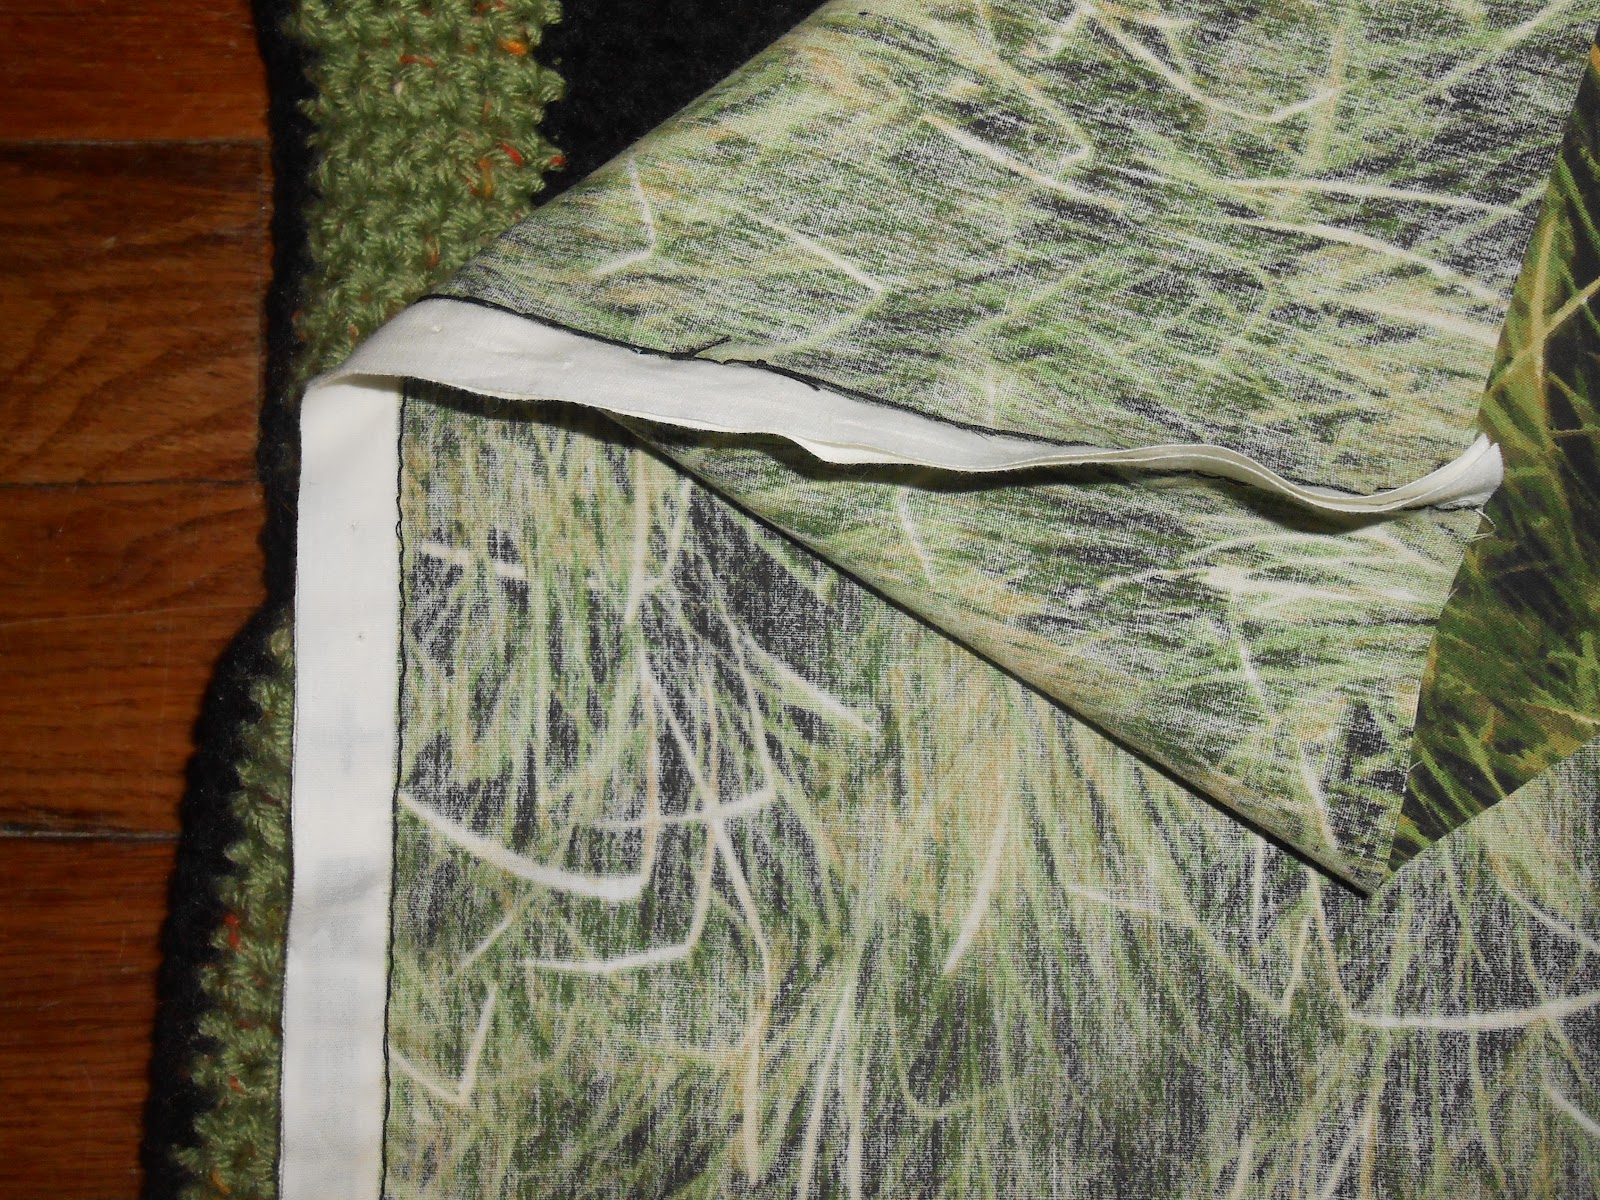
I cut my fabric to have ½” seams on either side, as well as 2” of extra fabric at the top.
14” wide + ½” + ½” = 15” fabric wide.
14” tall + 2” = 16” fabric tall.
Once you’ve cut your fabric, seam up the sides (I’m not a sewer, nor do I possess a sewing machine, so I did mine by hand).
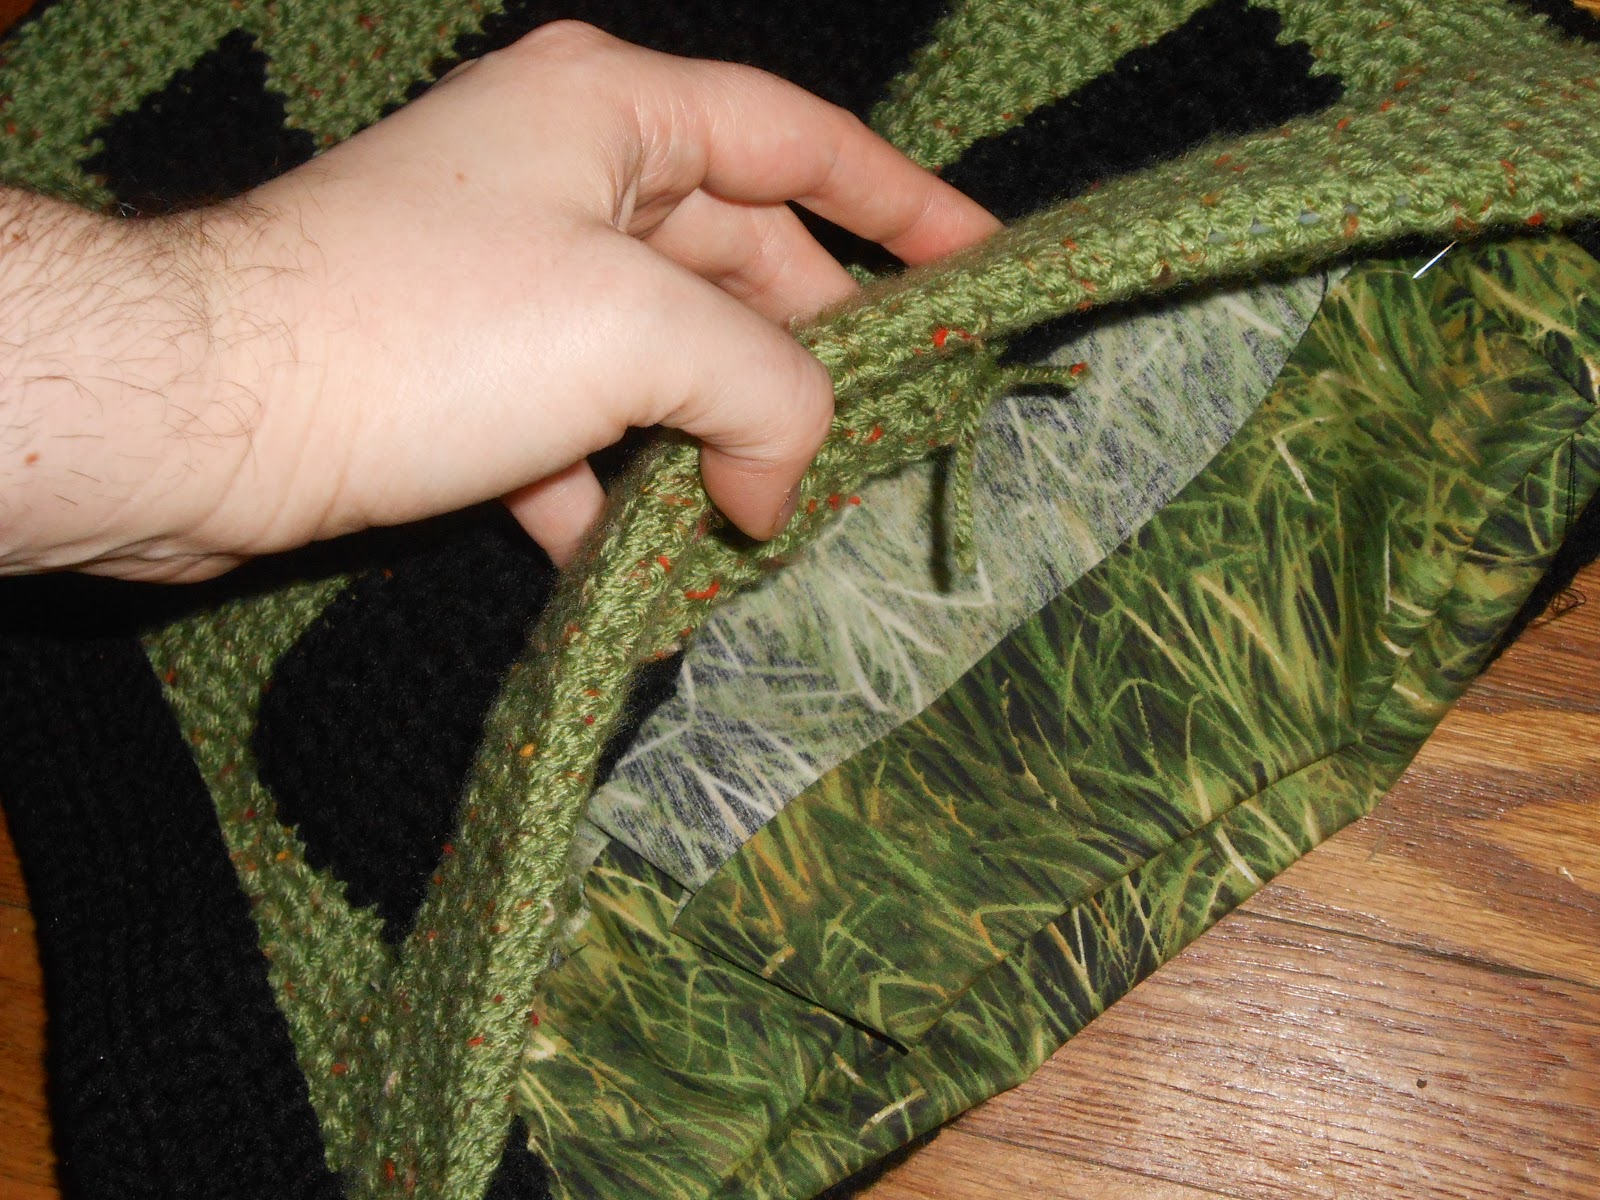
Fold the top part of your bag down to expose the inside. (I did 2.5”, but you’ll be the best judge of how much room you have.)
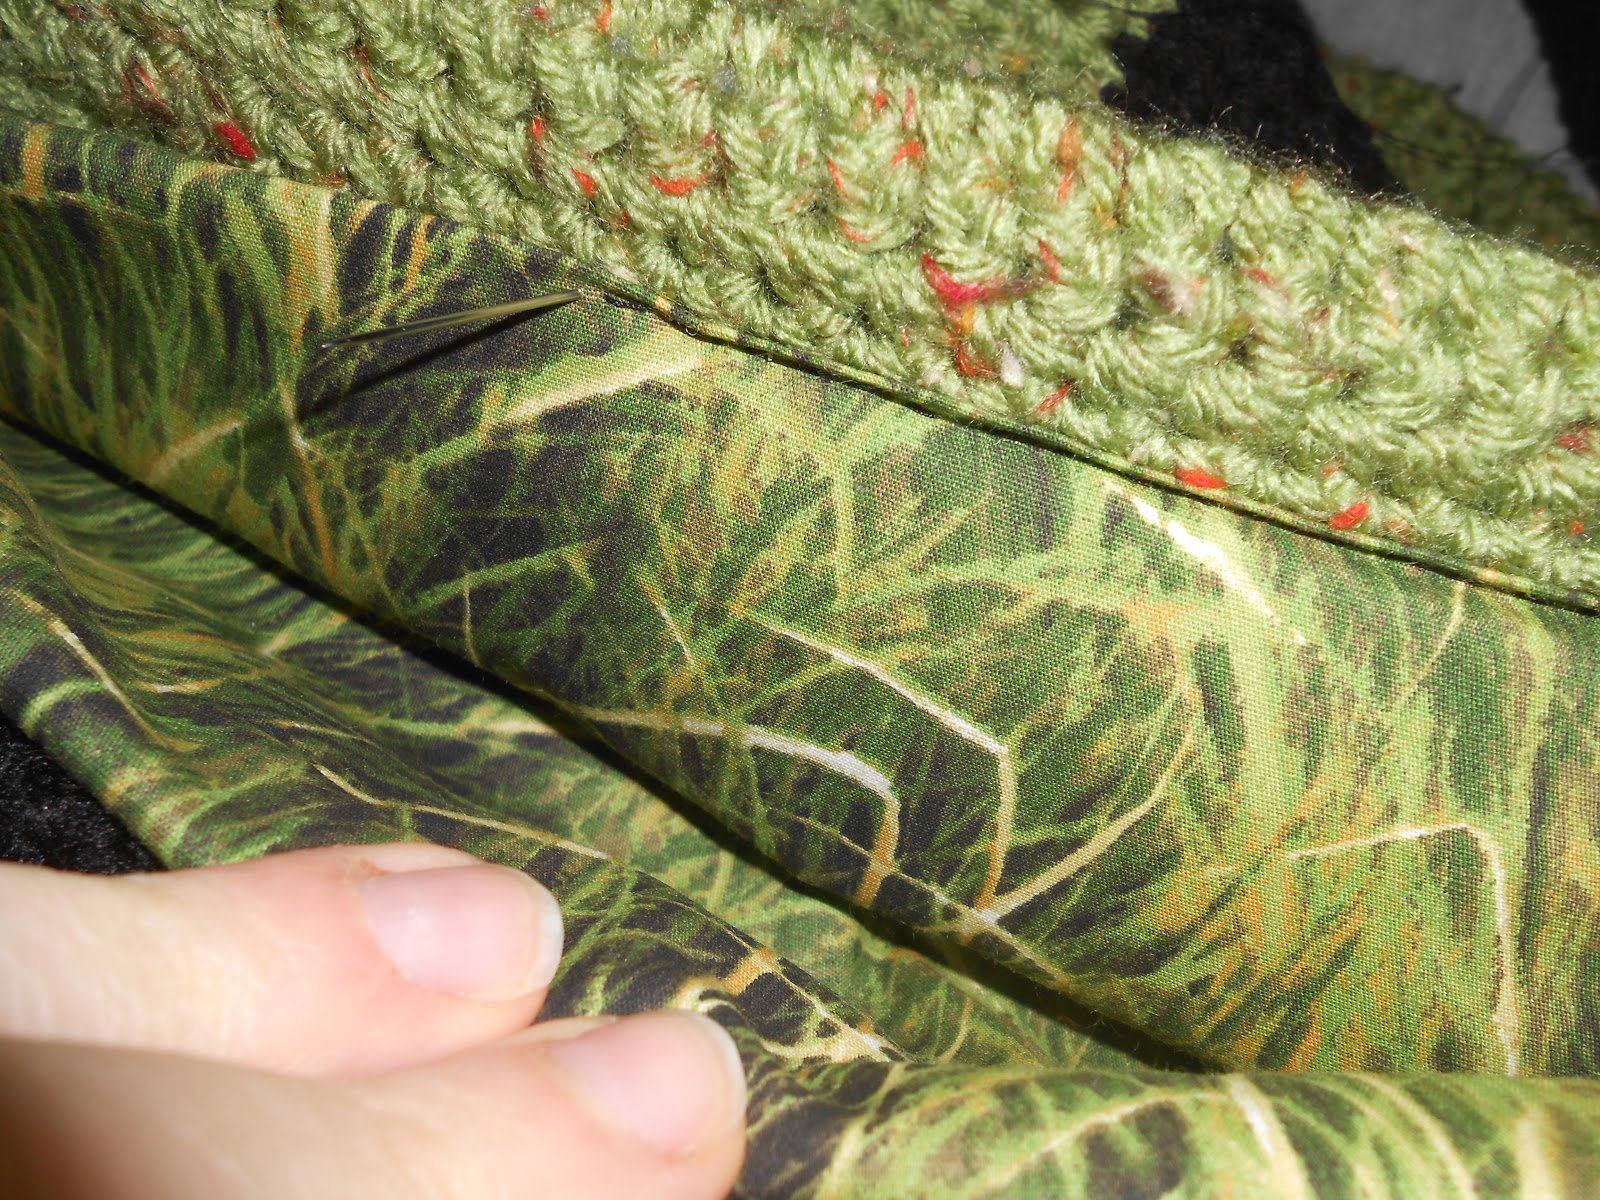
Sew the lining into the bag; I did mine between crochet rows which turned out nice, since it pulled the fabric into the furrows. My thread also didn’t show on the outside, so I sewed the entire lining with black thread.
Knot off ends and weave in.
Button Toggle (Optional)
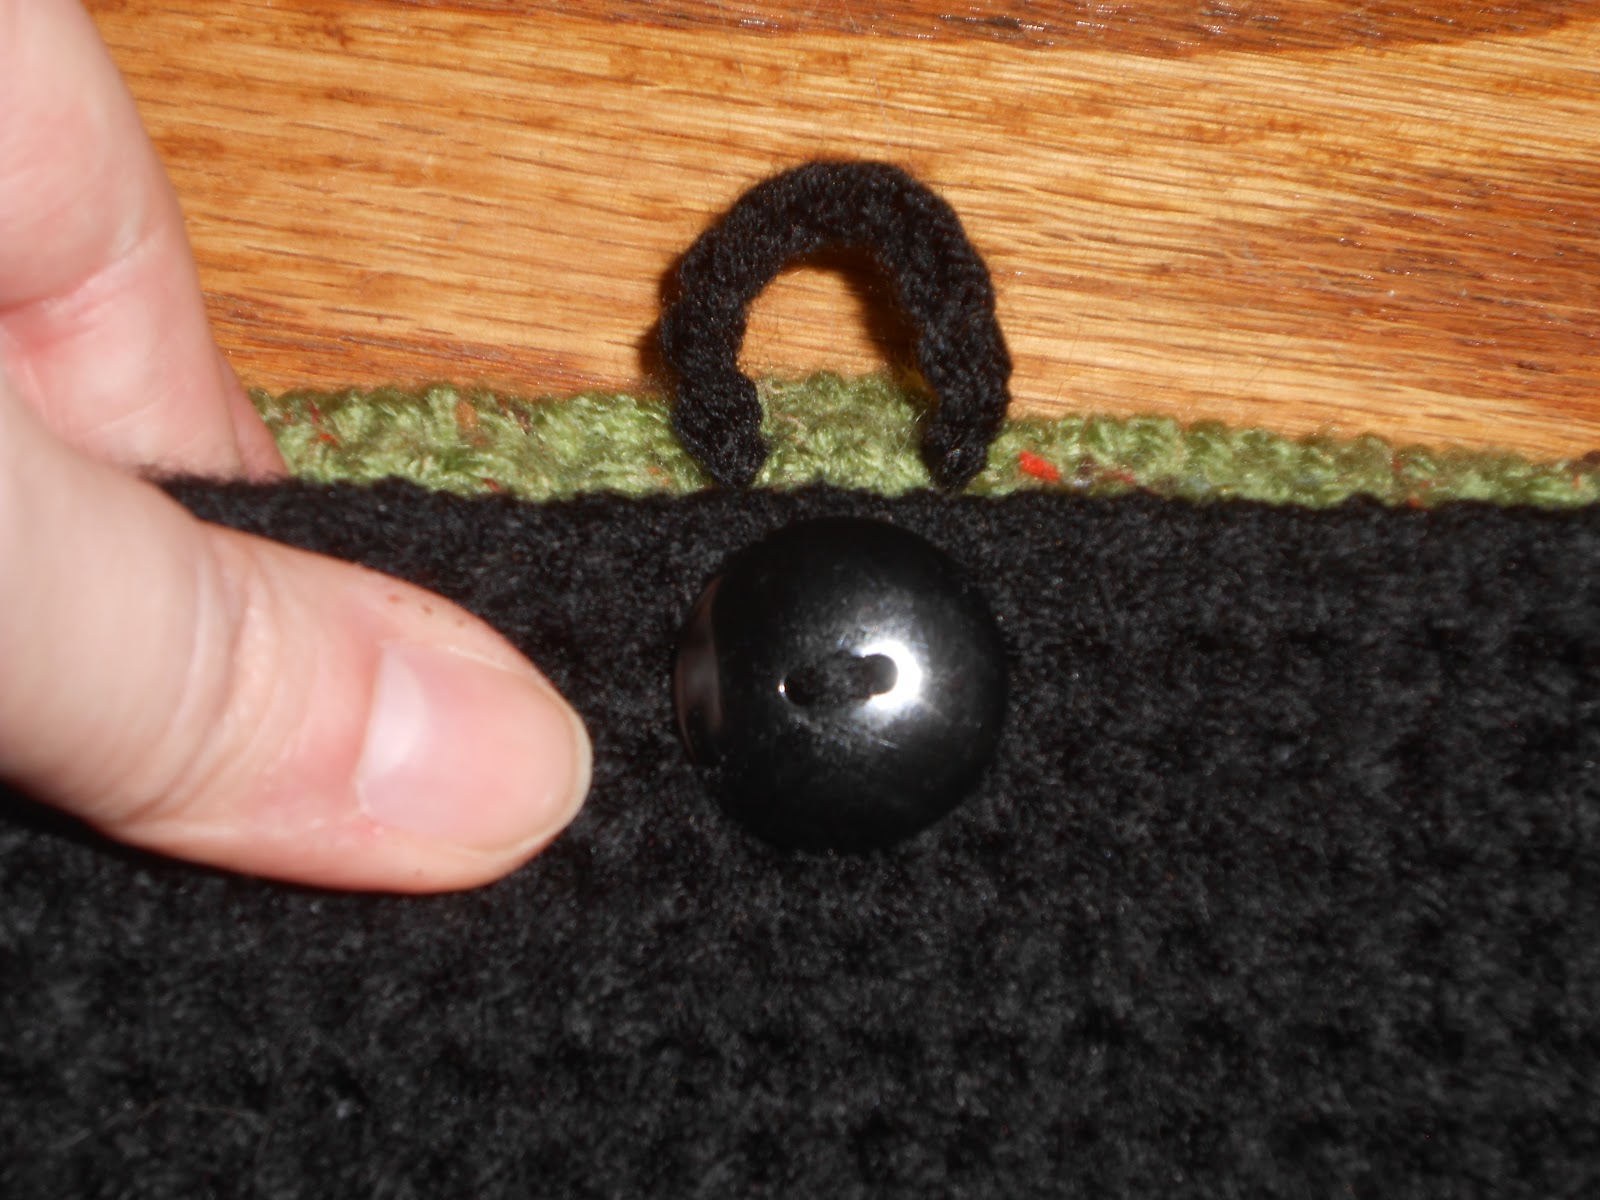
To close my bag, I opted to sew the second black button to the top middle of the enderman panel. I then chained 9 stitches (make sure to check, if you have a larger button than I did) and attached the loop to the inside of the creeper panel.
And...DONE! Way to go, you!
These are not approved or endorsed Mojang/Microsoft designs or materials!
Per Mojang and Microsoft, please do not sell anything you make, as this is fanart.
Craft on!