Showing posts with label Minecraft crochet. Show all posts

Sunday, July 3, 2016

HPKCHC End of Winter 2016 Term - Throwback

Hey happy crafters!

I promised to sum up the end of the Winter 2016 festivities over at the Hogwarts Knitting and Crochet Cup, and my goal was to Craft All The Things — that is, something for each and every prompt.

My previous posts covered all my classes (and when I remembered, Detention!).

Now to the heavy hitters, like my multi-month projects...

OWL Exam - Astronomy (Option 3) - Pattern Writing  (200 points)

I designed and wrote patterns for two bags, one of which has already been published here as the Reversible Minecraft Monster Bag.


And now, for the first time ever, I am pleased to present a Through the Keyhole Exclusive Pattern:

A Customizeable Minecraft Bag!


This pattern is fanart, please use it as such and don't violate the Mojang and Microsoft guidelines.

And my shiny new Astronomy OWL badge:


Order of the Phoenix Mission/BROOM  (100 points)

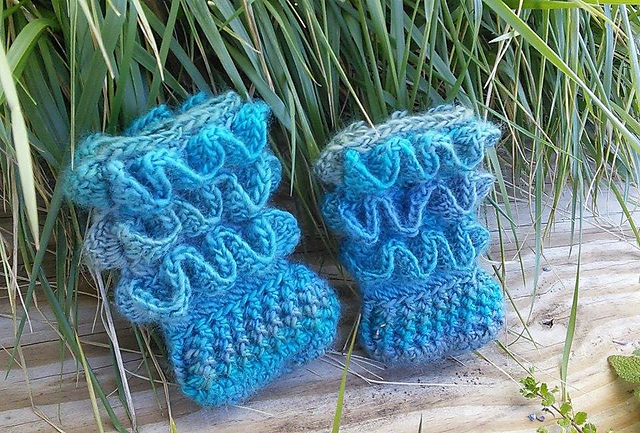
I proposed to vanish at least 1,000 yards of yarn in the making of foot-warmers (and at least one pair had to be socks!).  I made 4 pairs of various things:


The ruffled booties are for sale in my Etsy store as of this post!

This marks my third term of successful Double Advanced Studies!

Taking into account my Quidditch total from the last post, I earned 134 points for all rounds.

Headmistress' Challenge - 2 parts

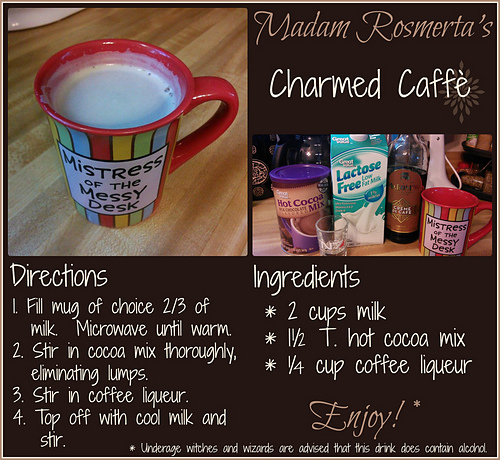
First: Make Her a Drink


Second: Help Shovel the Walk

A fine morning to you, Headmistress!
As you can see, I have crafted this excellent Muggle hat for shoveling the walk today. The Muggles call it a ‘sun hat’ which I thought was ever so clever—you see, if you bring a lawn chair and a fishing pole and something called a ‘cooler’ with you, you can simply sit down anywhere with this hat on and the sun will just come out!
I think this is brilliant, Headmistress. The benefit of melting the snow while you sit and fiddle with this fishing pole contraption? Priceless!
Although…I do wonder what Muggles do with these poles. Likewise the cooler…I was supposed to fill it with ice, I think. And some strange kind of ‘beer’ but all we had was butter beer and of course the beverage prompt was last month so I thought I could do without that bit…
But the sun-summoning hat! Yes, I think it will work quite nicely, don’t you?
…what do you mean ‘keep the sun out of my eyes’? Sun hats are supposed to summon the sun so it will melt the snow and I won’t have to shovel at all.
No?
Well, nargles. Guess I better fetch a shovel.


Total points achieved = 32 points.

And then of course there were the classes. January = 164 points, February = 178 points, and March = 183 points. Total: 525 points.

Grand Total: 991 points to Hufflepuff!

So, I didn't make it to 1,000 points as I did in my past two terms...but I DID Do All The Things.

Ravenclaw again took the House Cup, but...

We took back the Quidditch Cup!

All in all, a fabulous term!

Now I am at the end of the middle month of my fourth term (Spring 2016) and I can't wait to share all the new projects and patterns and things I've discovered along the way!

Stay tuned, and craft on!

Friday, March 11, 2016

HPKCHC End of Fall 2015 Term - Throwback

And now we come to the end of my second term at Hogwarts!

(Yes, we're still talking about the Harry Potter Knitting and Crochet House Cup challenge.)

As I mentioned previously, my goal was to turn in something for every prompt...well, that just didn't happen.  So my Plan B was to score more house points this term than last term, so let's do the round-up!

OWL Exam - Defense Against the Dark Arts  (200 points)


One Mr. VintageBeef, as part of a 2-plushie commission.

And one Mr. PauseUnpause, the second half of the commission.

OWL complete!  And official OWL badge awarded:


Order of the Phoenix Mission - BROOM  (100 points)

As part of an African-flower-along within my cete (Hufflepuff mini-group), I proposed doing A'Tuin the African Flower Turtle.

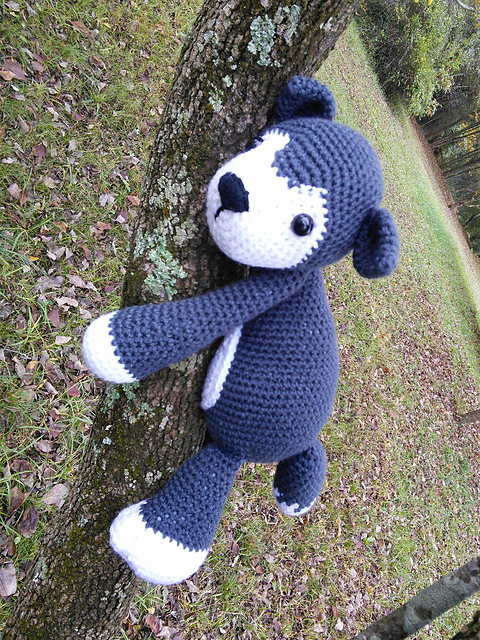
I then added two Nanook the Husky plushies, for a higher yardage project (which I didn't want to do, but I can whip a couple of these suckers off in a week or two if I had to...and I had to).

The Panda got to pick the colors, he approved the swatch I made,
and this was his Christmas gift this year.

This little guy is for sale in my Etsy store.

This one was a commission for a gal at work.

Another successful term of Double Advanced Studies completed!

My point total for Quidditch (after participating in all four rounds) was 136 points.

The Headmistress' Challenge this term had two parts; the first was doing something to convince the Goblet of Fire that I could be the Triwizard nominee.

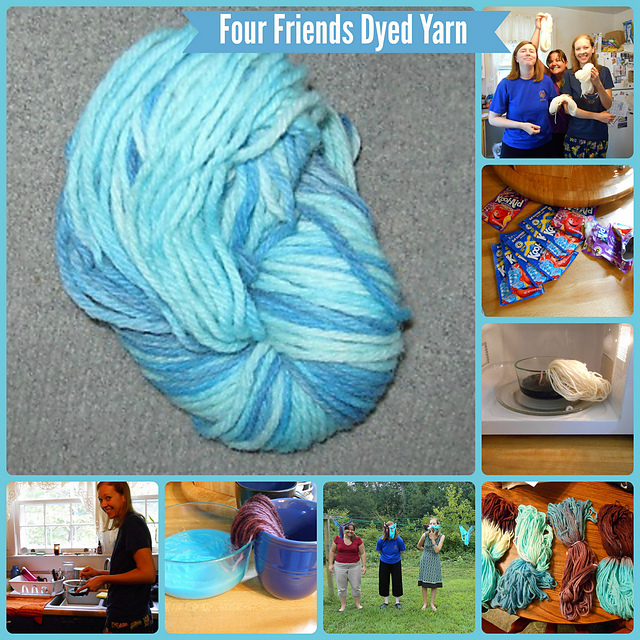
I taught three of my "Muggle" friends to dye yarn using Kool-Aid:

These are the yarns I made the four Quidditch cuttlefish from.

The second part of the challenge was to attend the Triwizard ball with a date.  I asked fellow Hufflepuff student Annaspackman to go with me (as our Muggle husbands couldn't make it).  We could get bonus points for crafting similar projects, and making each other a gift.

Here are our turn-in posts:

From Annaspackman:

It was going to be close, but then, with the busy month Annaspackman had had, it was only to be expected. Outside the windows of the Den, the orange sun was beginning its descent towards the horizon as she straightened her masquerade gown in front of the mirror in her room.

With a quick flick of her wand, Annaspackman arranged her hair exactly to her satisfaction and smiled at her reflection in the mirror. A touch of jewelry, and then for the finishing touch…

She reached for the beautiful shawl she had only just finished and swept it around her shoulders. The lovely yarn she had chosen settled perfectly into shape and Annaspackman couldn’t help but giggle a little in delight.

Somewhere distantly, a clock chimed the hour and she gasped. “No, not going to be late! A Hufflepuff is never late; she arrives precisely when she means to,” Annaspackman reminded herself, picking up the gift she had wrapped so painstakingly a few days ago.

She reflected for a moment upon the odd meeting she’d had with her date, VelvetKey, in passing at breakfast that morning.

“Hi there,” Velvet had said, sitting down in a furtive manner across the table. She had what looked like a couple of muffins stashed in her pocket, but Annaspackman chose to ignore that for the moment. “Um, listen…I might have a, um…tagalong tonight. Nothing serious, I promise, it’s just…well…I sort of have a stalker.”

Annaspackman’s eyes had gone wide. “Another student is stalking you? Did you tell the Headmistress? She would be able to do something about that, surely!”

“No, no, I don’t want to get expelled, since it might be my fault he’s even here in the first place,” VelvetKey replied in a whisper. “He’s…blending. Sort of.” She drew a breath and let it out in a strained sigh. “He’s a perfect gentleman, when he’s not following me to my classes or trying to find ways to smuggle his bow and arrows all over the castle.”

“Wait, what?” Annaspackman blinked, sure she hadn’t heard correctly, but Velvet waved the question aside.

“You probably won’t even know he’s with us,” Velvet insisted. “I’ll come by your room around six or so.”

“Right…okay,” Annsapackman replied, baffled. Velvet had left then, not bothering to explain anything further.

She was interrupted by a light knock on the door. “Hello?” came Velvet’s voice. Annaspackman was quick to emerge, smoothing her shawl one final time.

“Oh, wow, your shawl turned out magnificent!” her date exclaimed, circling her for the full effect. “Are you ready? I left the…um…third member of our group in the Common Room.”

“Yes!” Annaspackman said. “Oh, but before we go, here’s your gift.”

“Aww, you shouldn’t have!” VelvetKey said happily, accepting the package. “And I couldn’t help myself, I just had to make a little something for you, too!” She passed the other Hufflepuff student a somewhat-lopsided parcel that squished a little suspiciously.

Both girls were distracted, however, by the quiet clearing of a throat behind them. They turned, and Annaspackman’s jaw dropped.

“Legolas Greenleaf’s our plus one?!”

(To be continued in VelvetKey’s post…)

Annaspackman's Shawl:
And her gift to me:

My very own knitted socks!  I love knitted socks!
The pattern?  The Sign of the Prancing Pony!

It couldn't have been any more perfect, except for my second half of the post:

(Continued from Annaspackman’s post.)
Annaspackman shrieked with delight at the sight of their handsome plus one and almost dropped her gift from VelvetKey. She had always considered stalkers to be creepy loners but Legolas Greenleaf? She’d known that freak summonings had been happening all term, but Legolas, prince of Mirkwood and all-around studmuffin? This was the moment she realised how true and lasting their friendship was, VelvetKey had not ditched her friend for the handsome Legolas and she wondered how many other girls would have done the same thing.

“Open it! Open it!” VelvetKey yelped excitedly, as she frantically tore the brightly coloured tissue paper off of her own gift. Annaspackman joined in the ripping of paper, both leaving a shower of tissue and sparkles to reveal their loot.

“Wow,” said Annaspackman in delight, “I cannot believe you made this for me! This is wonderful and such a thoughtful representation of my super-secret code name in our Bushwhacking Trail Team - Frodo!” She hugged him tight to her chest and then slipped him into her dainty shoulder bag so that his head peered out and he could be included in the activities at the ball. She wondered if it might be fun to cast a charm to animate him for the evening…

VelvetKey looked at her gift for a long time and Annaspackman began to worry that she didn’t like it. Finally VelvetKey looked up, her eyes bright with excitement, and said, ‘I am sorry but I was momentarily dazzled by the sparkles, this colour is truly Elfen and just me!”

”But do you get it?” said Annaspackman.

“Urm, get what?” replied VelvetKey.

“The pattern name… It’s named after the place we first met! The first time we shared a pitcher of Butterbeer!”

“Ah-ha! Of course!” VelvetKey grinned happily and on impulse hugged Annaspackman. “You have no idea how perfect your gift really is!” she exclaimed, giggling. “I can’t thank you enough!”

Legolas looked between the two girls with a long-suffering expression on his face. VelvetKey winked at Annaspackman.

“We’re going to be the envy of everyone at the ball,” Annaspackman said delightedly as Legolas offered her his arm. VelvetKey took his other arm and together the trio headed for the Great Hall.

My Shawl:

Not nearly as pretty and impressive as Anna's, but my mother-in-law loved it!

My gift to Annaspackman:

A wee little Frodo plushie!

And of course we had to have our picture taken with our date:


Total HMC points awarded: 89 points.

And then of course there were the classes.  September = 227 points, October = 230.5 points, and November = 139 points.  Total:  596.5 points.

Grand Total:  1121.5 points to Hufflepuff!

However...Ravenclaw blew us out of the water this term.  And it wasn't even close; they managed to score something like 15,000 extra points over the next house.  It was unreal.

To conclude my wrap-up of the Fall 2015 term, I will share my favorite part of it next time: the Bushwhacking Into Mordor challenge!

Craft on!

Monday, February 29, 2016

Minecraft Monster Bag Pattern

This pattern is the first half of my HPKCHC Astronomy OWL!  Enjoi!


Reversible Minecraft Monster Bag
© 2016 Katie Bobbitt/Velvet Key Creations


Level: Intermediate American Crochet Terms


Materials:
  • 300 yards green worsted weight yarn, approx.
  • 400 yards black worsted weight yarn, approx.
  • 10 yards light purple worsted weight yarn
  • 5 yards dark purple worsted weight yarn
  • G-hook (4.0mm)
  • Stitch markers (or bobby pins or earrings you don’t like too well)
  • Yarn needle
  • Scissors
  • 1 yard fabric for lining, plus sewing method of choice
  • 2 strips plastic canvas, cut to fit your bag (at the end!)
  • 2 large black buttons (1 or 1.5”)


Special Instructions:


Changing Colors (CC)
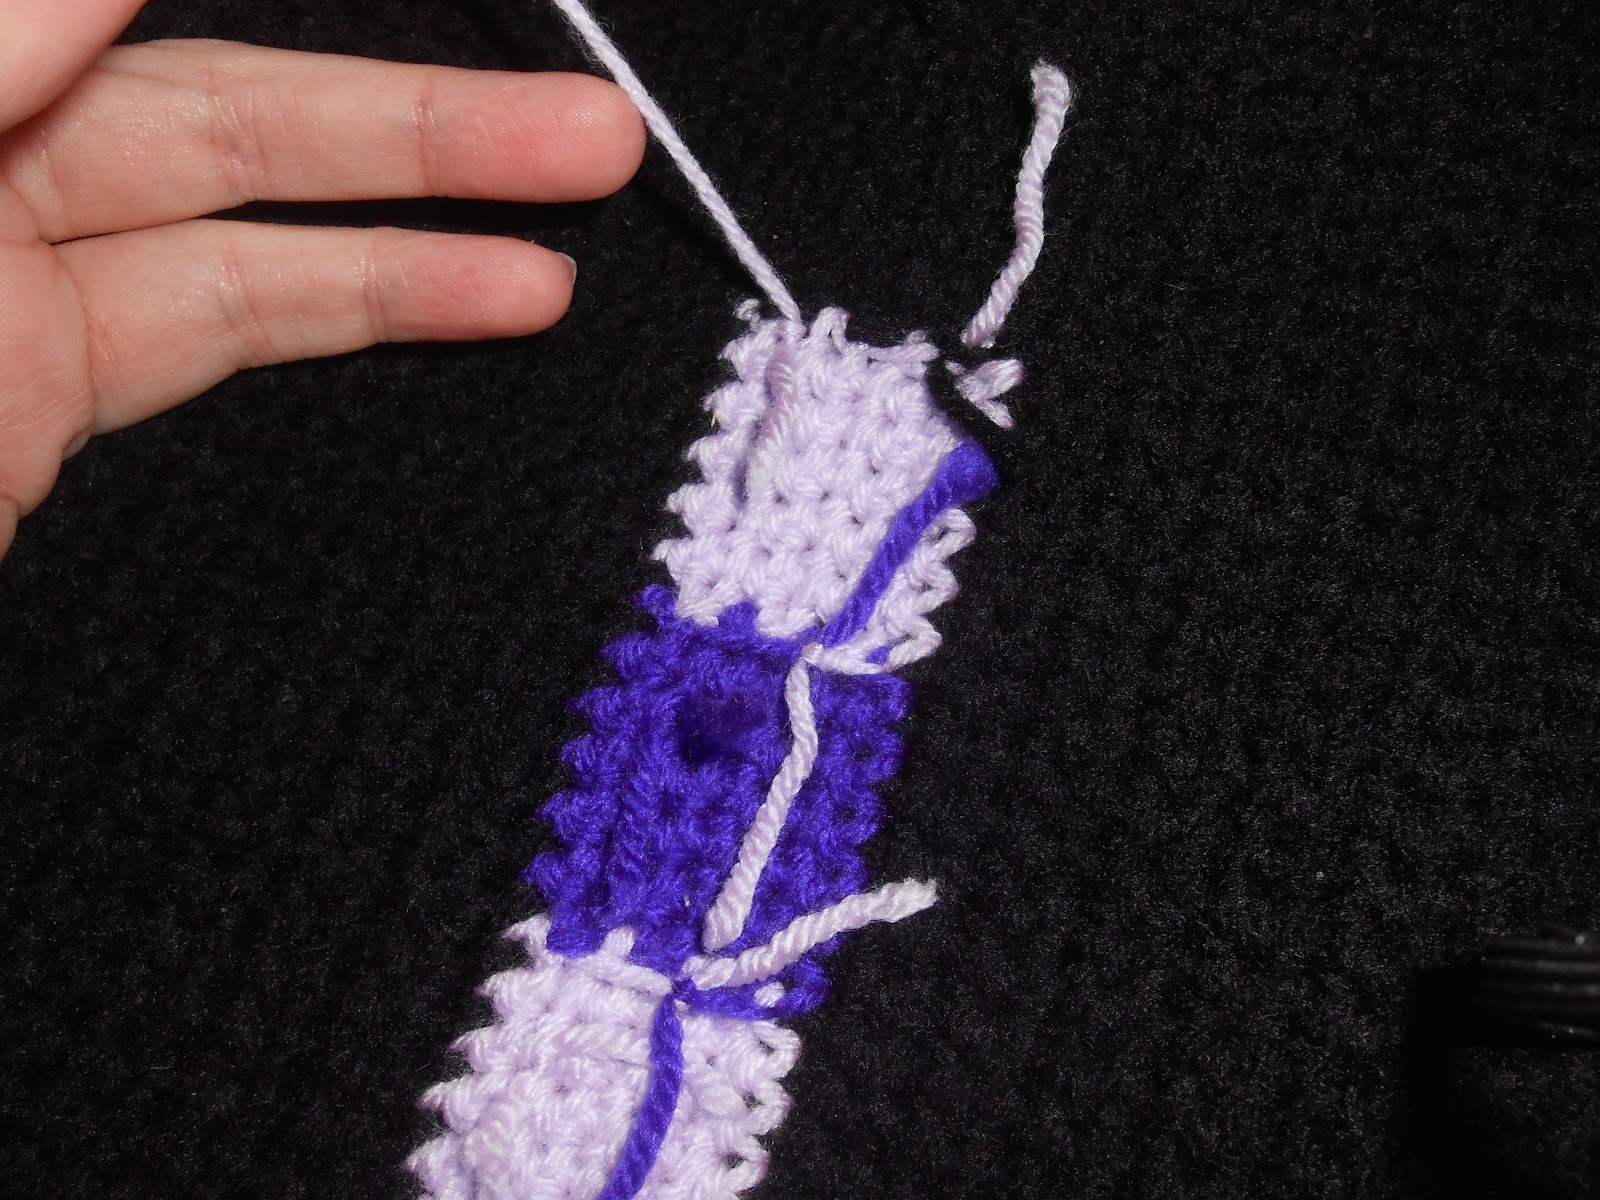
When CC is noted, do not finish the final yo of the previous stitch.  Take new color and yo, pull through to complete stitch.  Make sure that your yarn tails are on the wrong side of the work consistently, and when cutting colors, leave a 1-1.5” tail in order to tie the colors off so that they won’t  unravel later.

C:\Users\Ksherer\Downloads\documents-export-2014-05-12\DSCN1599.JPG C:\Users\Ksherer\Downloads\documents-export-2014-05-12\DSCN1601.JPG 


C:\Users\Ksherer\Downloads\documents-export-2014-05-12\DSCN1603.JPG C:\Users\Ksherer\Downloads\documents-export-2014-05-12\DSCN1604.JPG 


Directions:
Part One
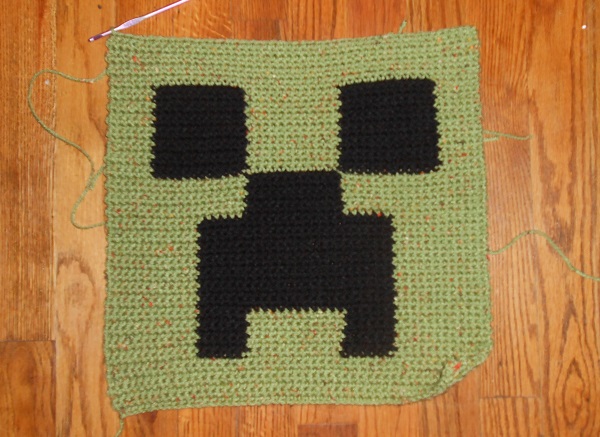
Begin by making the creeper’s face.


CreeperFace.pngStarting with green yarn, ch 49.


Row 1: Sc in 2nd ch from hook.  Sc in each st across. Ch 1 and turn. (48 sc)
Row 2-7: Sc in each st across, ch 1 and turn. (48)


Note: When changing colors in Row 8, pull yarn tails to the front of your piece, for this will the wrong side (WS) of your work from here on out.


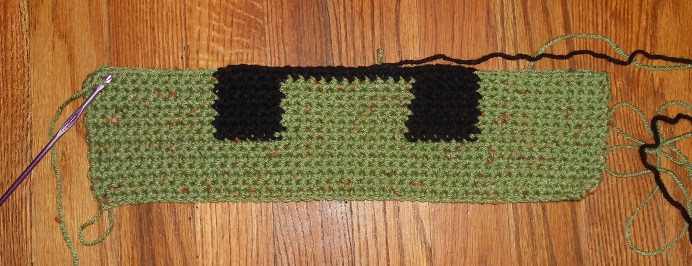
Row 8-14: Sc  in first 12 stitches, CC to black and sc in next 6 stitches.
CC to green and sc in next 12 stitches.
CC to black and sc in next 6 stitches.
CC to green and sc in next 12 stitches.  (48 sc)


DSCN3491.JPG


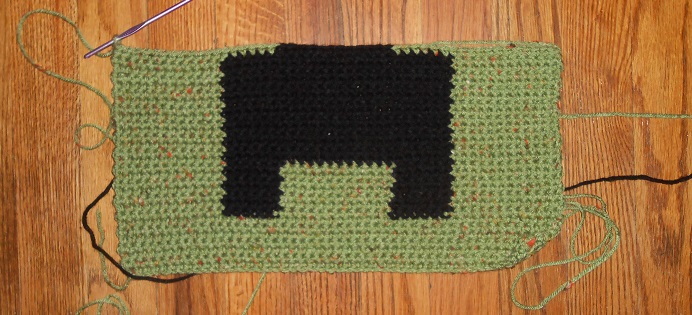
Rows 15-28: Sc in first 12 st, CC to black and sc in next 24 st,
CC to green and sc in next 12 st.  (48 sc)
DSCN3492.JPG
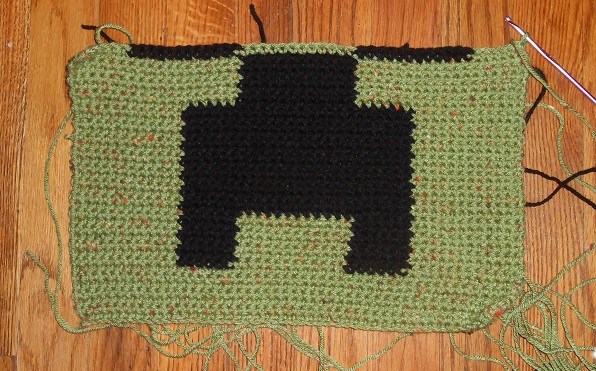
Rows 29-35: Sc in first 18 st, CC to black and sc in next 12 st,
CC to green and sc in next 18 st.  (48 sc)


DSCN3493.JPG


Rows 36-49: Sc in first 6 st, CC to black and sc in next 12 st,
CC to green and sc in next 12 st.
CC to black and sc in next 12 st.
CC to green and sc in next 6 st.  (48 sc)


Rows 50-57: Sc in each st across. (48)


DSCN3497.JPG
Note:  Your creeper panel should now be square.  We will add additional rows now to form the mouth of the bag (the portion that will be folded over a piece of plastic canvas and sewn inside to keep the mouth of the bag stiff).  
You may wish to place stitch markers at each end of Row 57 so you know where the top of the square is.


Rows 58-63: Sc in each st across. (48)


Cut yarn, leaving a 24” tail to sew the mouth of the bag.


Tie off all loose ends on the back of the creeper’s face.  Set aside for now.

endermang.pngPart Two
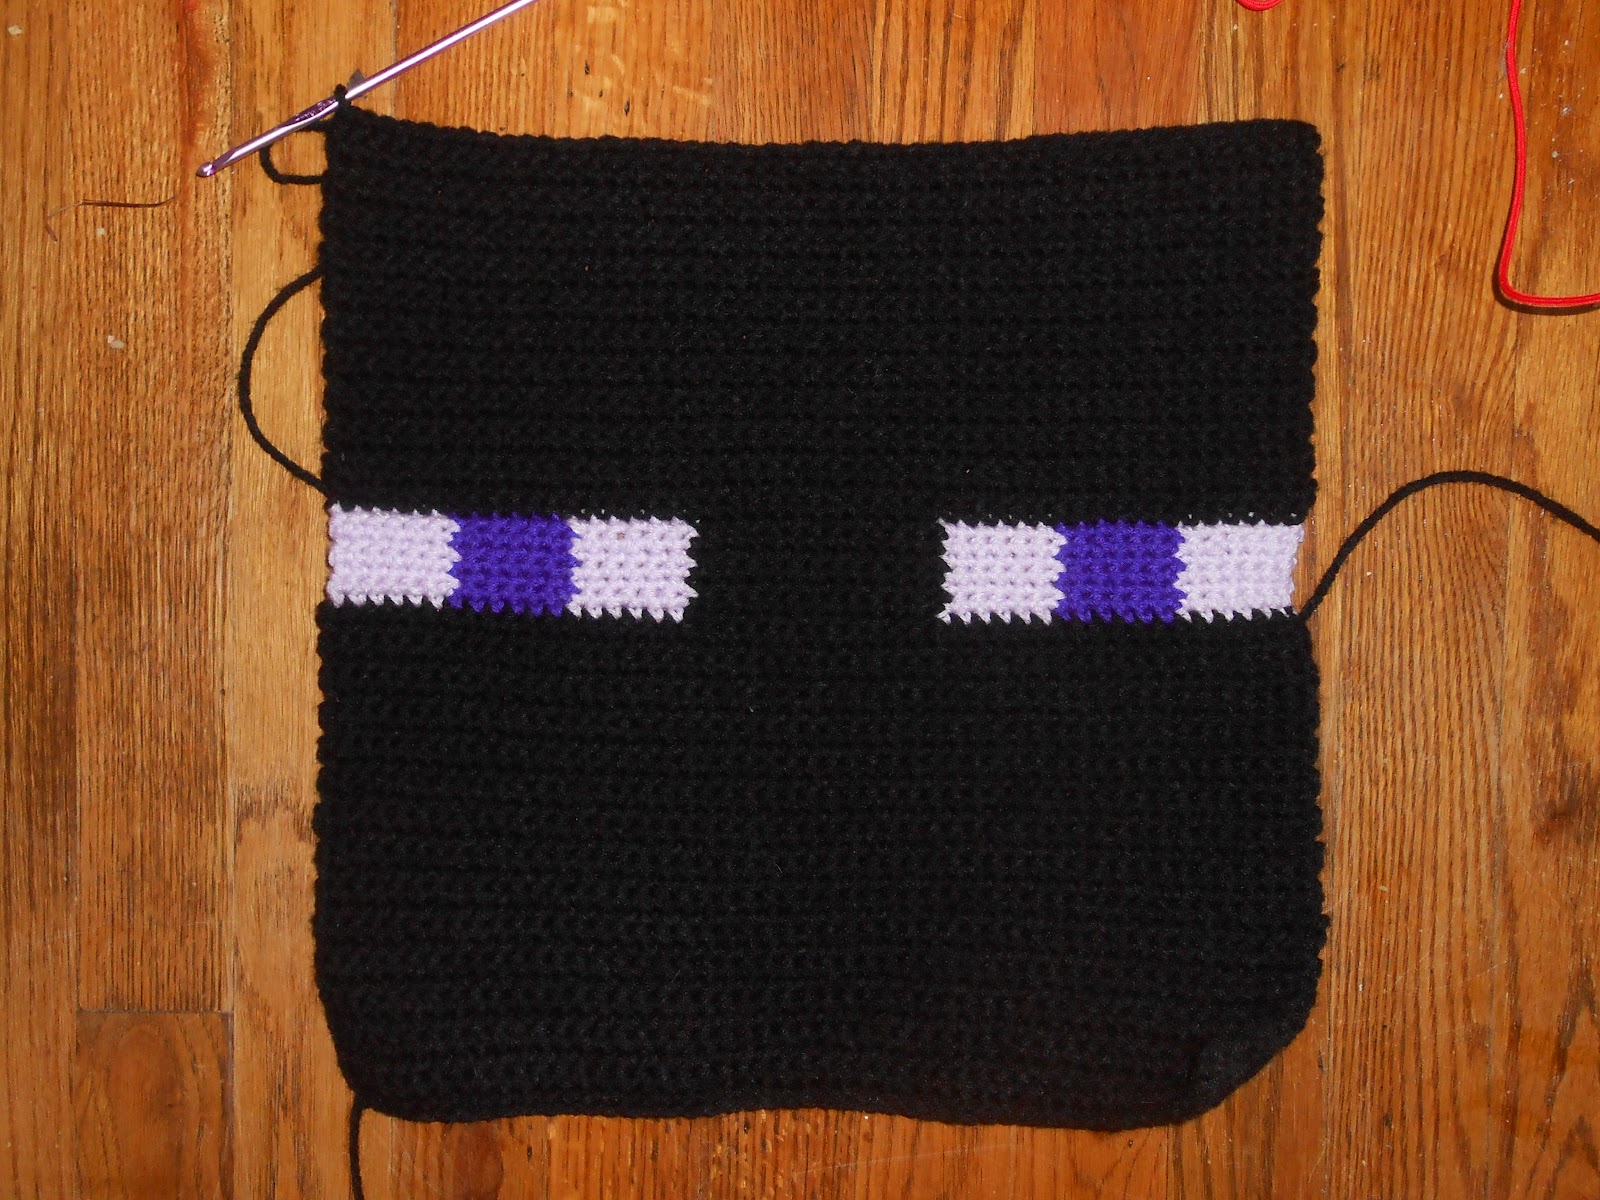
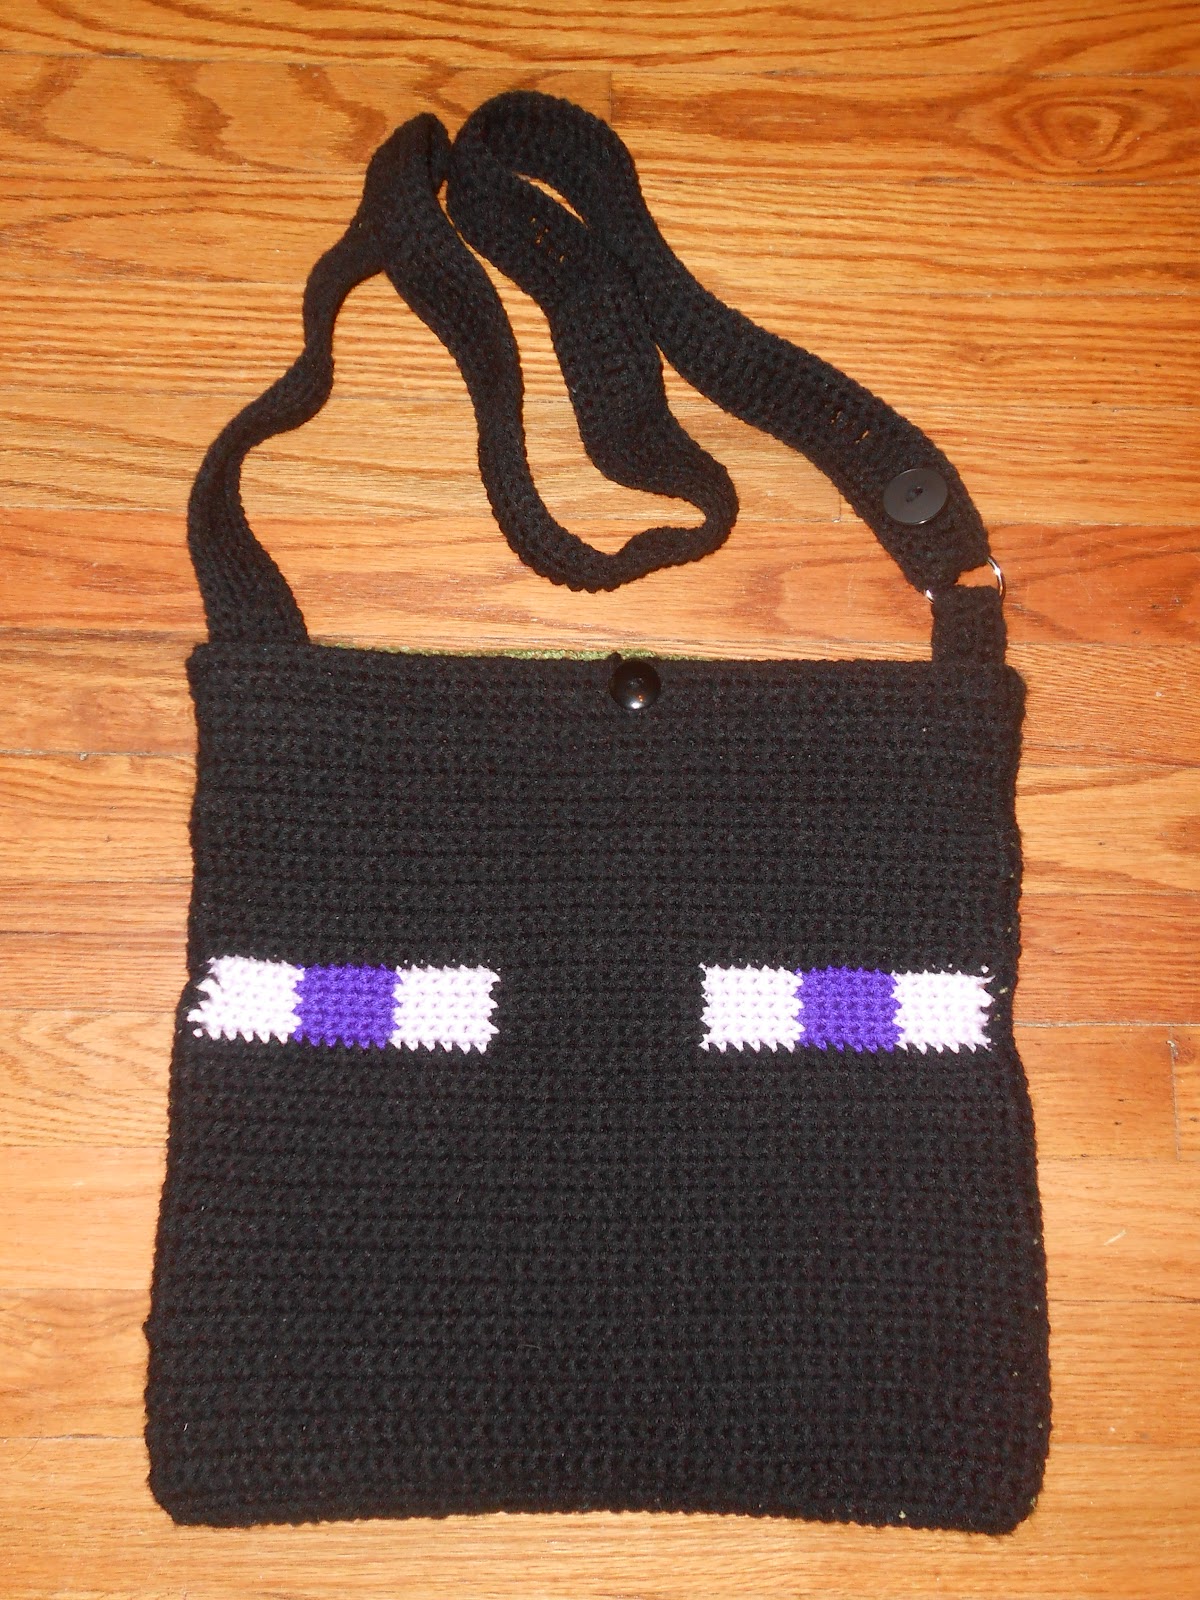
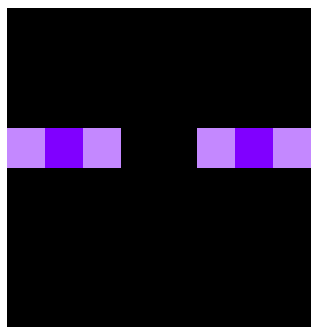
Time for the enderman’s face!
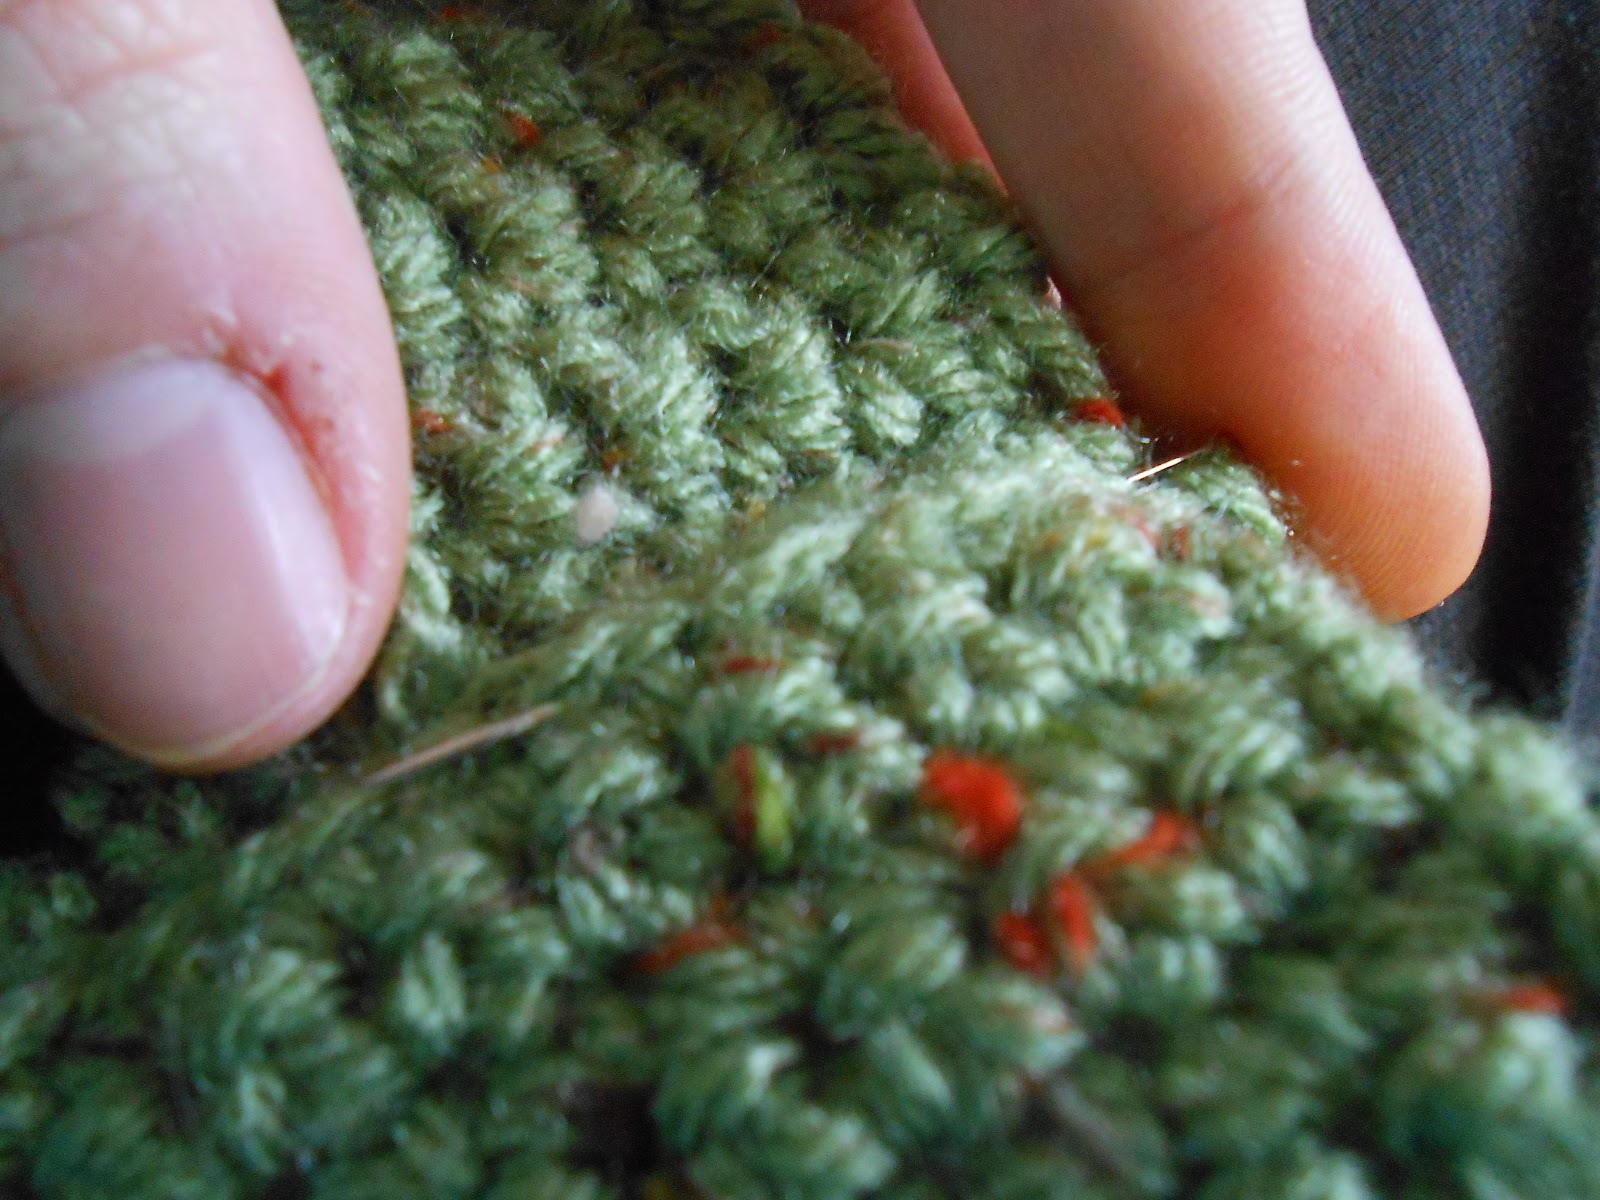

With black yarn, ch 49.


Row 1: Sc in 2nd ch from hook.  Sc in each st to end. Ch 1 and turn.  (48)


Rows 2-28: Sc in each st to end. Ch 1 and turn. (48)


DSCN3500.JPG

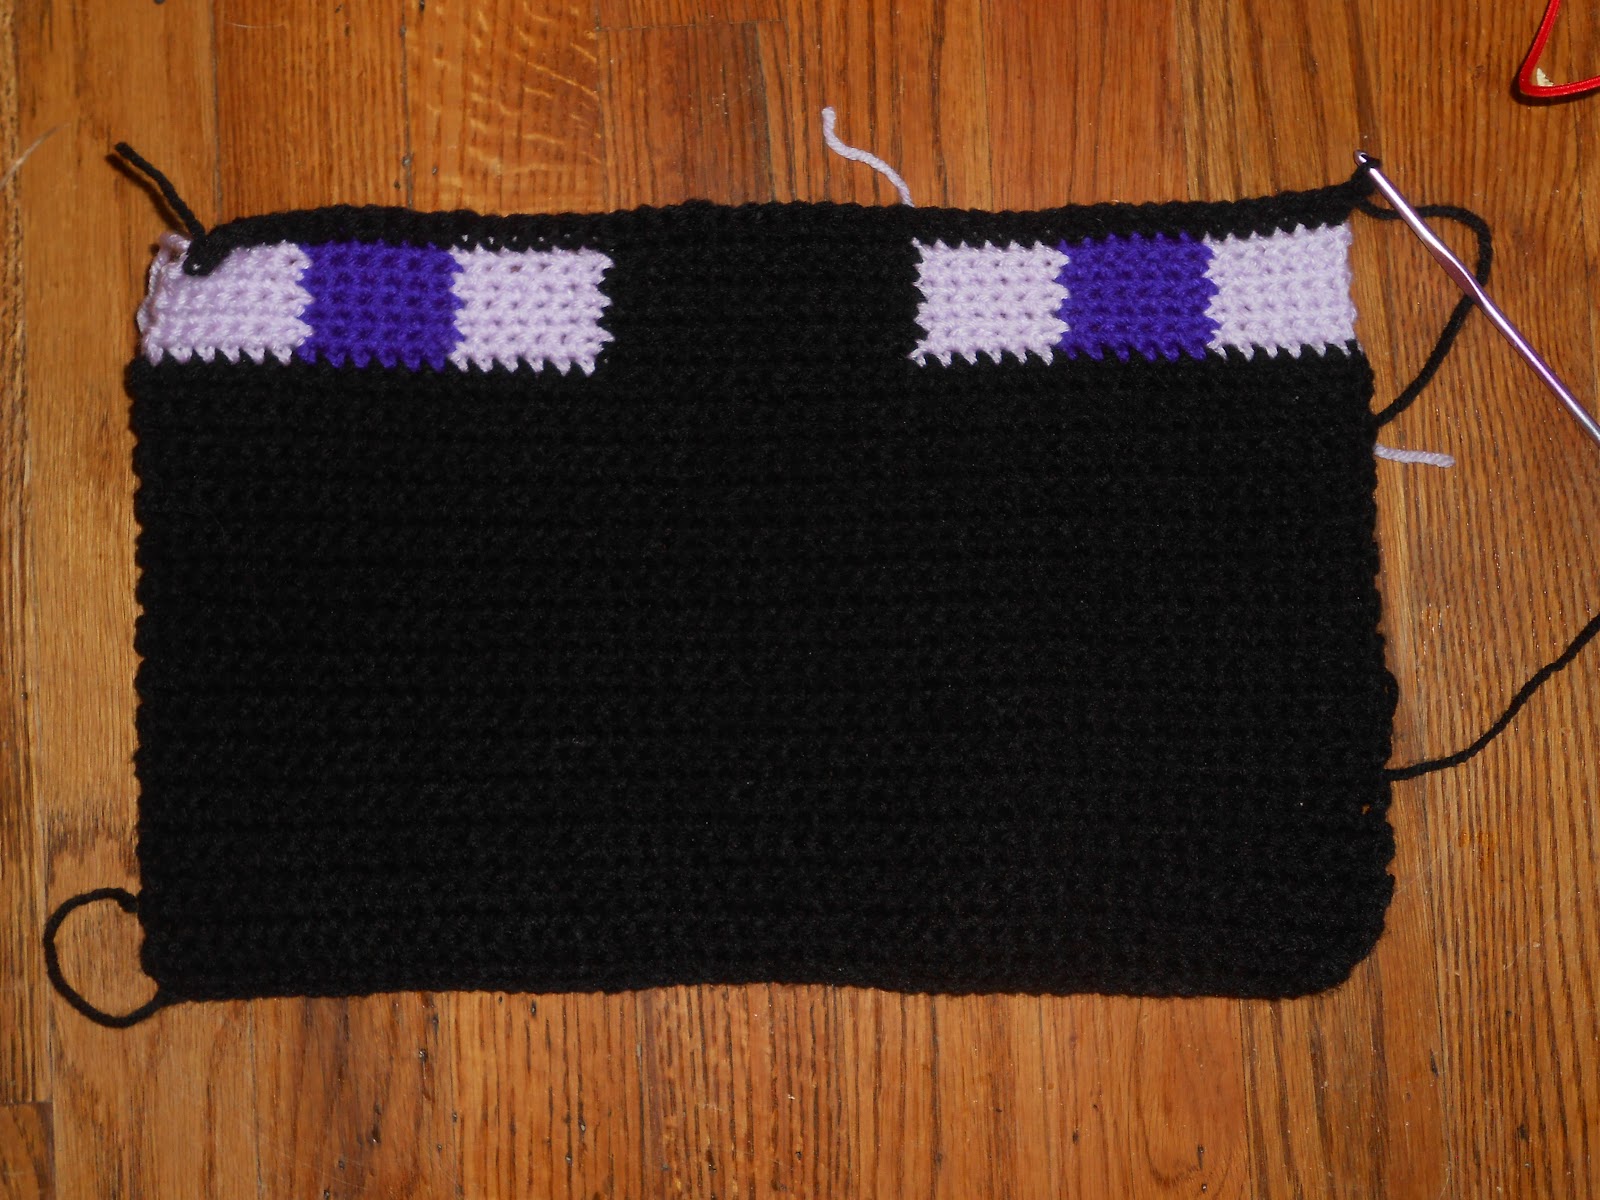
Rows 29-35: CC to light purple and sc in first 6 st.
CC to dark purple and sc in next 6 st.
CC to light purple and sc in next 6 st.
CC to black and sc in next 12 st.
CC to light purple and sc in next 6 st.
CC to dark purple and sc in next 6 st.
CC to light purple and sc in last 6 st. 
CC to black before ch 1 and turn.  (48)


DSCN3508.JPG


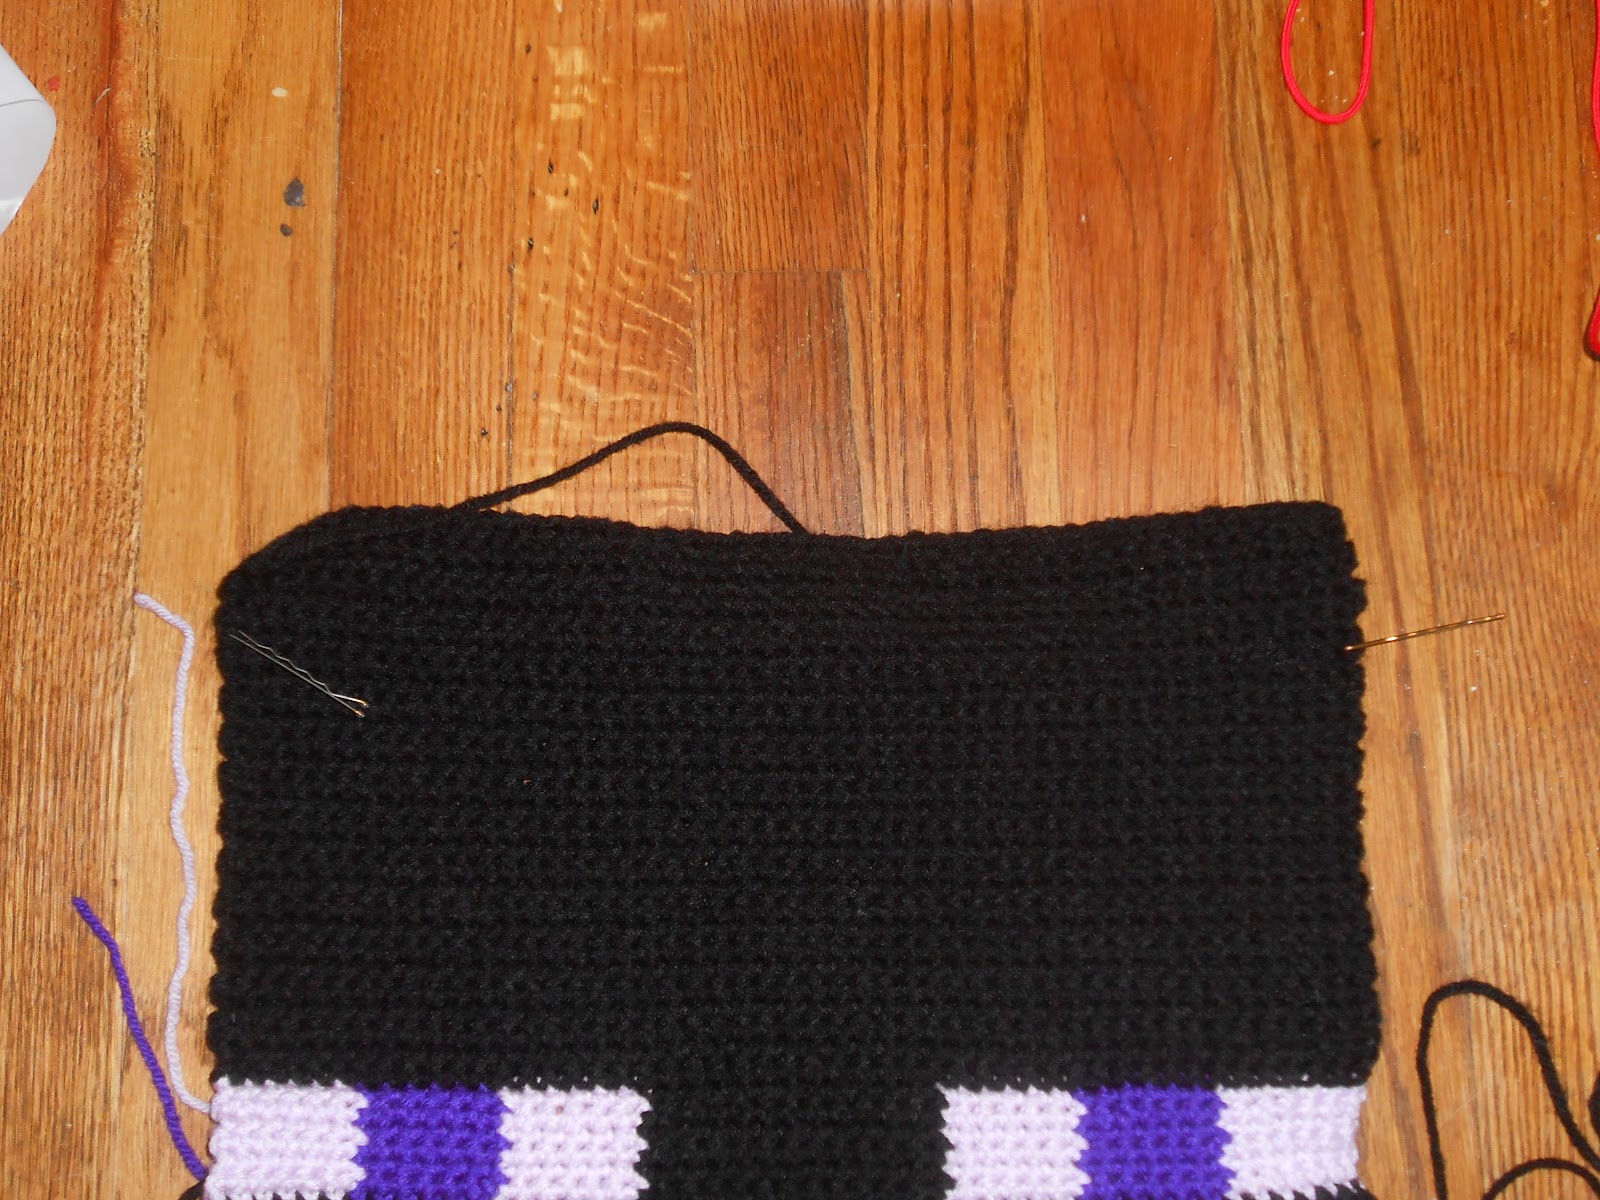
Rows 36-57: With black, sc in each st to end. Ch 1 and turn. (48)


DSCN3510.JPG
Note:  Your enderman panel is now square!  Time to add the extra rows for the stiff lip of the bag.  You may wish to place stitch markers at each end of Row 57 before continuing.


Rows 58-63: Sc in each st to end.  Ch 1 and turn. (48)


DSCN3512.JPG


Tie off all loose ends on the back of the enderman’s face.


DSCN3513.JPG


Part Three
We’ll put the plastic canvas strips into the squares and sew them up!


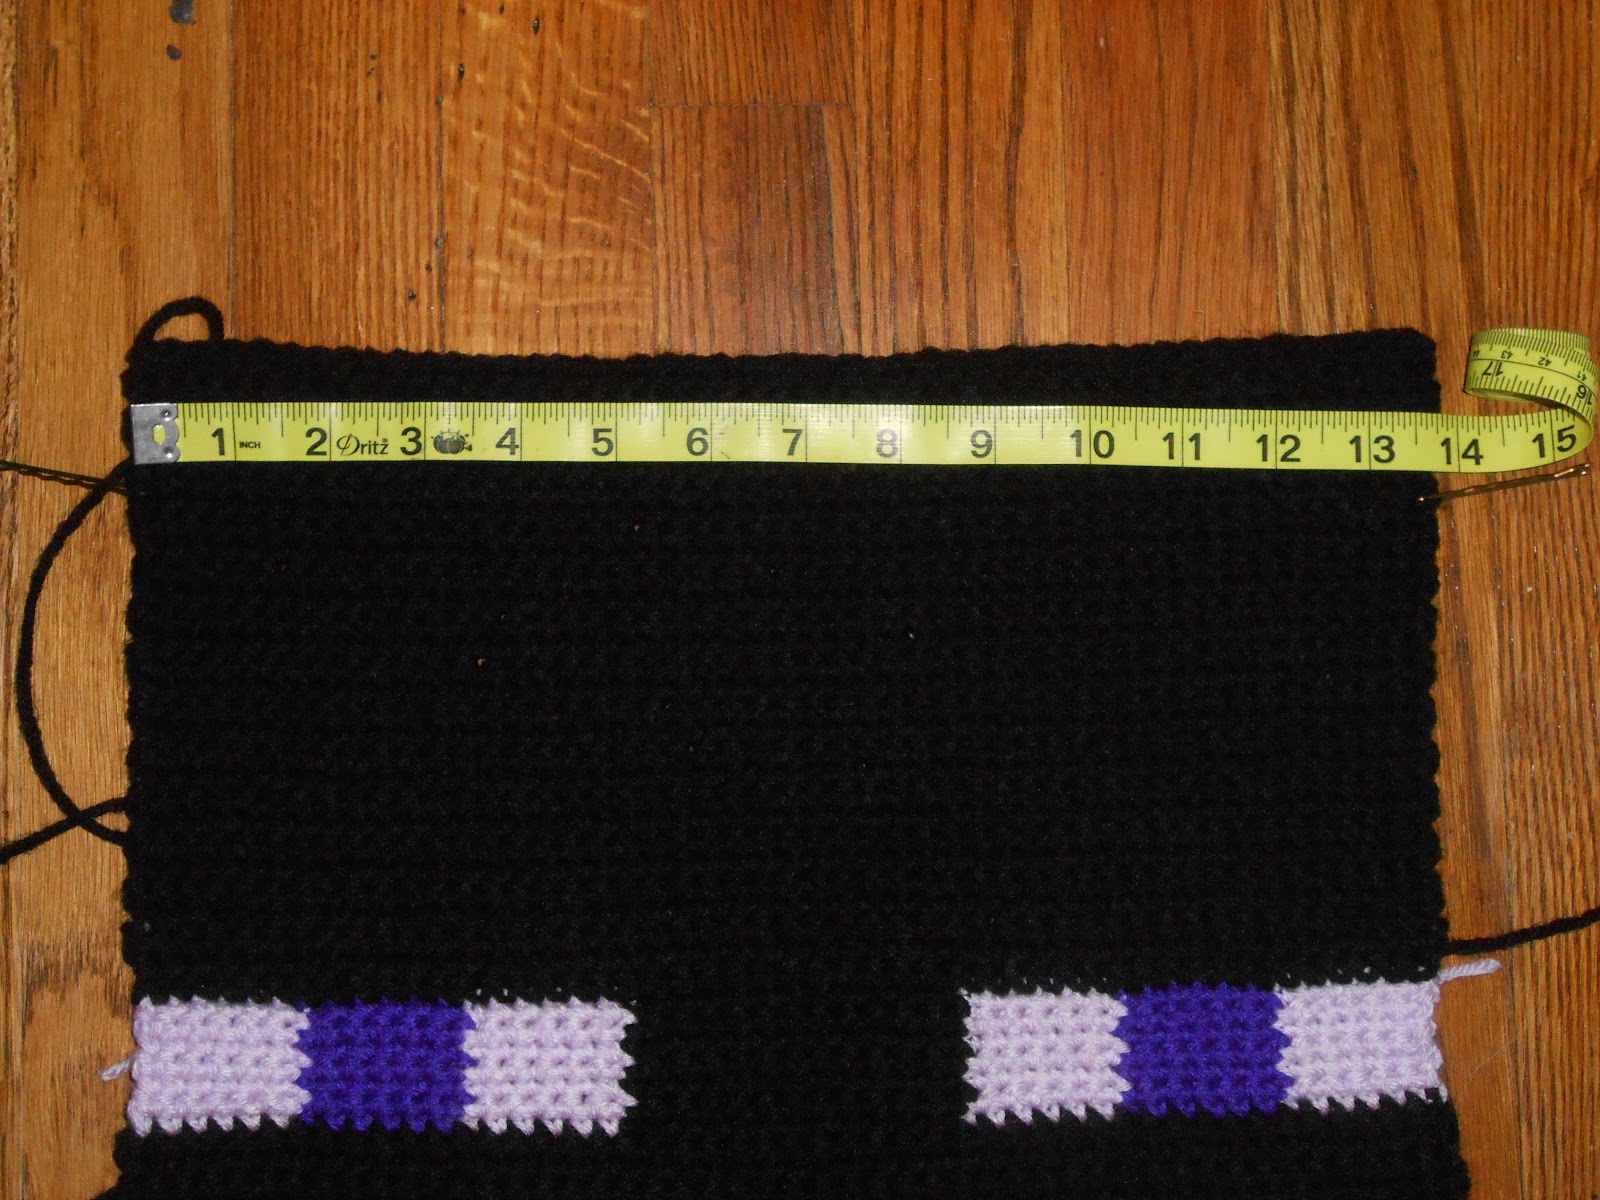
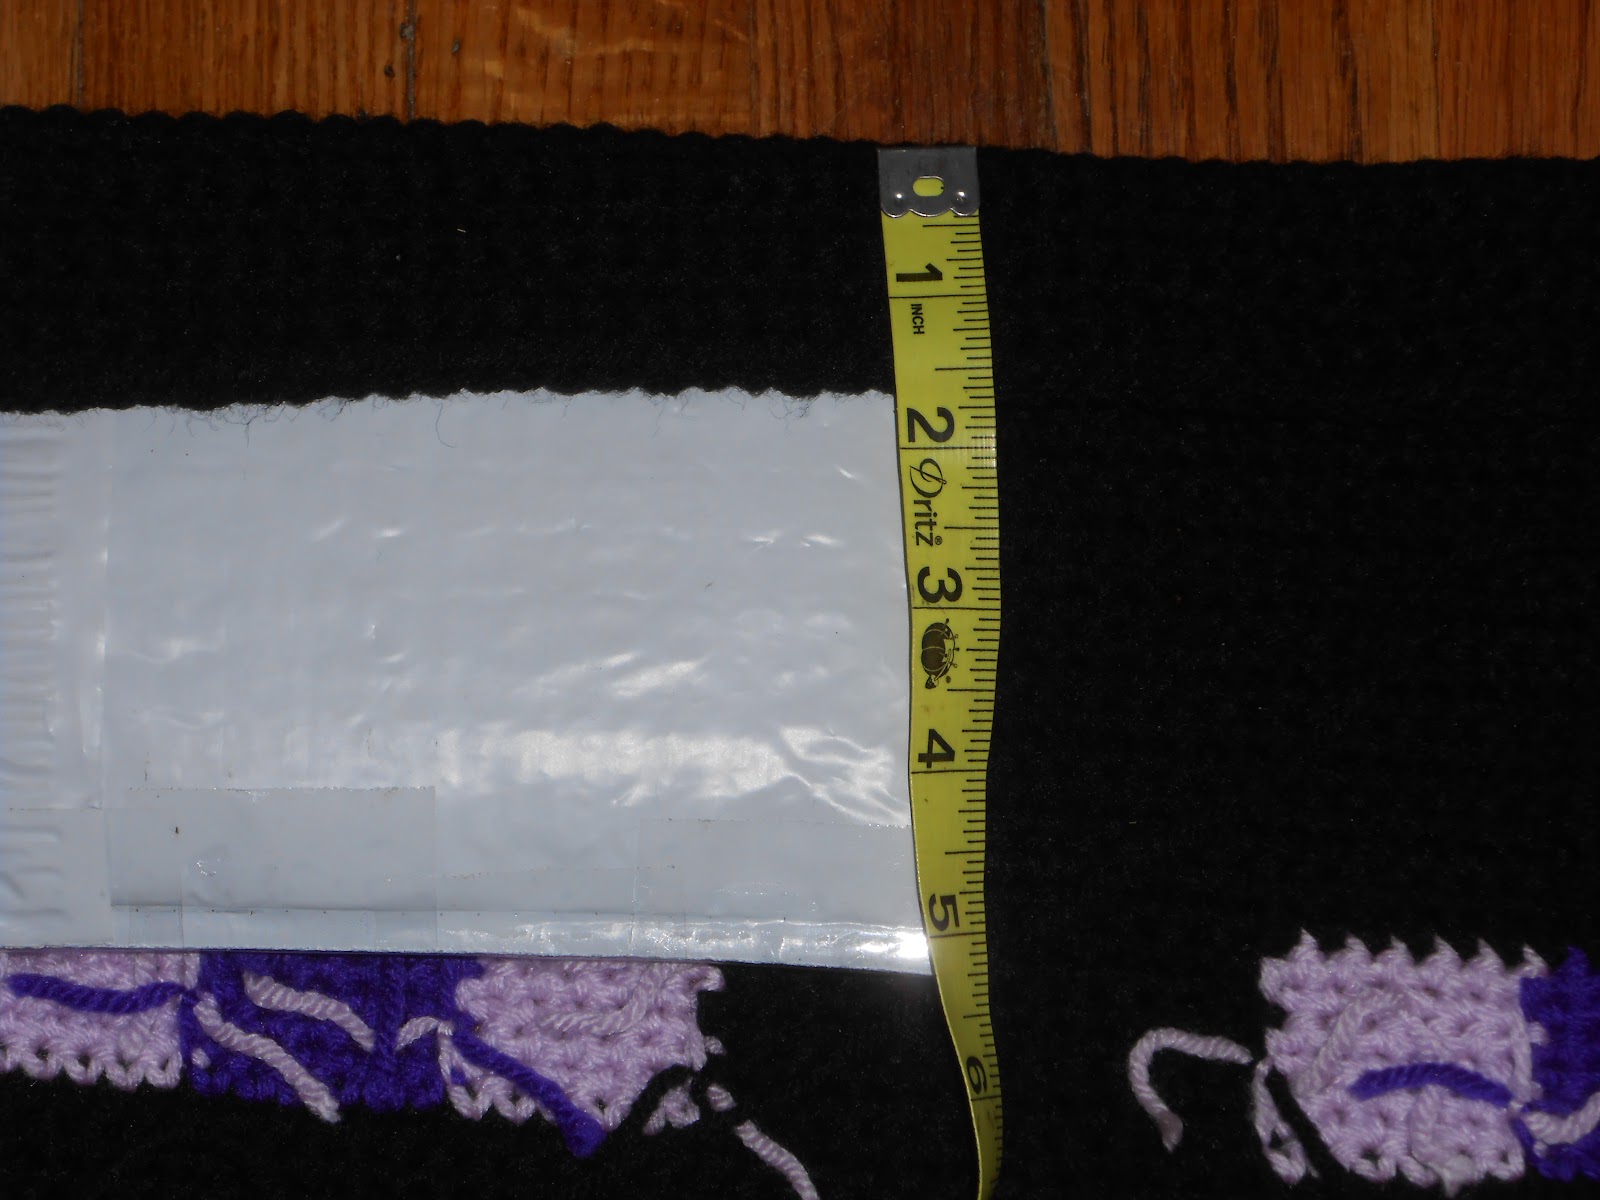
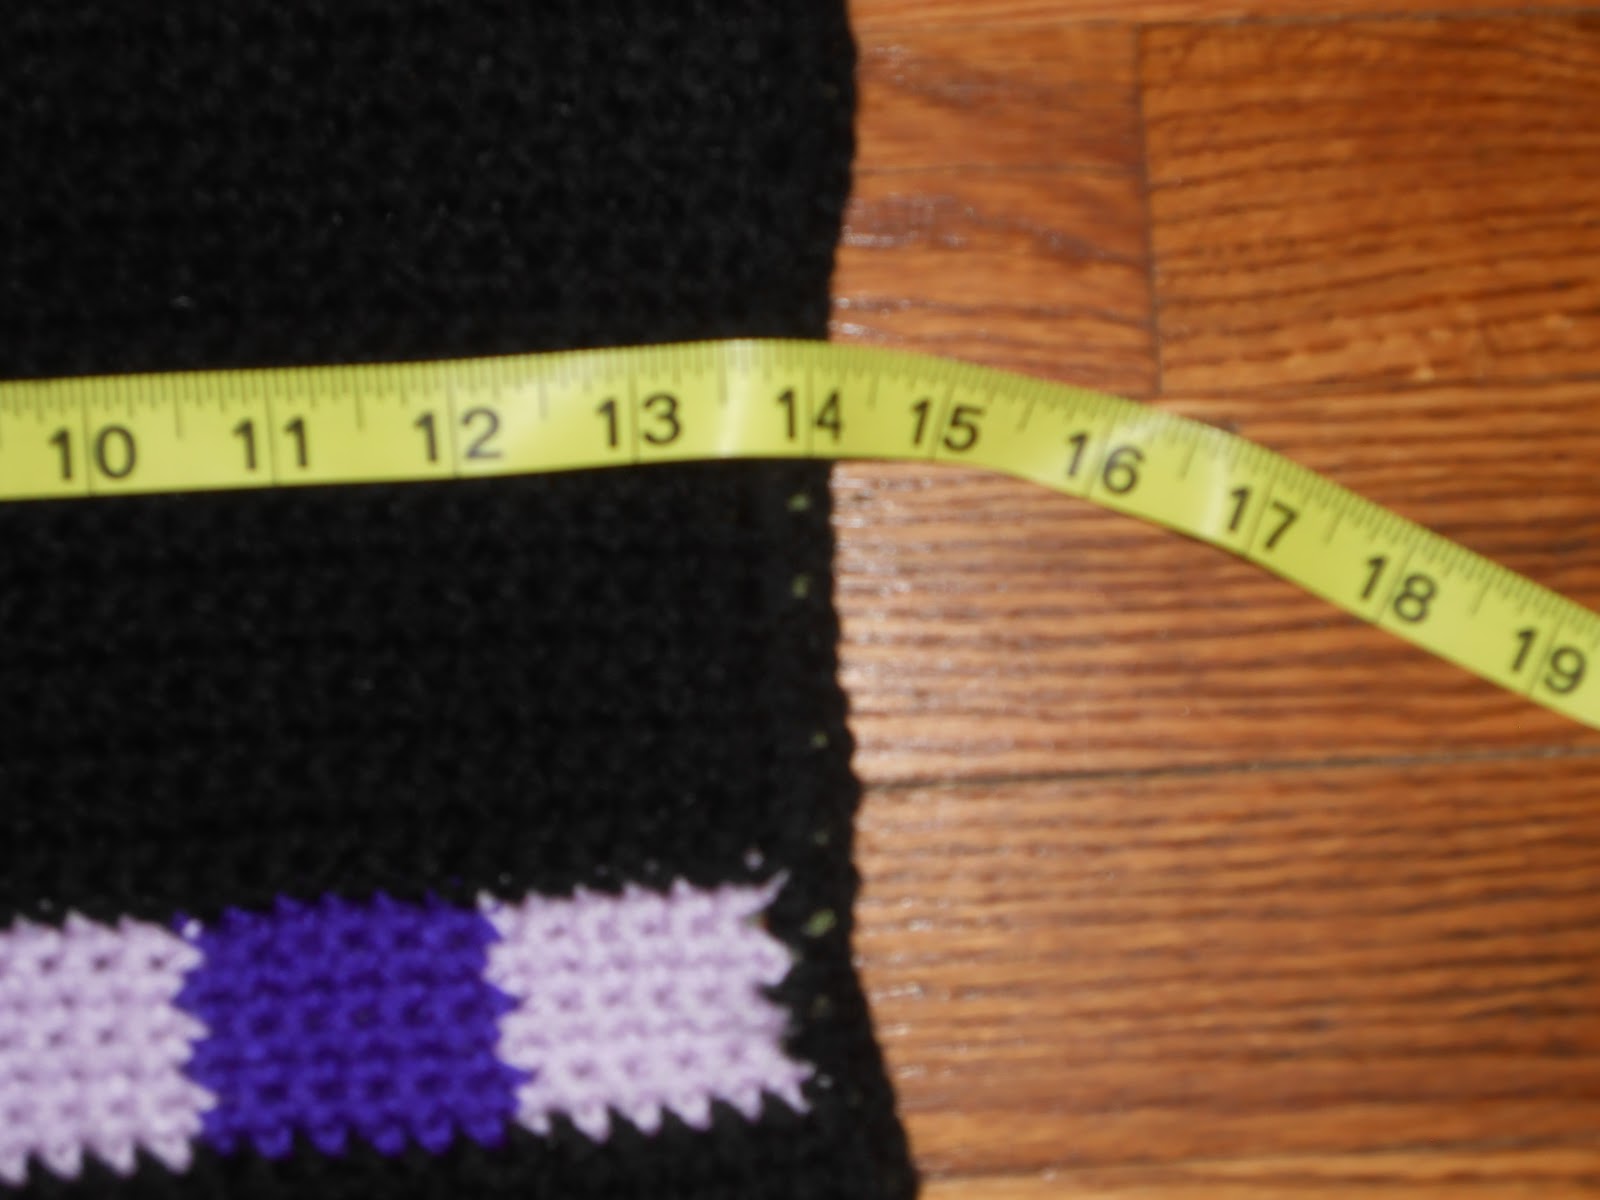
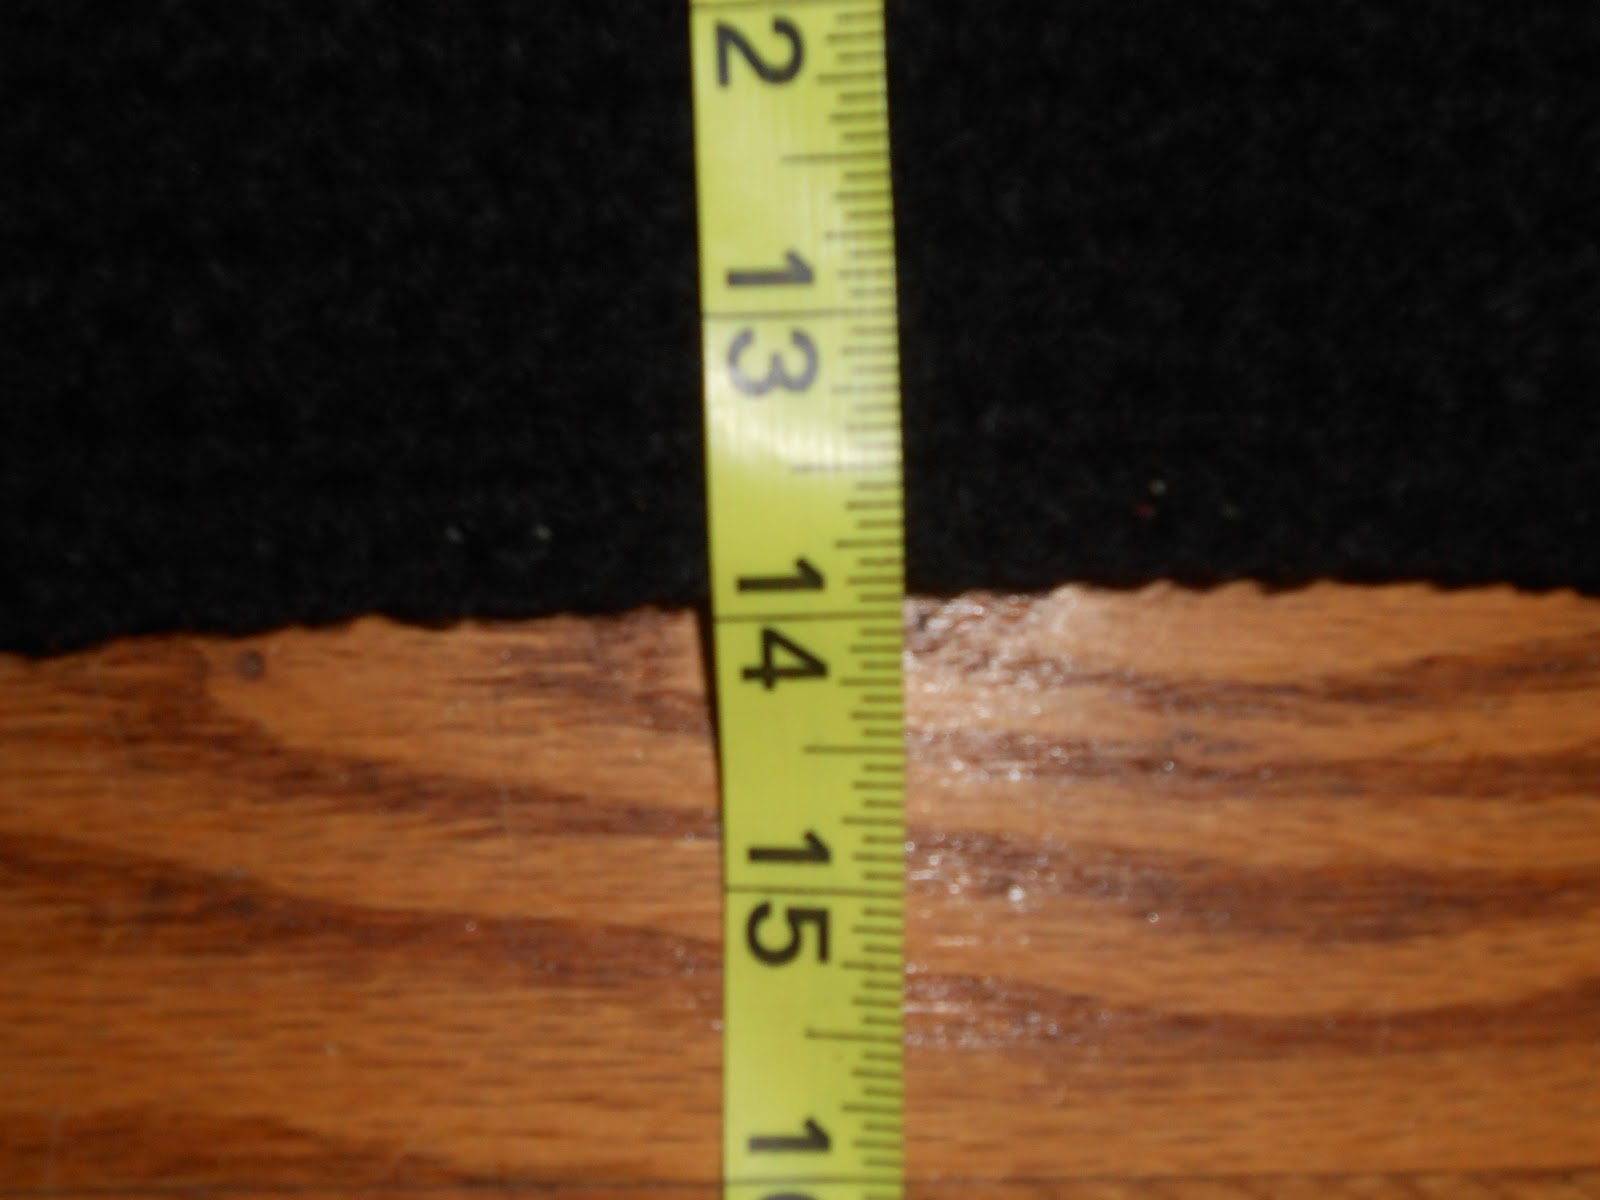
First, measure the width of your creeper and enderman squares.  They should be about equal; you will cut the strips to the same length so take the shorter of the two as your ideal measurement.


DSCN3514.JPG DSCN3517.JPG


For my enderman, the width was 13.75”.
My creeper was 14.25”, so my ideal measurement will be 13.75”.


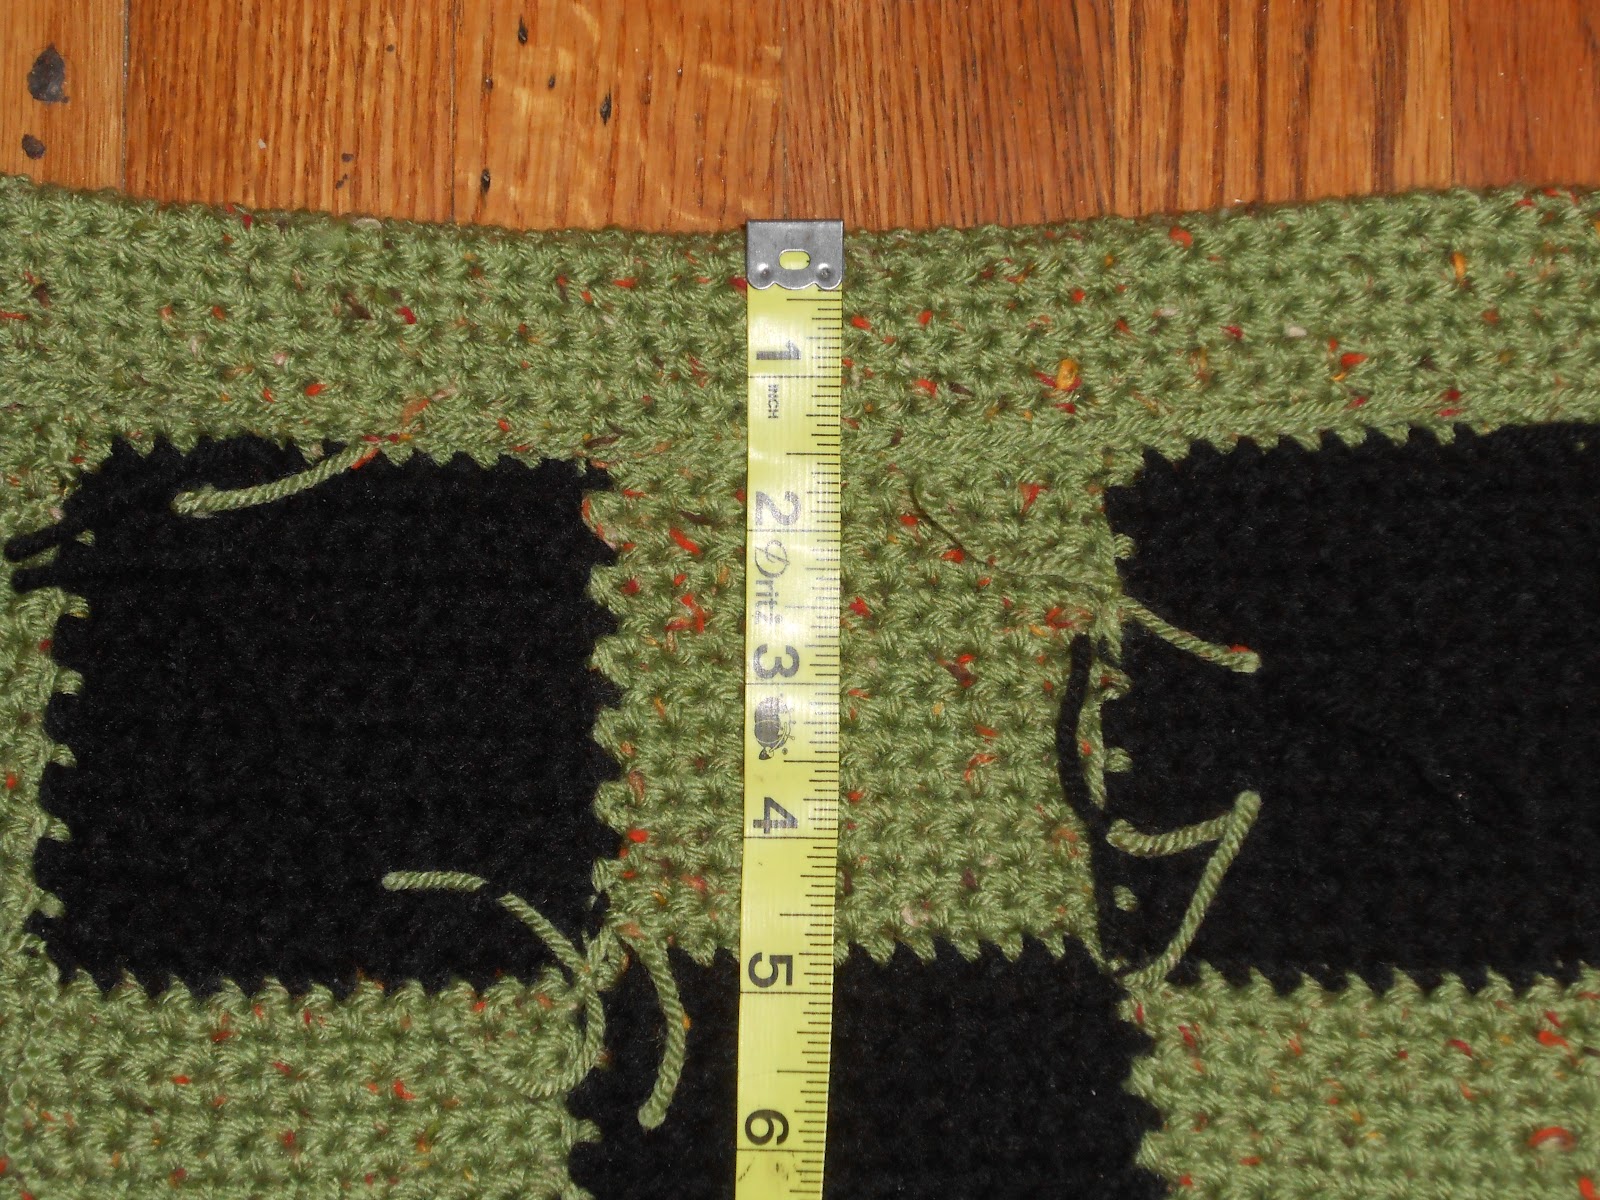
Second, fold the top of your panel down on the wrong side, so that your stitch markers on either side of the square are now on top.  Measure the height of this little flap (the last 6 rows of your panel).

DSCN3516.JPG DSCN3554.JPG


For my enderman, the height was 1.75”.  The creeper was 1.5”.

So, I cut my two plastic strips to be 13.75” by 1.5”.


DSCN3557.JPG


Sew the top flaps down with the long tails you left at the ends of each panel.  For the creeper panel, make sure your flap does not overlap the eyes, or your stitches will show.  Weave in ends.


DSCN3539.JPG


Slide the plastic strips into the panels.


You will want a little bit of the panels to cover each end, because we are now going to seam the bag together from the outside!   


Put your two panels together, back-to back so that the faces look out.  Take black yarn and attach at the top corner, through both panels.  


DSCN3568.JPG


Sc around the side, bottom, and other side of the bag.  For the corners, I chained 1 before turning and sc’ing in the same stitch.  Weave in all outer ends.


Part Four
Strap #1 - Fixed length strap


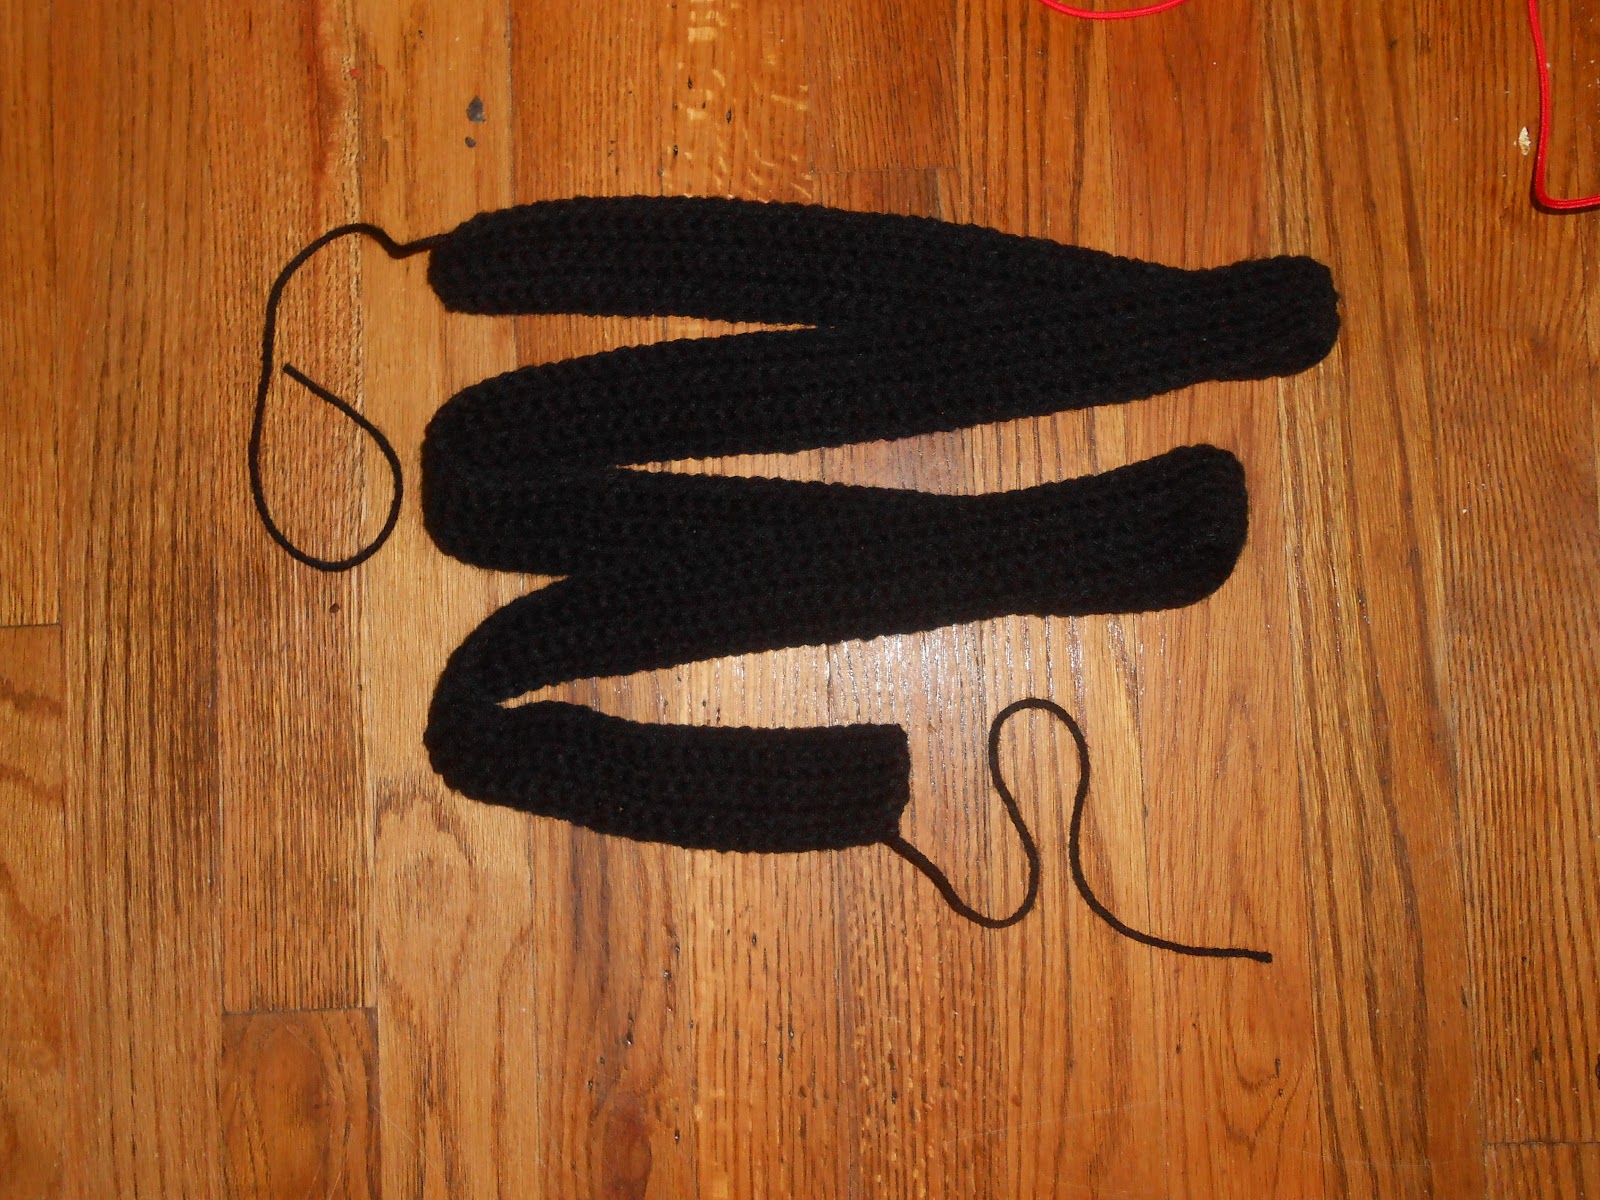
Note: You may want to premeasure a strap you are already using, or take a fabric tape measure and guesstimate how long you want your strap to be.  Then add 3-4 inches to your measurement, for where the strap will be sew inside the bag securely.    My strap is about 60 inches long; I am tall and intend to wear the bag diagonally.


Leave a 12” tail, ch 211.


Row 1: Sc in 2nd ch from hook and in each ch across.  Ch 1 and turn. (210)


Rows 2-6:  Sc in each st across.  Ch 1 and turn. (210)  Cut yarn, leaving a 12” tail and knot off.  


DSCN3571.JPG


Note: If you alter the pattern to make the strap thicker, I recommend ending with your working yarn at the opposite end from where you started, so you’ll have yarn to sew with already on both ends of the strap.


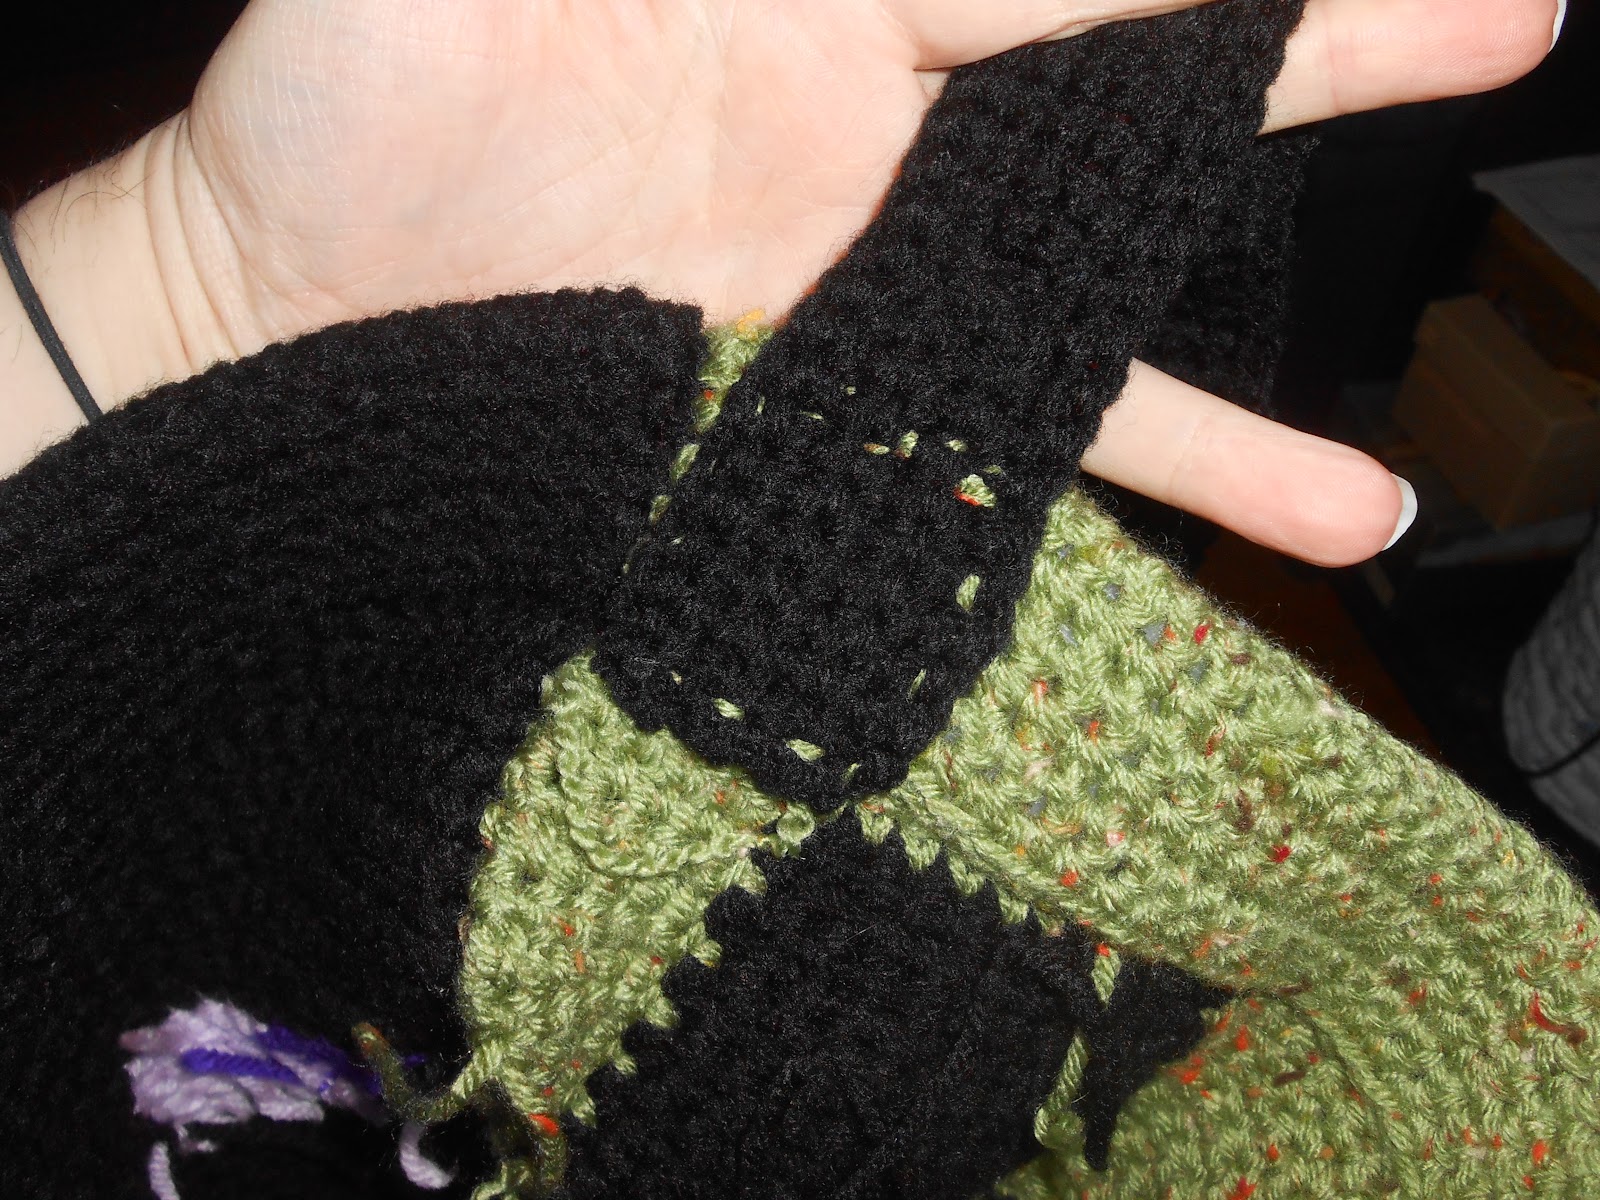
Sew strap securely to interior of bag (it will be in the seam between the two panels).


Skip down to Part 5 for lining the bag.


Strap #2 - Adjustable length strap
Note: Additional materials required: D-ring and 1 of the black buttons.


D-Ring Strap
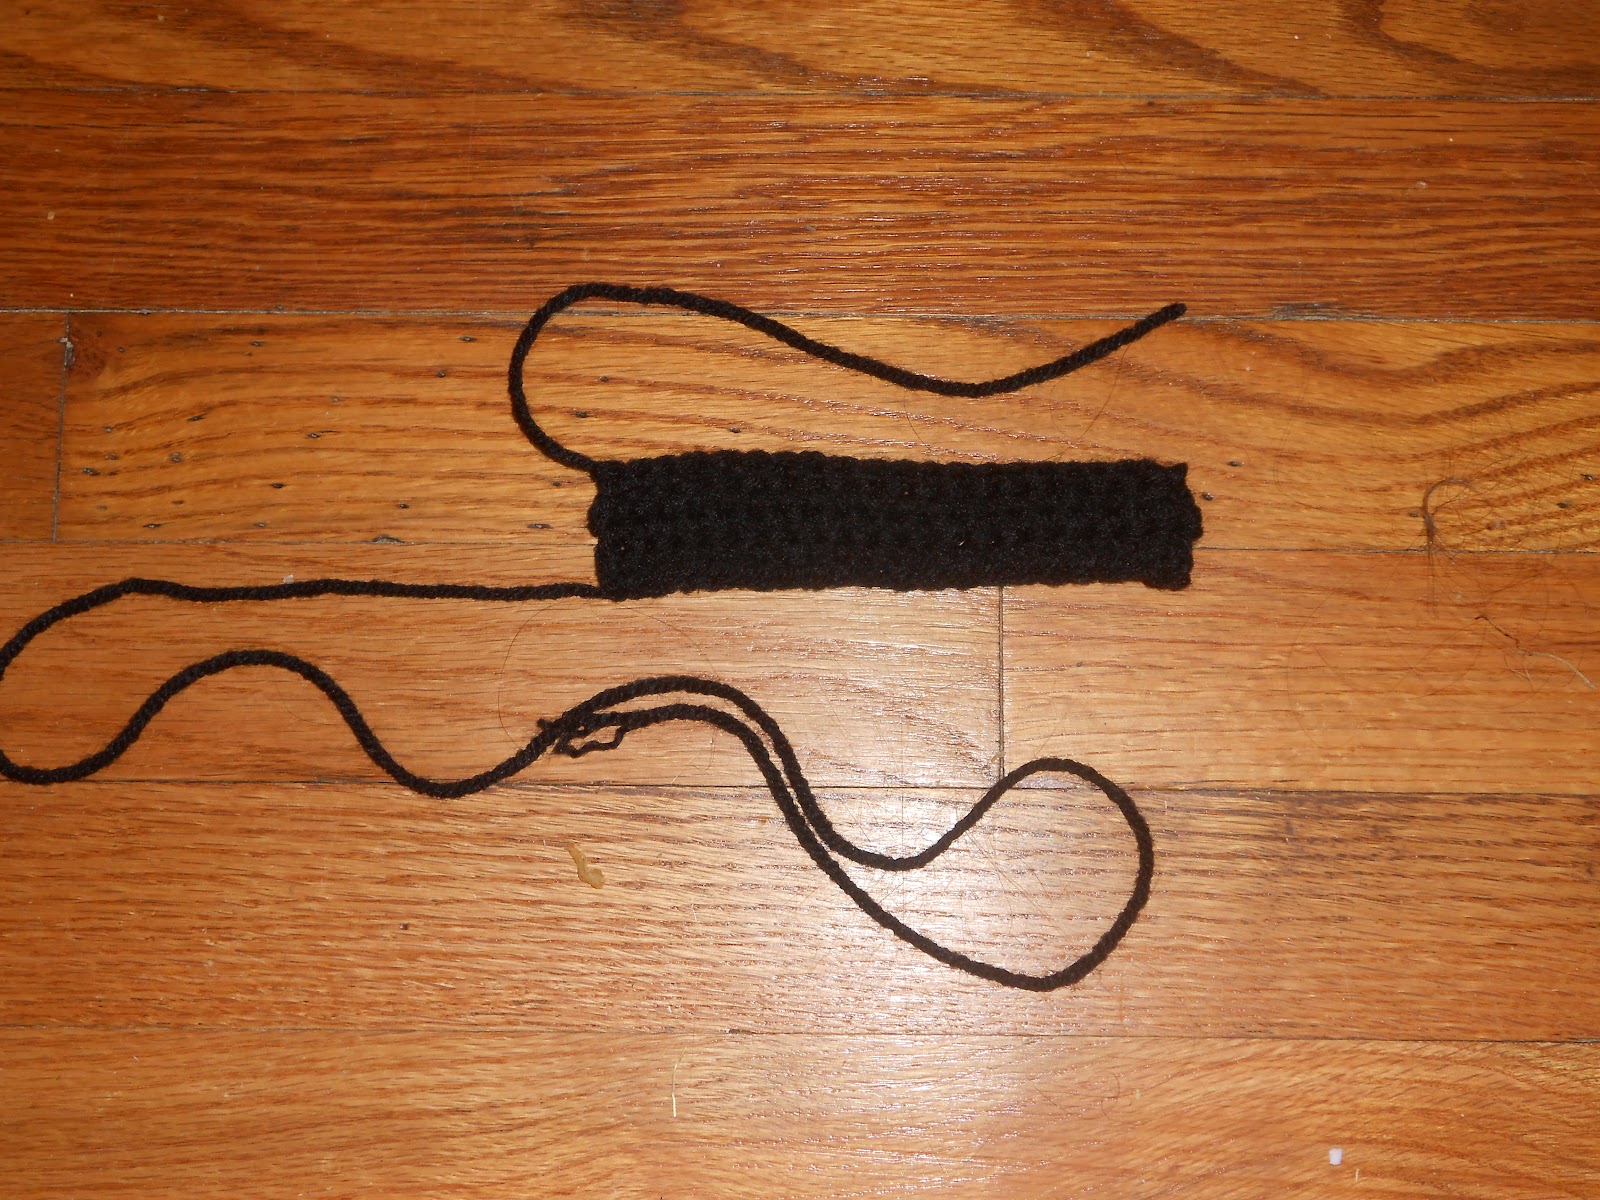
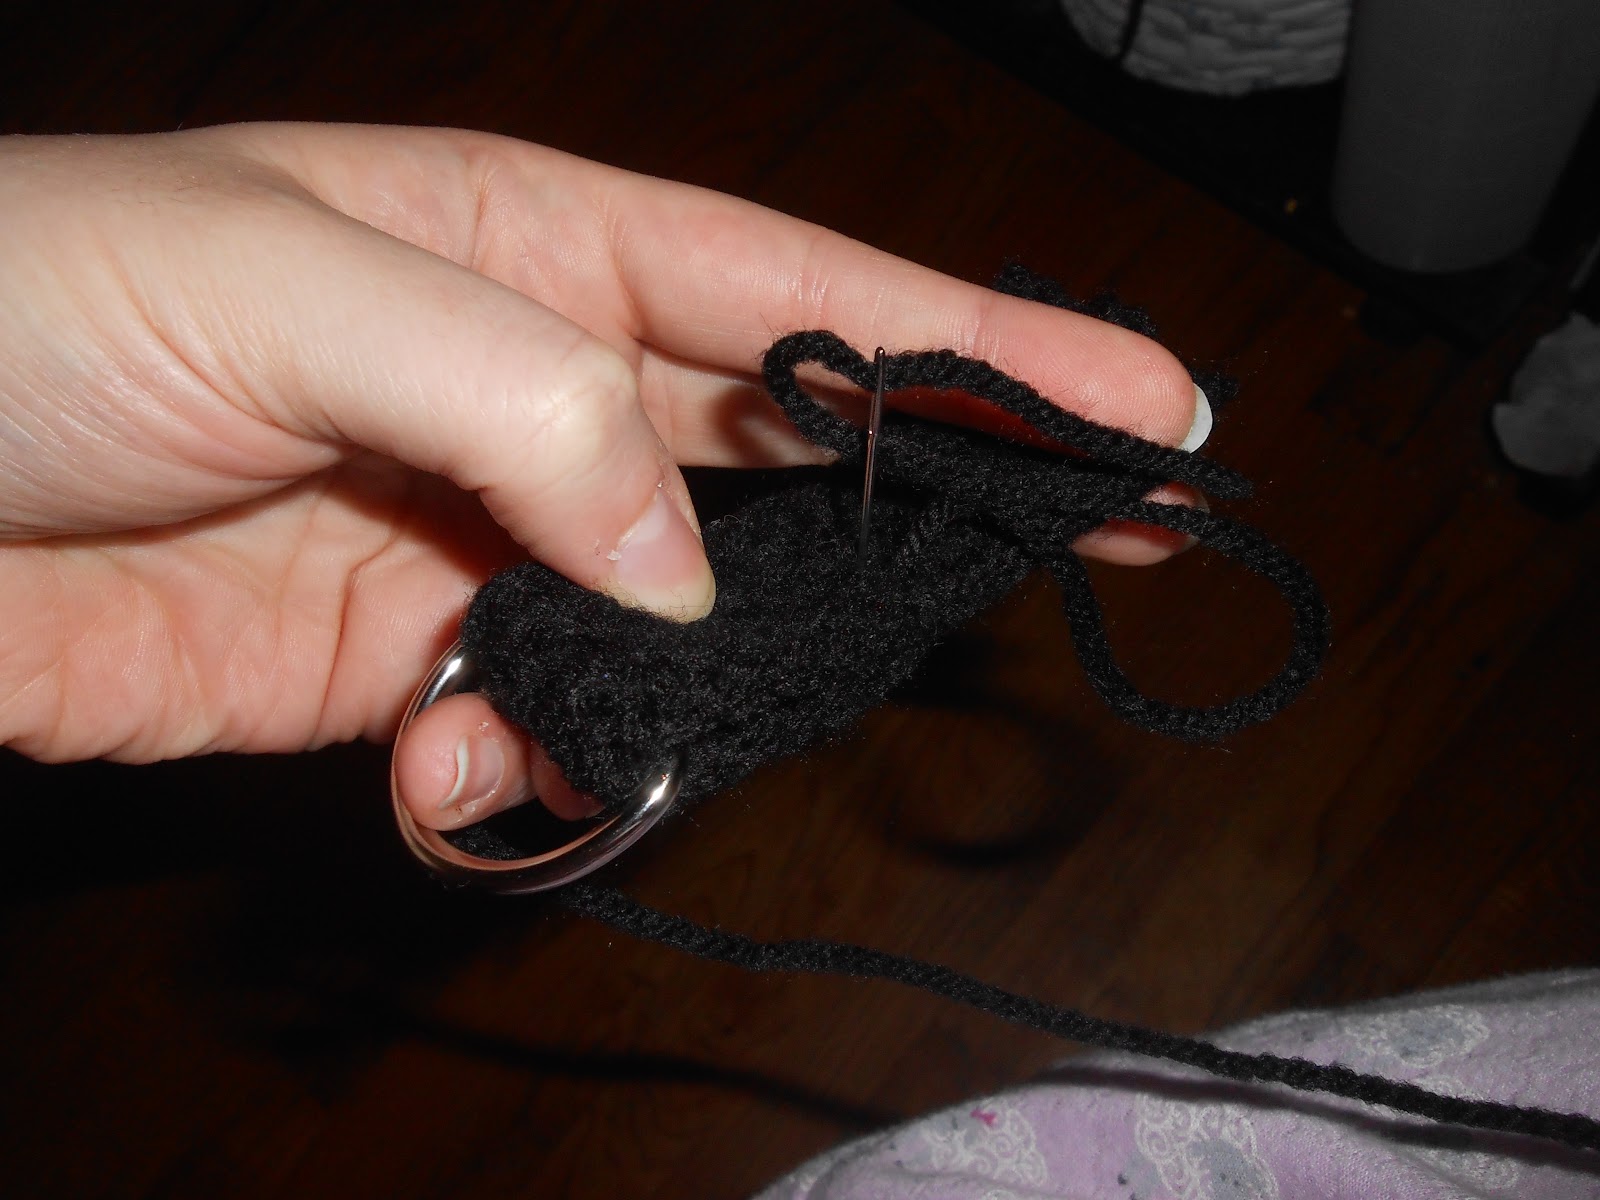
With black yarn, leave a 6” tail and chain 21.


Rows 1:  Sc in 2nd ch from hook and in every st across. Ch 1 and turn. (20)


Rows 2-4:  Sc in each st across. Ch 1 and turn. (20)


Row 5:  Sl st in each st across. Knot off and cut yarn, leaving a 12” tail for sewing.


Note: My D-ring was 1” wide; if you have a larger one you might want to add a few rows of sc.


DSCN3598.JPG


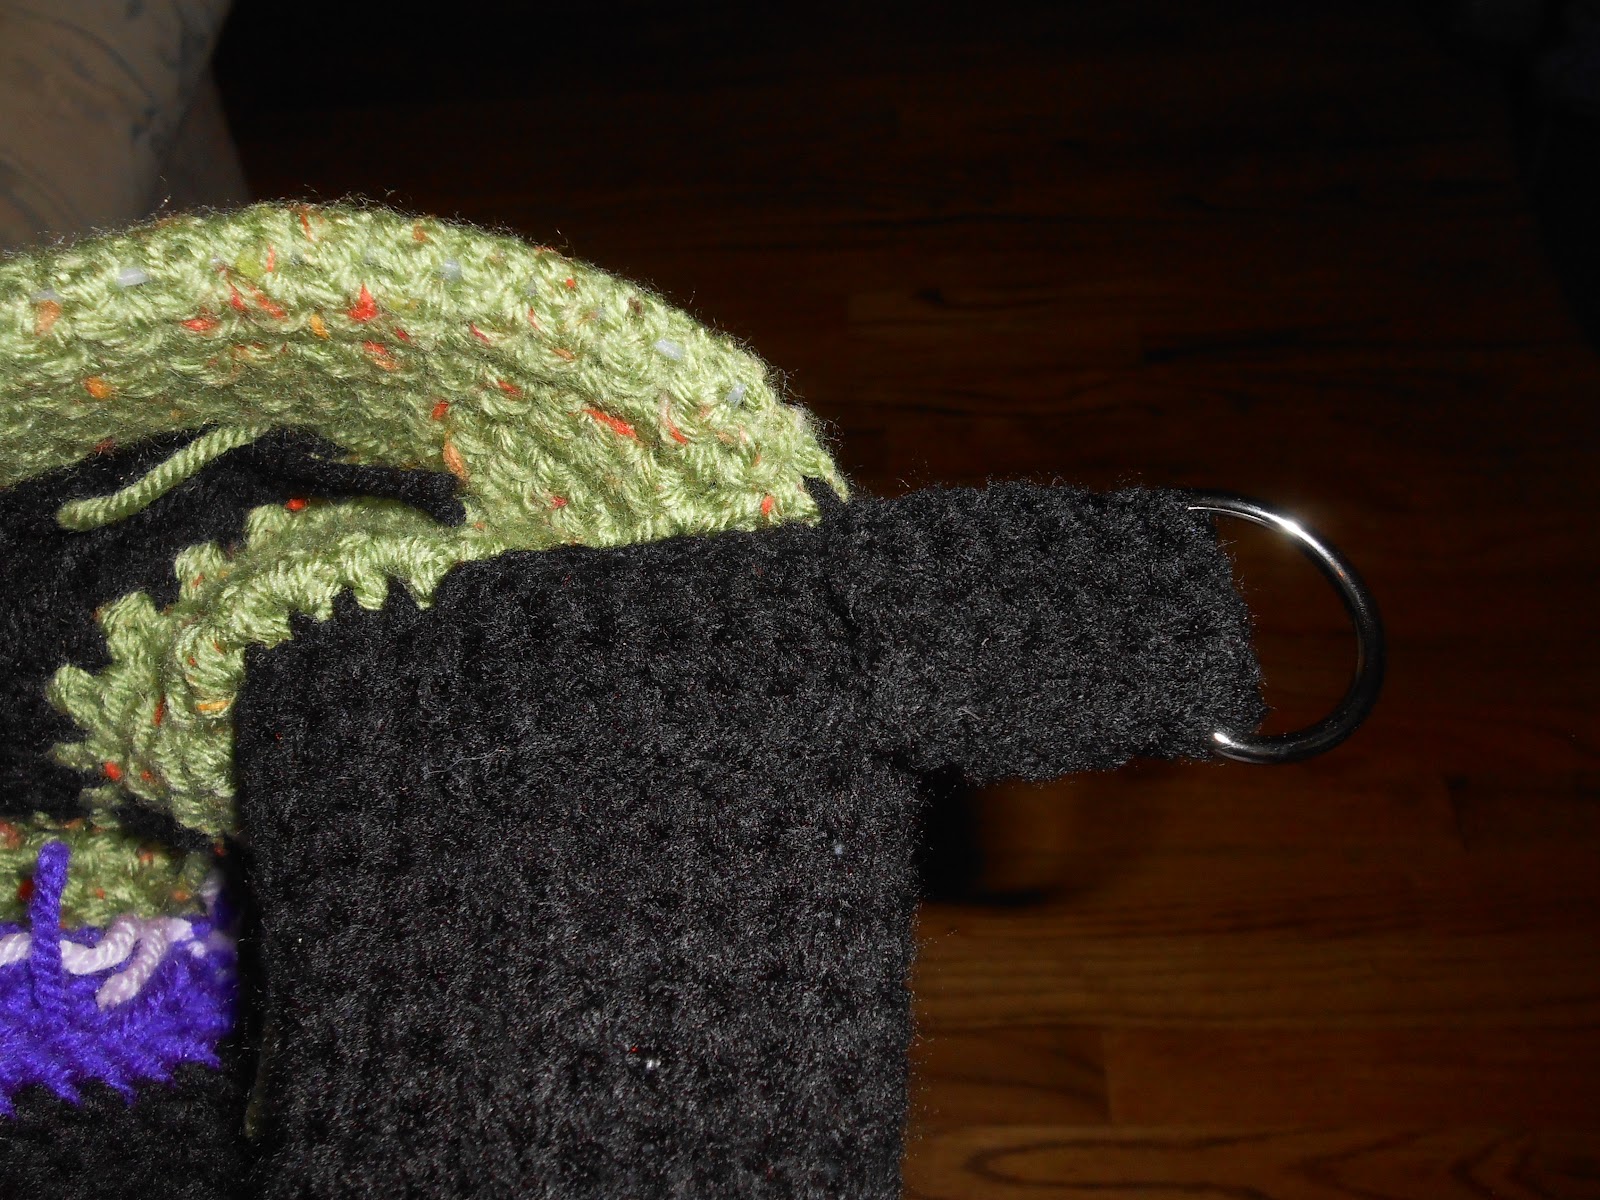
Thread this strip through the D-ring, fold it to itself with an overlap of 1.5”, and sew down with the 6” tail.  Weave in ends.


DSCN3605.JPG


I did two rows of stitches for a secure hold, since D-rings can sometimes rotate with time.


DSCN3607.JPG


The remaining length of this strip should be enough to anchor inside your bag, where the plastic canvas strip is.  I put mine on the enderman side, since it’s black yarn.


DSCN3614.JPG


Long Strap
With black, chain 201.


Row 1: Sc in 2nd ch from hook and in every st across. Ch 1 and turn. (200)


Row 2: Sc in each st across. Ch 1 and turn. (200)


Row 3: Sc in first 8 st, ch 1 and turn.  
Repeat twice more so that you have a place to sew your button to.  
Continue along Row 3 with tr until you are 10 sc from the end.  
Turn your work and sl st down the length of the last tr you made. (2)
Sc in next ten st (to the end of the strap). Ch 1 and turn.
Repeat twice more; this will be the portion you sew inside the bag.


Rows 4-5: Sc in each st across. Ch 1 and turn. (200)


Fasten off and weave in ends, since you will be using the creeper’s green to sew this inside the bag.


Note: You can attach the strap to the other side of the enderman face, instead, but I wanted to try and maintain a balanced design.


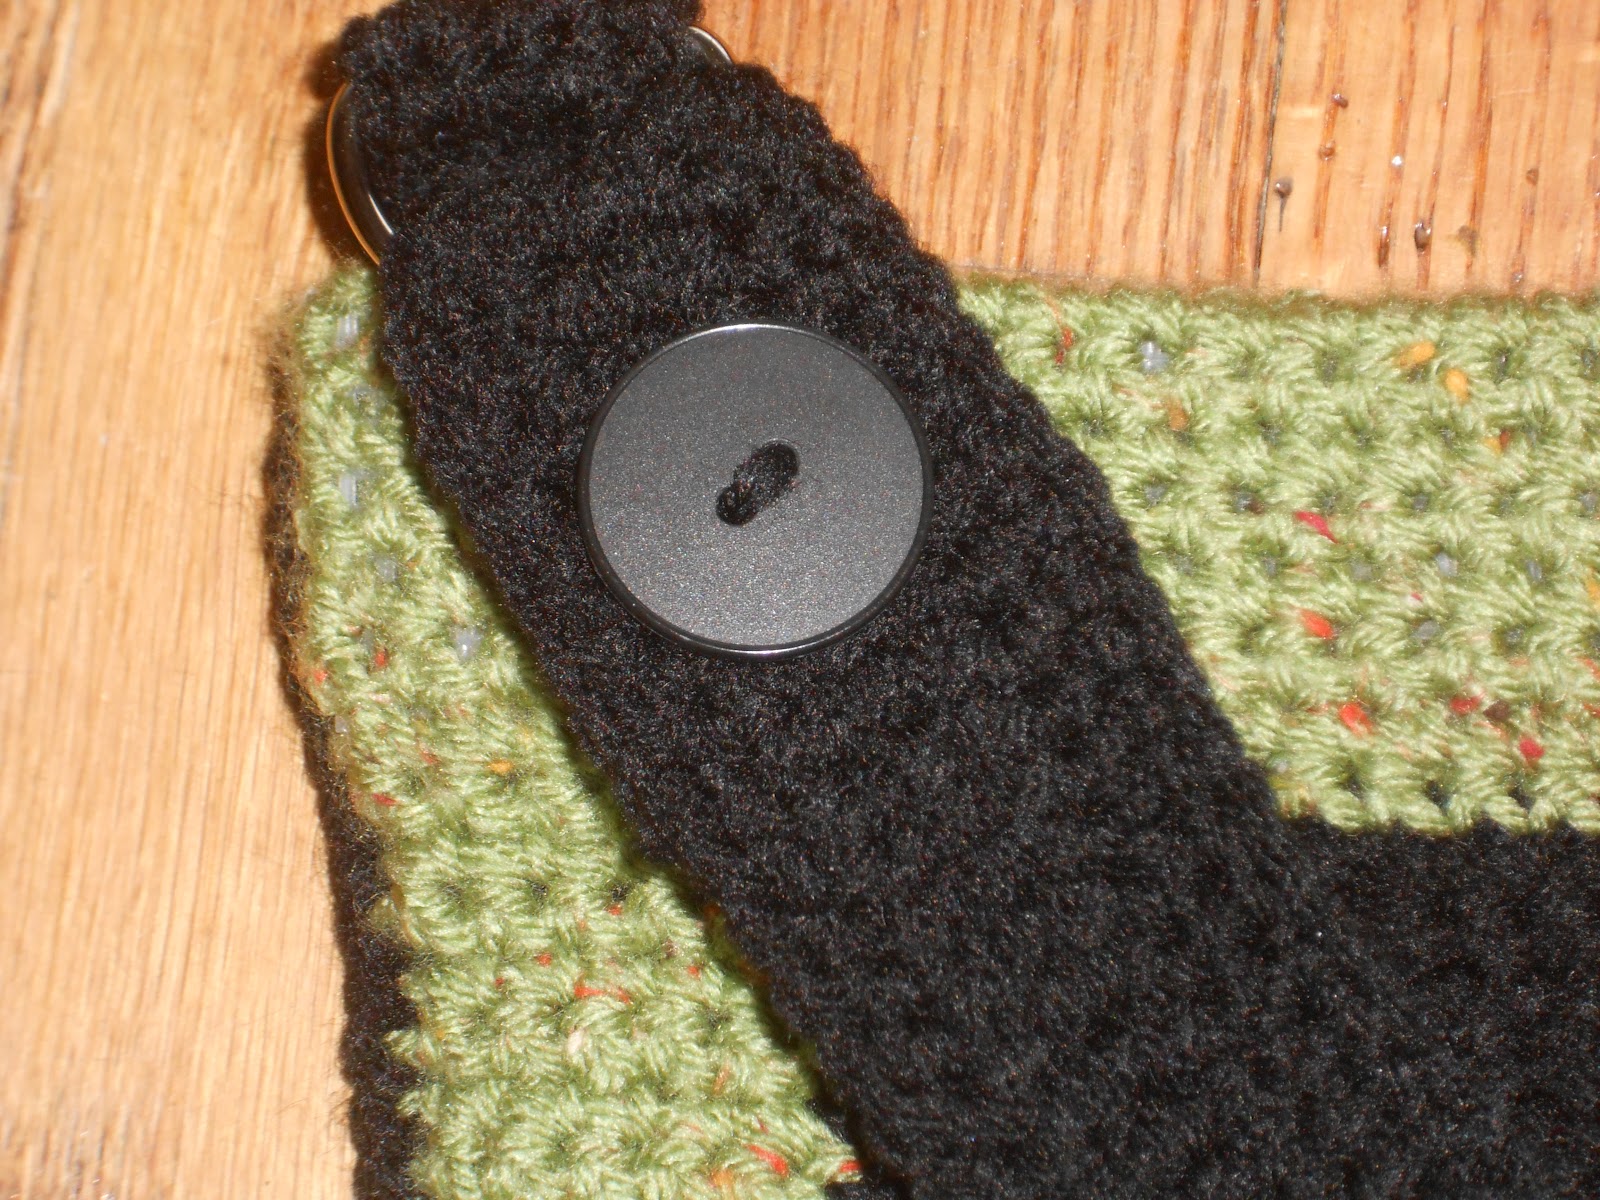
Your button should be able to pass between the triple crochet stitches (mine are 1.25”).  Sew button to the end of the strap with the 8 sc stitches.


Note: If your button will NOT fit through your D-ring, then pass the end of your strap through the D-ring before sewing it down.


DSCN3619.JPG


Sew the other end of the strap inside the bag on the creeper side.   Adjust strap to the length desired and pass button through the triple crocheted stitches where desired.


DSCN3616.JPG


Part Five
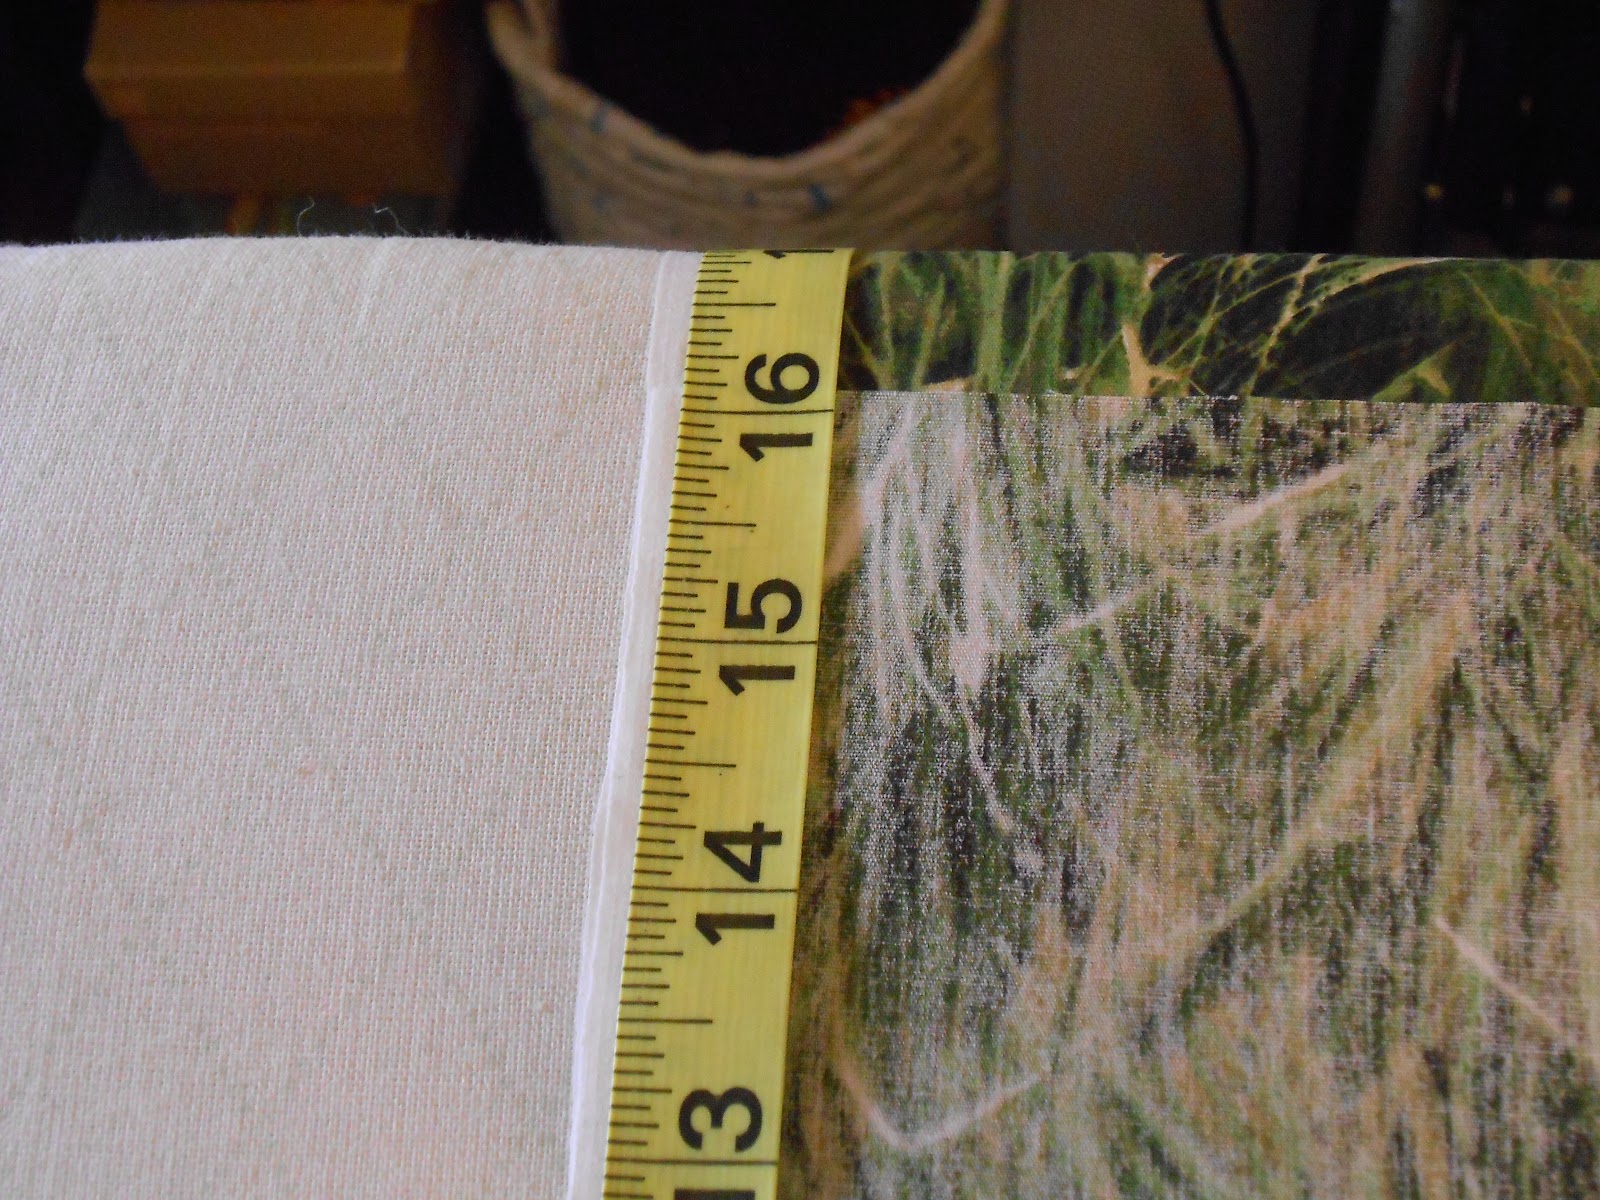
Time to put in the lining! Measure your bag vertically and horizontally, so you know your dimensions.


DSCN3673.JPG  DSCN3675.JPG


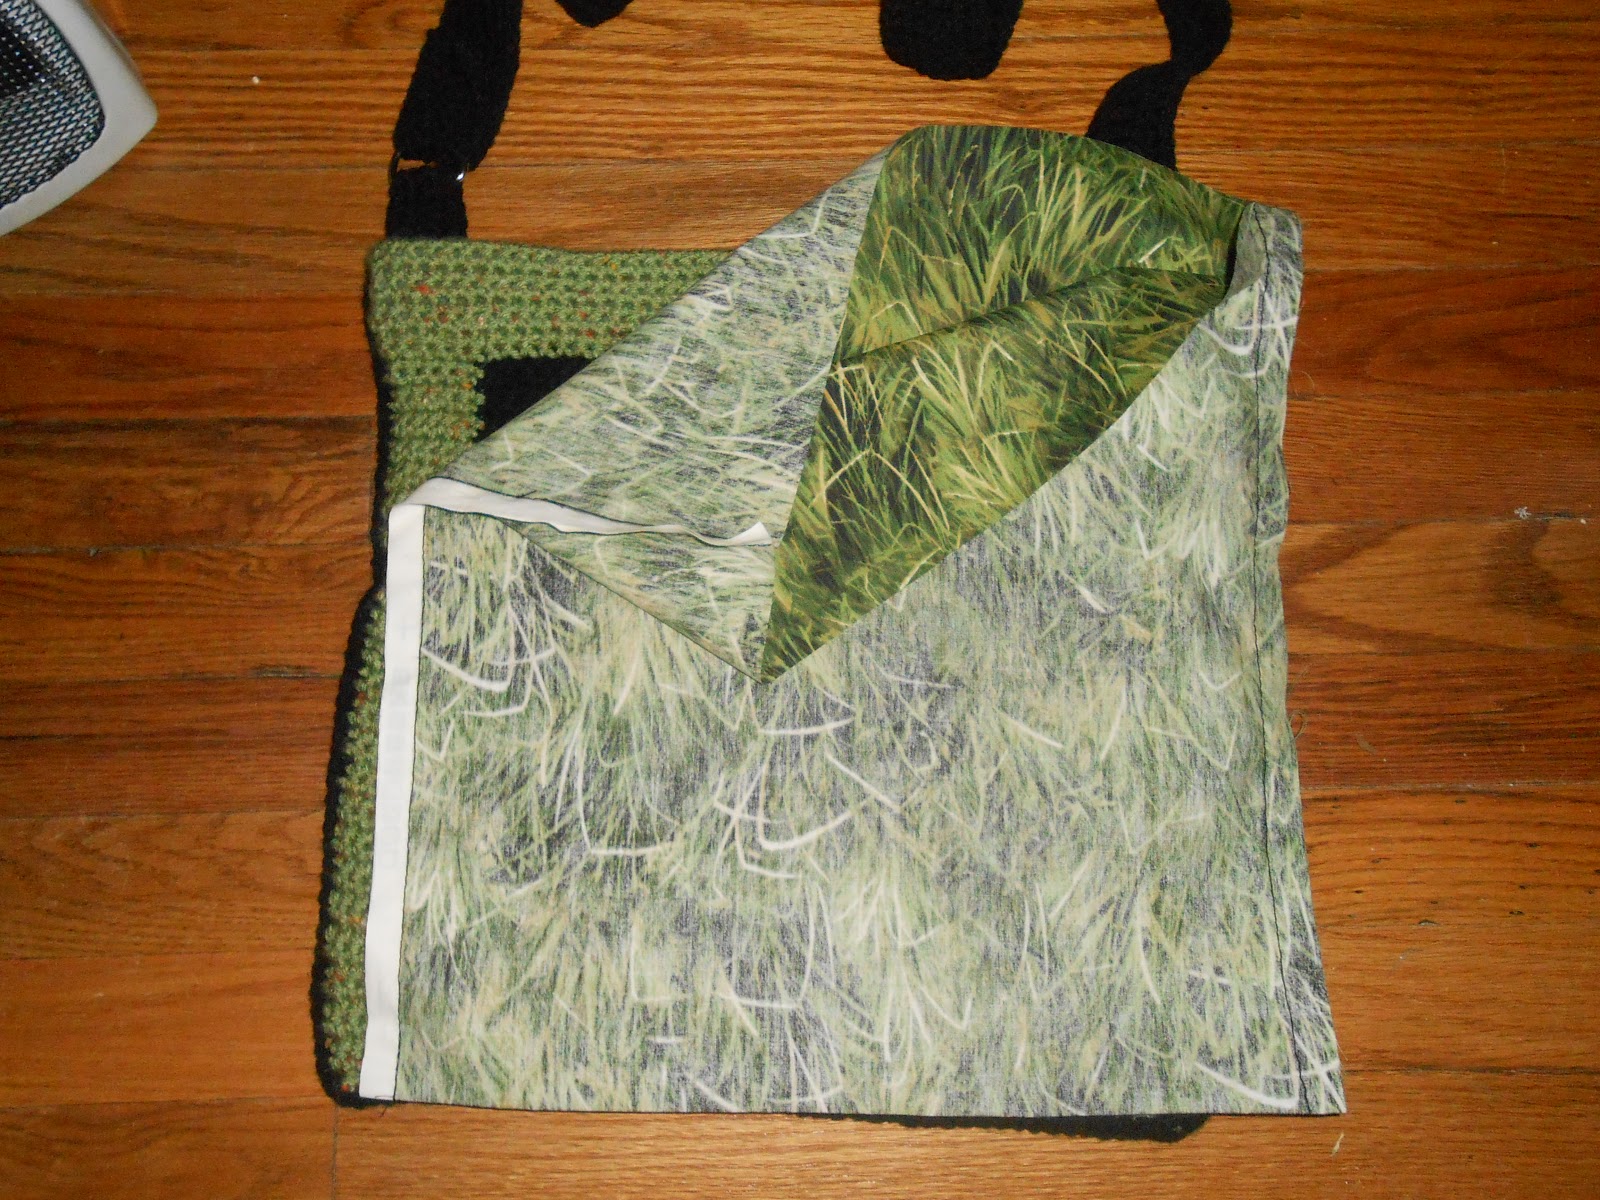
I figured that I’d create less work for myself if I folded the fabric to make a pocket and only had to seam up the sides.


I cut my fabric to have ½” seams on either side, as well as 2” of extra fabric at the top.


14” wide + ½” + ½” = 15” fabric wide.


14” tall + 2” = 16” fabric tall.


DSCN3676.JPG DSCN3678.JPG


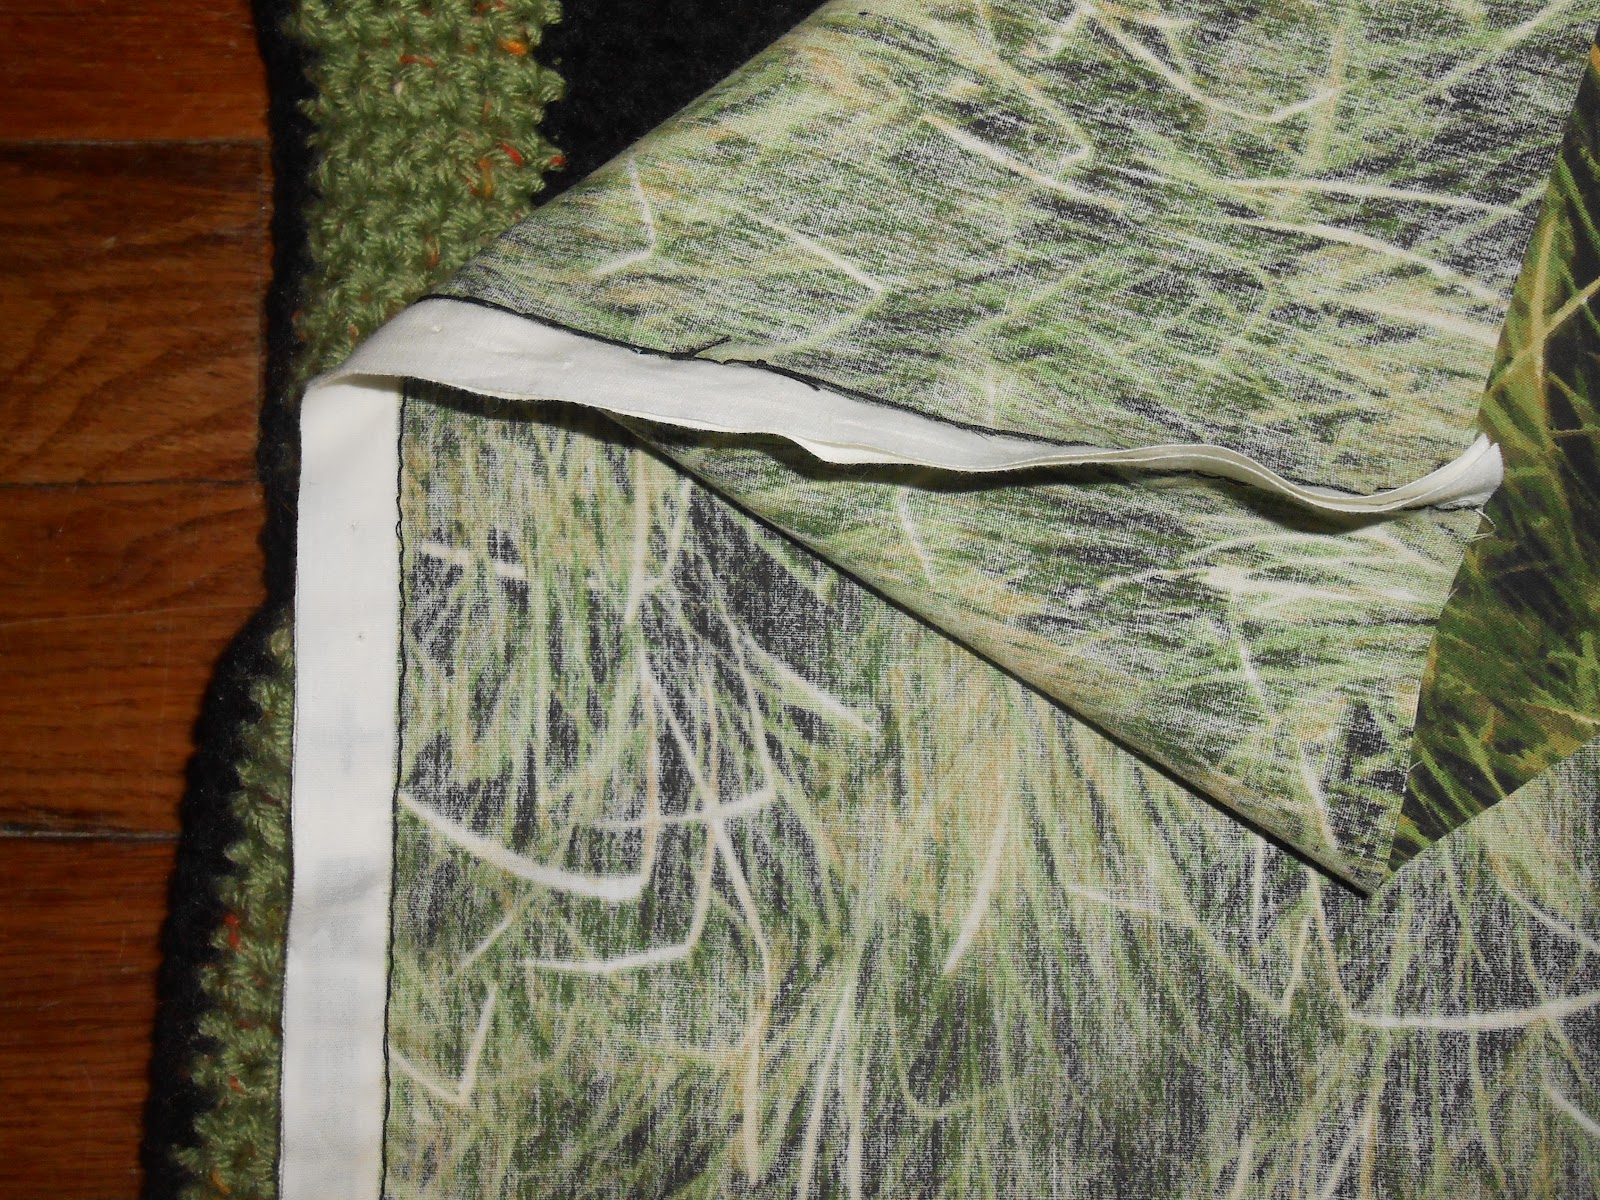
Once you’ve cut your fabric, seam up the sides (I’m not a sewer, nor do I possess a sewing machine, so I did mine by hand).


DSCN3681.JPG DSCN3680.JPG


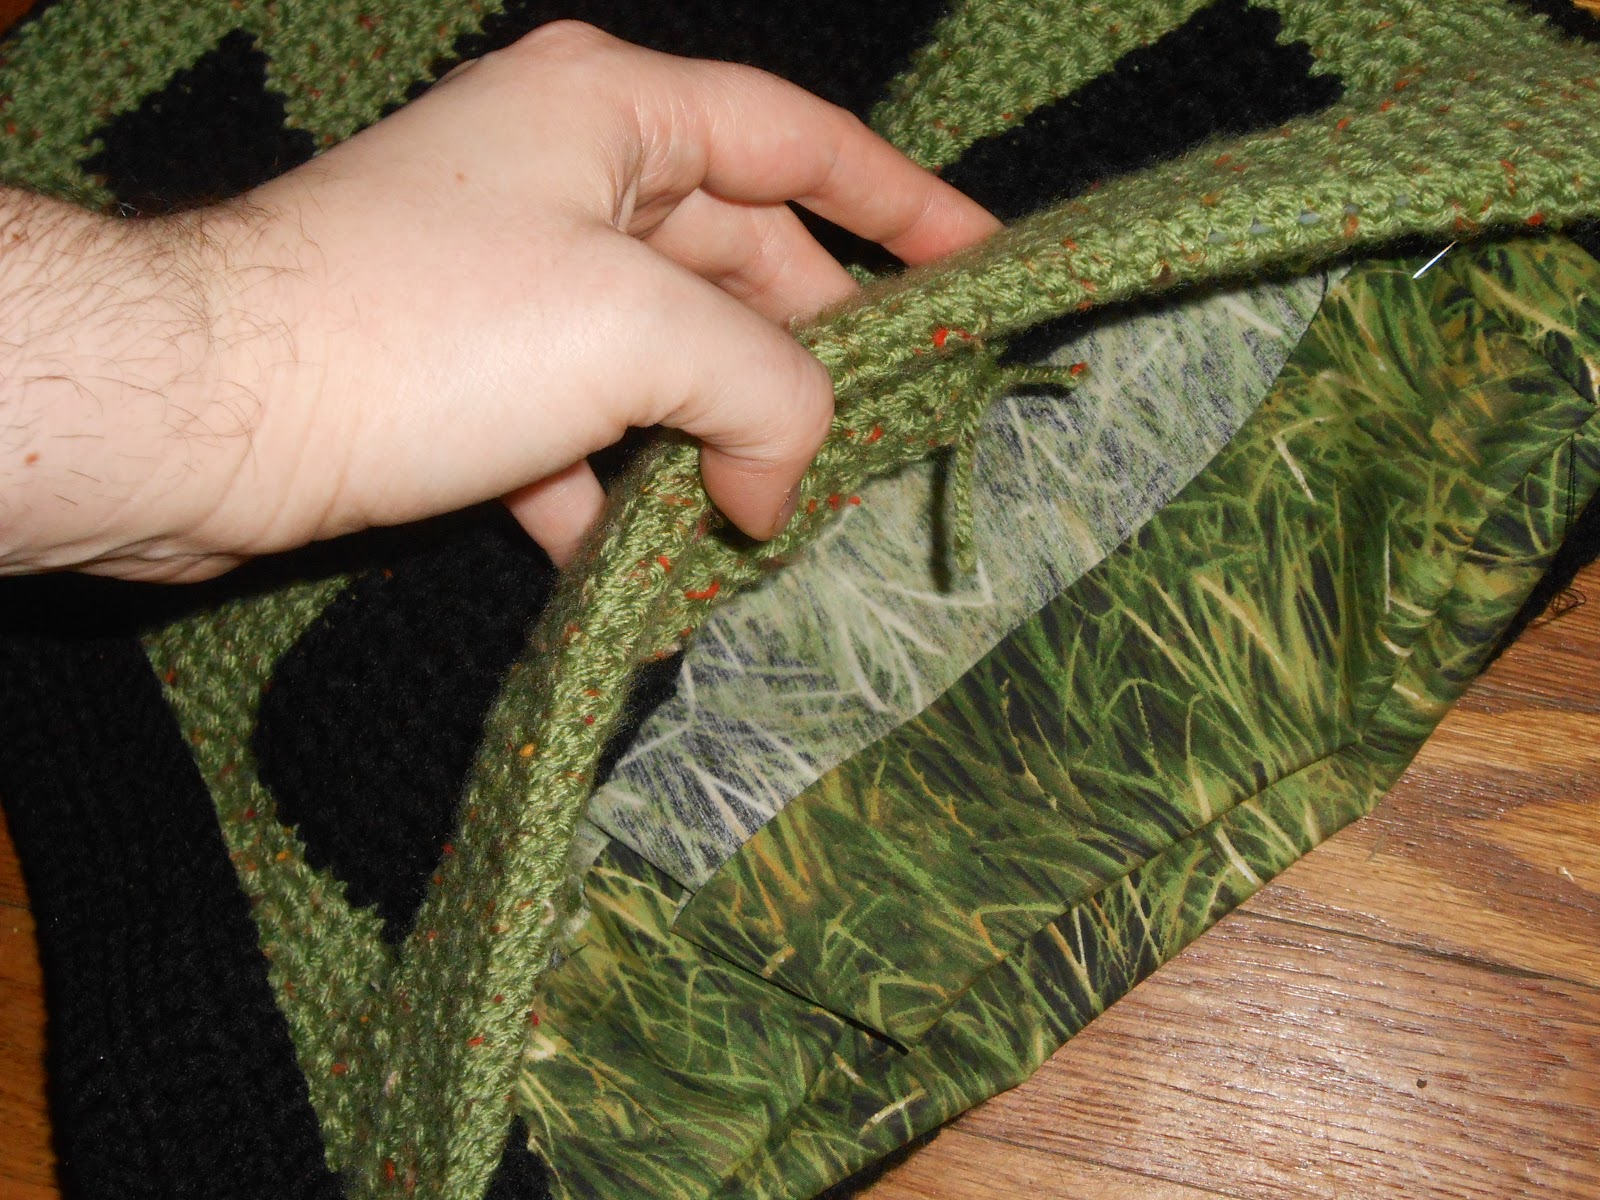
Fold the top part of your bag down to expose the inside.  (I did 2.5”, but you’ll be the best judge of how much room you have.)


DSCN3683.JPG


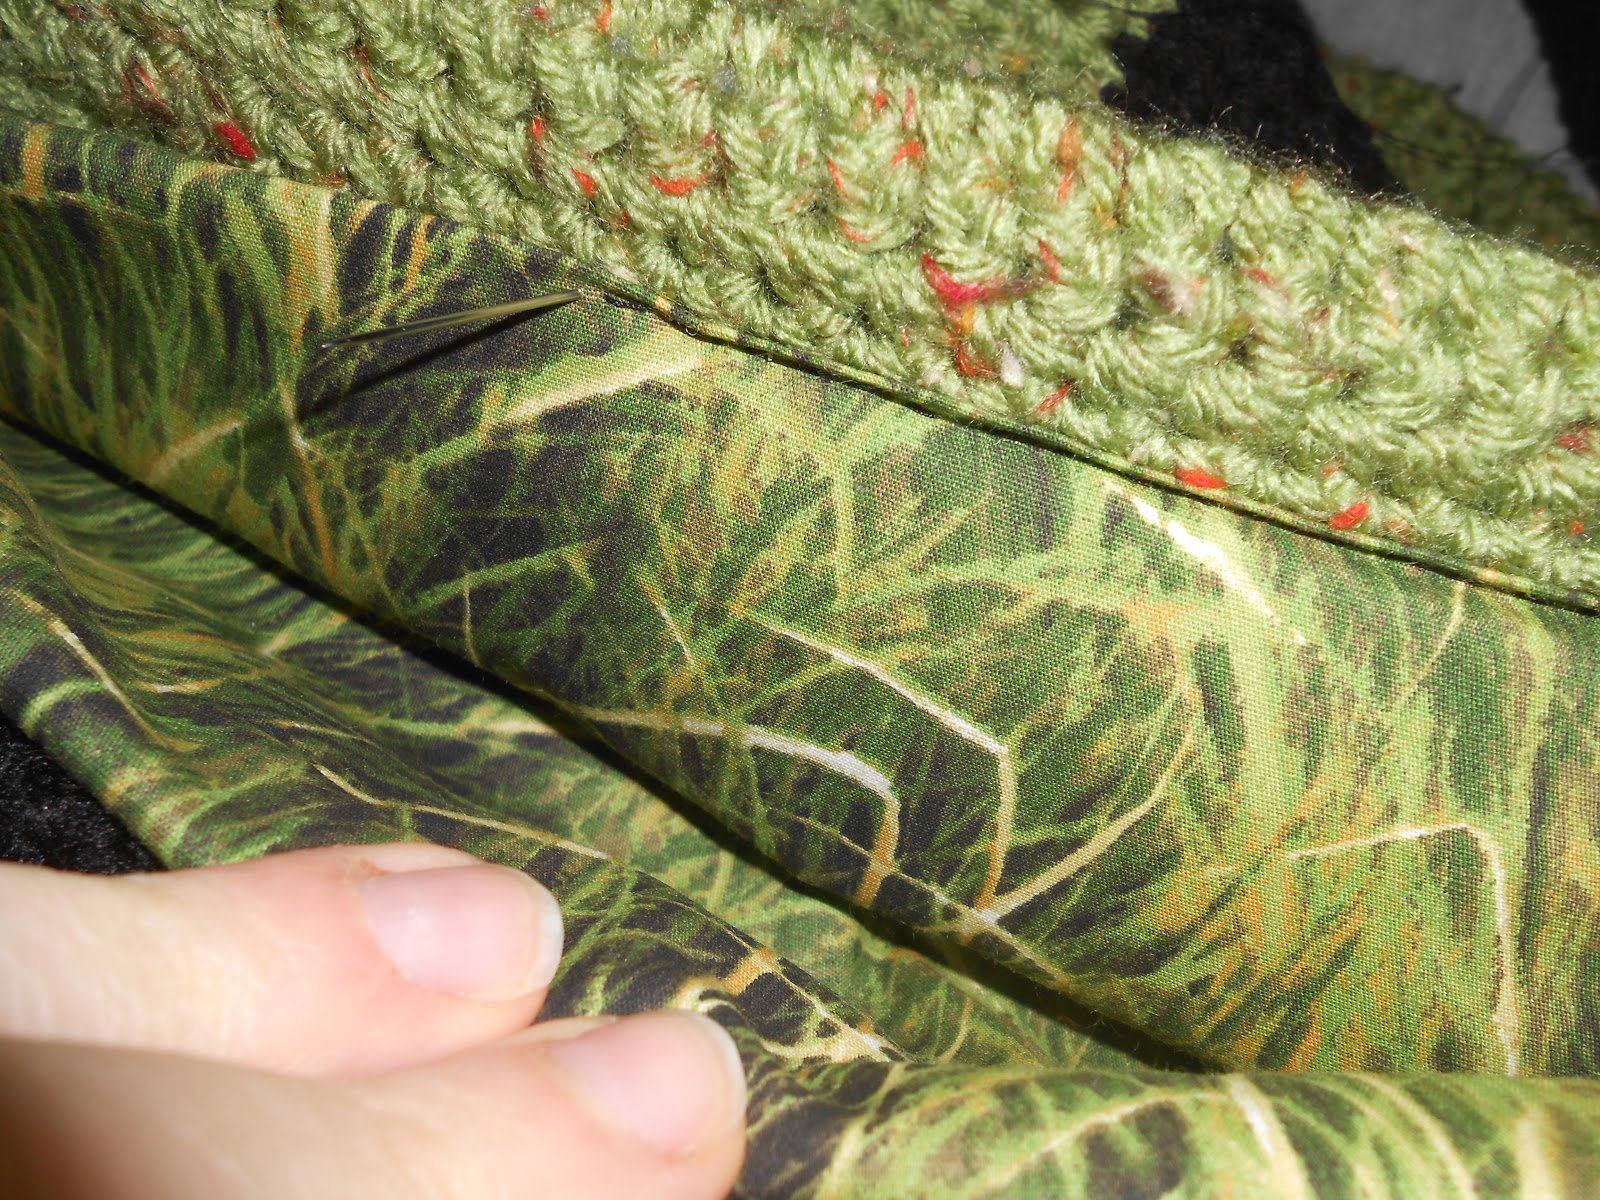
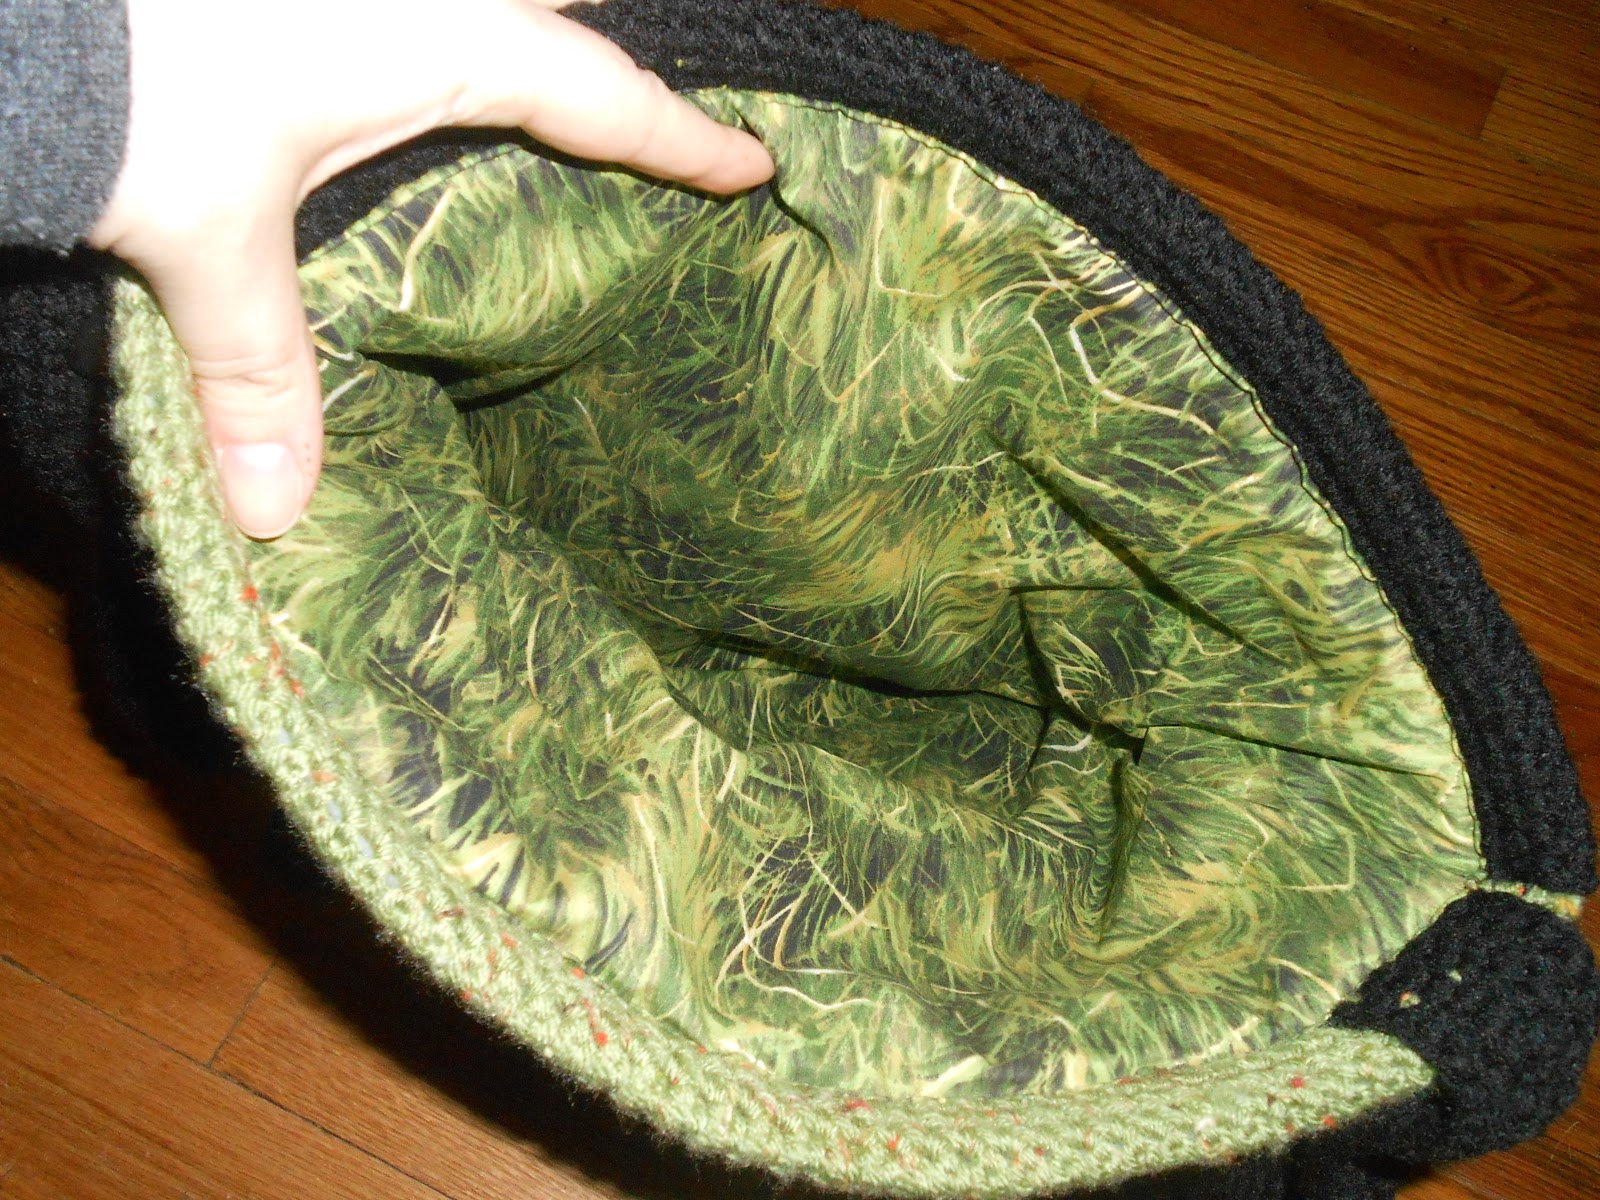
Sew the lining into the bag; I did mine between crochet rows which turned out nice, since it pulled the fabric into the furrows.  My thread also didn’t show on the outside, so I sewed the entire lining with black thread.


DSCN3685.JPG


Knot off ends and weave in.


DSCN3687.JPG


Button Toggle (Optional)


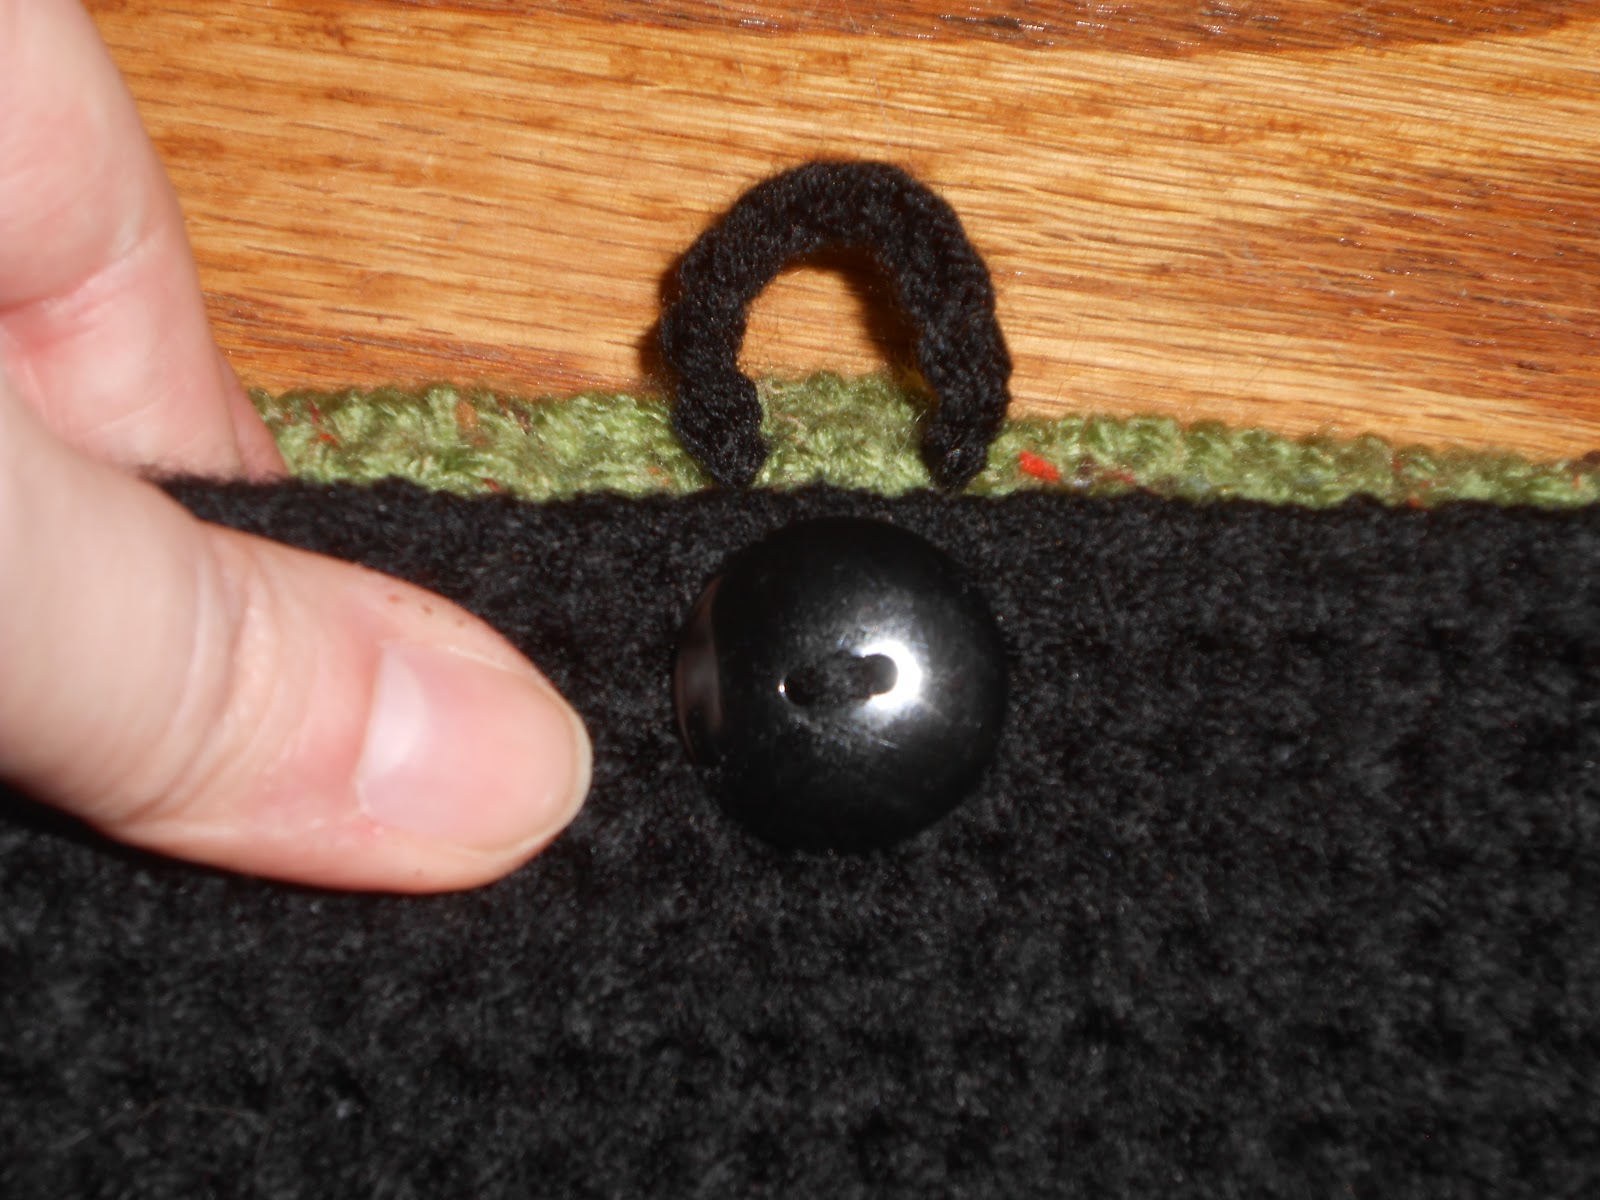
To close my bag, I opted to sew the second black button to the top middle of the enderman panel.  I then chained 9 stitches (make sure to check, if you have a larger button than I did) and attached the loop to the inside of the creeper panel.


DSCN3692.JPG


And...DONE!  Way to go, you!

DSCN3694.JPG DSCN3695.JPG


These are not approved or endorsed Mojang/Microsoft designs or materials!

Per Mojang and Microsoft, please do not sell anything you make, as this is fanart.


Craft on!